How To Install TeamViewer on Fedora 40

In this tutorial, we will show you how to install TeamViewer on Fedora 40. TeamViewer is a widely-used remote desktop solution that enables users to access and control remote computers securely. It offers a convenient way to provide remote support, collaborate with colleagues, or manage servers from anywhere in the world.
This article assumes you have at least basic knowledge of Linux, know how to use the shell, and most importantly, you host your site on your own VPS. The installation is quite simple and assumes you are running in the root account, if not you may need to add ‘sudo‘ to the commands to get root privileges. I will show you the step-by-step installation of the TeamViewer remote desktop software on Fedora 40.
Prerequisites
Before we dive into the installation process, ensure that you have the following prerequisites in place:
- A server running one of the following operating systems: Fedora 40.
- It’s recommended that you use a fresh OS install to prevent any potential issues.
- You will need access to the terminal to execute commands. Fedora provides the Terminal application for this purpose. It can be found in your Applications menu.
- A stable internet connection to download the necessary packages.
- A non-root sudo user or access to the root user. We recommend acting as a non-root sudo user, however, as you can harm your system if you’re not careful when acting as the root.
Install TeamViewer on Fedora 40
Step 1. Update the System.
Before proceeding with the installation, it’s recommended to update your Fedora 40 system to the latest packages and security patches. Open the terminal and run the following command:
sudo dnf clean all
sudo dnf update
This command will fetch the latest package information and upgrade any outdated packages to their latest versions. Additionally, make sure that your system has a stable internet connection, as the installation process will require downloading the TeamViewer package from the official website.
Step 2. Installing TeamViewer on Fedora 40.
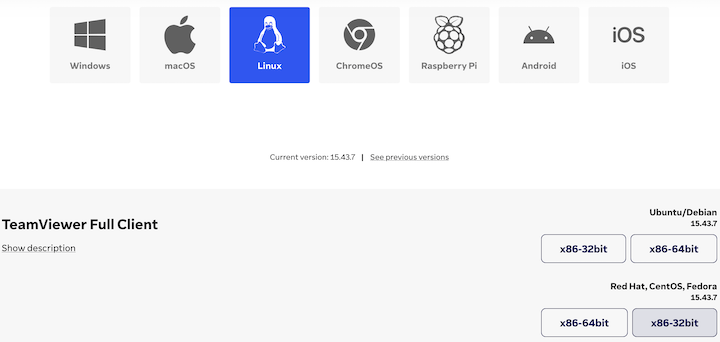
To begin the installation process, navigate to the official TeamViewer website and download the appropriate package for Fedora. Look for the RPM file, which is the standard package format for Fedora and other Red Hat-based distributions. If you prefer using the command line, you can download the package directly using the wget command:

wget https://download.teamviewer.com/download/linux/teamviewer.x86_64.rpm
This command will download the latest version of the TeamViewer RPM package to your current directory.
With the TeamViewer RPM package downloaded, you can now proceed with the installation. To install the package using the DNF package manager, run the following command:
sudo dnf install ./teamviewer.x86_64.rpm
DNF will resolve any dependencies required by TeamViewer and install them along with the main package. If you encounter any dependency issues during the installation process, DNF will prompt you with suggestions on how to resolve them.
Once the installation is complete, you can verify that TeamViewer has been successfully installed by running:
rpm -qi teamviewer
This command will display detailed information about the installed TeamViewer package, confirming its presence on your Fedora 40 system.
Next, enable and start the TeamViewer daemon to ensure that the application can run in the background and start automatically on system boot. Use the following commands:
sudo systemctl enable teamviewerd.service
sudo systemctl start teamviewerd.service
Step 3. Configure Firewall.
Configure your firewall and security settings to allow incoming connections for TeamViewer. Fedora uses FirewallD as its default firewall management tool. To permit TeamViewer through the firewall, run the following commands:
sudo firewall-cmd --permanent --add-port=5938/tcp
sudo firewall-cmd --reload
These commands will open port 5938, which TeamViewer uses for incoming connections, and make the change permanent across system reboots.
Step 4. Accessing on Fedora.
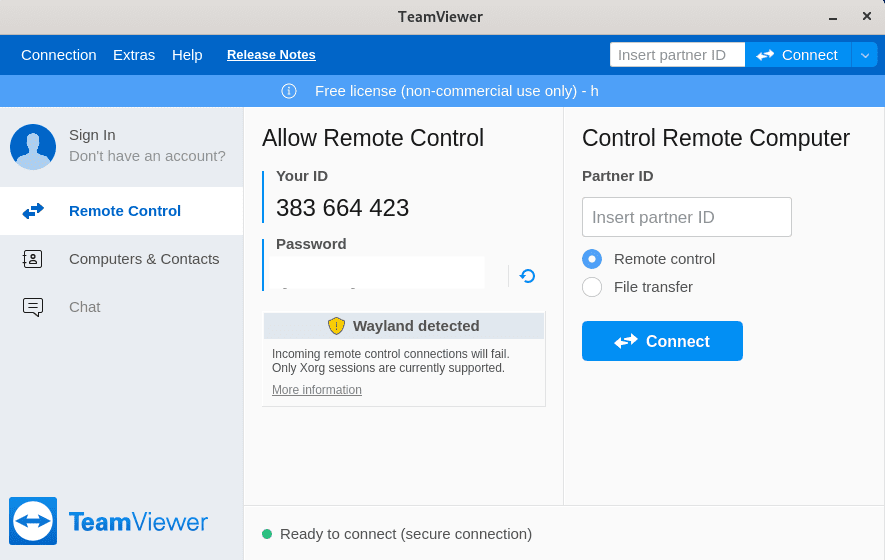
After installing TeamViewer, launch the application from your application menu or by executing teamviewer in the terminal. Upon running TeamViewer for the first time, you will be prompted to accept the license agreement. Read through the agreement carefully and accept it to proceed.
If you plan on using TeamViewer for unattended access, such as remotely accessing your own devices or providing remote support to clients, you can set up unattended access by assigning a password and configuring the necessary settings within the TeamViewer application.

Congratulations! You have successfully installed TeamViewer. Thanks for using this tutorial for installing the TeamViewer remote desktop software on your Fedora 40 system. For additional or useful information, we recommend you check the official TeamViewer website.