In this tutorial, we will show you how to install MAAS on Ubuntu 20.04 LTS. For those of you who didn’t know, MAAS (Metal as a Service) is a powerful tool designed to manage physical servers as easily as virtual machines. It provides a comprehensive solution for deploying, managing, and scaling physical servers, making it an essential tool for data centers and large-scale server environments.
This article assumes you have at least basic knowledge of Linux, know how to use the shell, and most importantly, you host your site on your own VPS. The installation is quite simple and assumes you are running in the root account, if not you may need to add ‘sudo‘ to the commands to get root privileges. I will show you the step-by-step installation of MAAS on Ubuntu 20.04 (Focal Fossa). You can follow the same instructions for Ubuntu 18.04, 16.04, and any other Debian-based distribution like Linux Mint.
Prerequisites
- A server running one of the following operating systems: Ubuntu 20.04, 18.04, 16.04, and any other Debian-based distribution like Linux Mint.
- It’s recommended that you use a fresh OS install to prevent any potential issues.
- SSH access to the server (or just open Terminal if you’re on a desktop).
- A
non-root sudo useror access to theroot user. We recommend acting as anon-root sudo user, however, as you can harm your system if you’re not careful when acting as the root.
Install MAAS on Ubuntu 20.04 LTS Focal Fossa
Step 1. Start by updating and upgrading your Ubuntu system to ensure all packages are up-to-date.
sudo apt update
sudo apt upgrade
This command updates the package list and upgrades all installed packages to their latest versions.
Step 2. Installing MAAS on Ubuntu 20.04.
By default, MAAS is not available on the Ubuntu base repository. Now run the following command below to install MAAS using Snap Store:
sudo snap install maas
Step 3. Installing PostgreSQL.
By default, PostgreSQL is not available to install directly from the Debian 11 base repository. Now we add the official PostgreSQL repository to your system:
echo "deb [signed-by=/usr/share/keyrings/postgresql-keyring.gpg] http://apt.postgresql.org/pub/repos/apt/ bullseye-pgdg main" | sudo tee /etc/apt/sources.list.d/postgresql.list
Next, import the PostgreSQL signing key:
curl -fsSL https://www.postgresql.org/media/keys/ACCC4CF8.asc | sudo gpg --dearmor -o /usr/share/keyrings/postgresql-keyring.gpg
Finally, run the following command below to install PostgreSQL:
sudo apt update
sudo apt install postgresql-13
After installing PostgreSQL, start the PostgreSQL service and enable it to start at system reboot:
sudo systemctl start postgresql
sudo systemctl enable postgresql
sudo systemctl status postgresql
After that, we will create a database for MAAS. Here the database is called maas_db, user named maasuser, the password is idroot123:
sudo -u postgres psql
create database maas_db;
\q
Next, edit the file /etc/postgresql/10/main/pg_hba.conf:
sudo nano /etc/postgresql/10/main/pg_hba.conf
Add the following line:
host maas maaszeljko 0/0 md5
Save and close then, start initializing MAAS:
sudo maas init region+rack --database-uri "postgres://maasuser:idroot123@localhost/maas_db"
Next, create the admin account for the web interface, run:
sudo maas createadmin
Step 4. Accessing MAAS Web Interface.
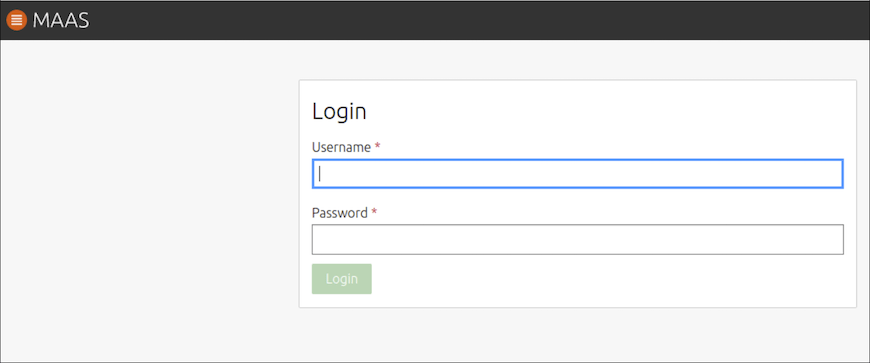
Once successfully installed, open your web browser and type the URL https://your-ip-addrees. You should see the MAAS interface screen:

Congratulations! You have successfully installed MAAS. Thanks for using this tutorial for installing MAAS on Ubuntu 20.04 LTS Focal Fossa system. For additional help or useful information, we recommend you check the official MAAS website.