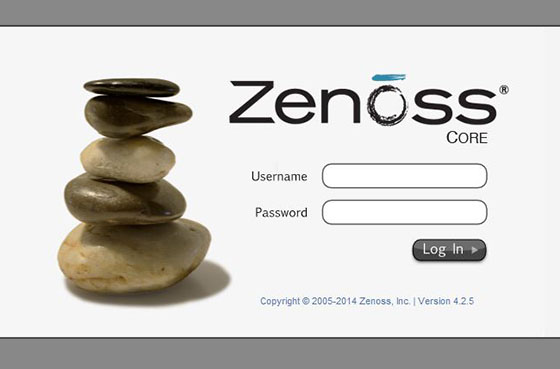
In this tutorial, we will show you how to install Zenoss on Ubuntu 14.04. For those of you who didn’t know, Zenoss is a free and open-source monitoring solution similar to Nagios. Zenoss Core provides a web interface that allows system administrators to monitor availability, inventory/configuration, performance, and other events. The main advantage of Zenoss is that you don’t need to install any software on the client-side for monitoring.
This article assumes you have at least basic knowledge of Linux, know how to use the shell, and most importantly, you host your site on your own VPS. The installation is quite simple. I will show you the step-by-step installation of Zenoss on Ubuntu 14.04.
Prerequisites
- A server running one of the following operating systems: Ubuntu 14.04.
- It’s recommended that you use a fresh OS install to prevent any potential issues.
- SSH access to the server (or just open Terminal if you’re on a desktop).
- A
non-root sudo useror access to theroot user. We recommend acting as anon-root sudo user, however, as you can harm your system if you’re not careful when acting as the root.
Install Zenoss on Ubuntu 14.04
Step 1. Install wget and grab the Zenoss 4.2.5 auto-deploy script.
apt-get install wget
wget –no-check-certificate https://raw.github.com/hydruid/zenoss/master/core-autodeploy/4.2.5/zo425_ubuntu-debian.sh
Step 2. Make the script executable and run the auto-deploy script.
sudo chmod +x zo425_ubuntu-debian.sh
sudo ./zo425_ubuntu-debian.sh 2>&1 | tee script-log.txt
After running this command the install will take approx 20 min with prompts for user creation and accepting Eula’s. You had to approve the Java installer and set up a root password for MySQL as part of the install process.
...Check log didn't find any errors

The Zenoss 4.2.5 core-autodeploy script for Ubuntu is complete!!!
A backup script (backup.sh) has been placed in the zenoss user home directory.

Browse to 192.168.1.456:8080 to access your new Zenoss install.
The default login is:
  username: admin
  password: zenoss
Once the script is finished and Zenoss is installed you will notice the prompt notifying you of the IP address of the machine giving you the ability to web into the Zenoss Core Gui and start working with Zenoss.
Step 3. Access Zenoss via a web browser.
http://ip_address_or_hostname:8080

Congratulations! You have successfully installed Zenoss. Thanks for using this tutorial for installing Zenoss on ubuntu 14.04 systems. For additional help or useful information, we recommend you check the official Zenoss website.