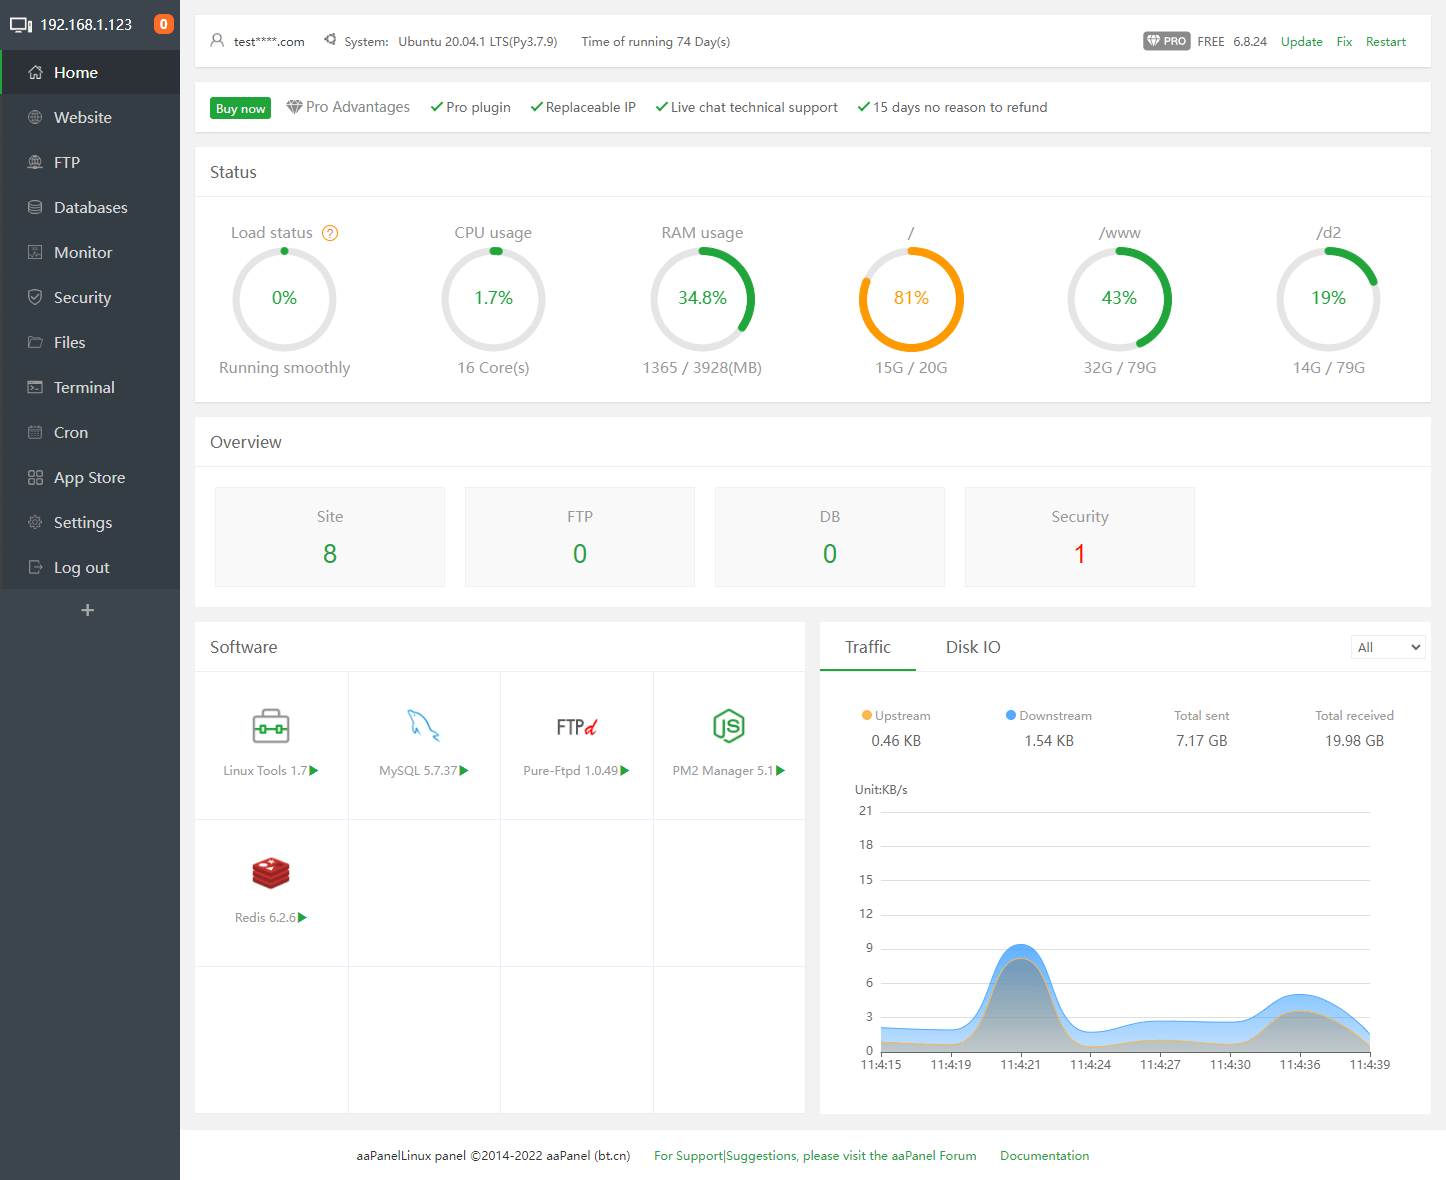
How To Install aaPanel on Rocky Linux 9

In this tutorial, we will show you how to install aaPanel on Rocky Linux 9. For those of you who didn’t know, aaPanel is a free and open-source hosting control panel easy to install LANMP/LAMP (Linux Apache/Nginx, MySQL, PHP), and OpenLiteSpeed with just a click. Being a web-based GUI control panel, it makes it easy to manage remote and local machines with its vast features.
This article assumes you have at least basic knowledge of Linux, know how to use the shell, and most importantly, you host your site on your own VPS. The installation is quite simple and assumes you are running in the root account, if not you may need to add ‘sudo‘ to the commands to get root privileges. I will show you the step-by-step installation of aaPanel open-source hosting control panel on Rocky Linux. 9.
Prerequisites
- A server running one of the following operating systems: Rocky Linux 9.
- It’s recommended that you use a fresh OS install to prevent any potential issues.
- SSH access to the server (or just open Terminal if you’re on a desktop).
- A
non-root sudo useror access to theroot user. We recommend acting as anon-root sudo user, however, as you can harm your system if you’re not careful when acting as the root.
Install aaPanel on Rocky Linux 9
Step 1. The first step is to update your system to the latest version of the package list. To do so, run the following commands:
sudo dnf check-update
sudo dnf install dnf-utils
Step 2. Installing aaPanel on Rocky Linux 9.
By default, aaPanel is not available on Rocky Linux 9 base repository. Now run the following command below to download aaPanel script installation to your Rocky Linux system:
curl -sSO http://www.aapanel.com/script/new_install_en.sh
After the download is complete, run the installer script on Rocky Linux:
sudo bash new_install_en.sh forum
Output:
+----------------------------------------------------------------------
| aaPanel 6.8 FOR CentOS/Ubuntu/Debian
+----------------------------------------------------------------------
| Copyright © 2015-2099 BT-SOFT(http://www.aapanel.com) All rights reserved.
+----------------------------------------------------------------------
| The WebPanel URL will be http://SERVER_IP:8888 when installed.
+----------------------------------------------------------------------

Do you want to install aaPanel to the /www directory now?(y/n): y
........
Dependencies resolved.
=============================================================================
 Package              Arch      Version                   Repository    Size
=============================================================================
Installing:
 gcc                  x86_64    8.5.0-4.el8_5             appstream     24 M
Upgrading:
 glibc                x86_64    2.28-164.el8              baseos       4.6 M
 glibc-common         x86_64    2.28-164.el8              baseos       1.3 M
 glibc-langpack-en    x86_64    2.28-164.el8              baseos       827 k
 libgcc               x86_64    8.5.0-4.el8_5             baseos        78 k
 libgomp              x86_64    8.5.0-4.el8_5             baseos       215 k
 libxcrypt            x86_64    4.1.1-6.el8               baseos        76 k
Installing dependencies:
 cpp                  x86_64    8.5.0-4.el8_5             appstream     12 M
 glibc-devel          x86_64    2.28-164.el8              baseos       2.0 M
 glibc-headers        x86_64    2.28-164.el8              baseos       512 k
 isl                  x86_64    0.16.1-6.el8              appstream    908 k
 kernel-headers       x86_64    4.18.0-348.2.1.el8_5      baseos       8.6 M
 libxcrypt-devel      x86_64    4.1.1-6.el8               baseos        26 k

Transaction Summary
======================================
.................
Complete!
success
==================================================================
Congratulations! Installed successfully!
==================================================================
aaPanel Internet Address: http://192.168.1.124:8888/e3ada478
aaPanel Internal Address: http://192.168.1.123:8888/e3ada478
username: meilan4
password: mari4
Warning:
If you cannot access the panel,
release the following port (8888|888|80|443|20|21) in the security group
==================================================================
Time consumed: 4 Minute!
Step 3. Configure Firewall.
By default, aaPanel listens on ports 8888. If any firewall is installed and configured on your server, then you will need to allow ports via firewalld. You can allow them with the following command:
sudo firewall-cmd --add-port=8888/tcp --permanent
sudo firewall-cmd --reload
For additional resources on installing firewalld, read the post below:
Step 5. Accessing the aaPanel Web UI.
Once successfully installed, open your web browser and type the URL http://your-IP-address:8888. And you should see the aaPanel login page:

Congratulations! You have successfully installed aaPanel. Thanks for using this tutorial for installing aaPanel free and open-source hosting control panel on your Rocky Linux 9 system. For additional help or useful information, we recommend you check the official aaPanel website.