How To Install aaPanel on Ubuntu 24.04 LTS

Managing a server can be a daunting task, especially for those who are not well-versed in command-line interfaces. Fortunately, control panels like aaPanel simplify this process significantly. This article provides a comprehensive guide on how to install aaPanel on Ubuntu 24.04 LTS, ensuring you have a powerful yet user-friendly interface for managing your web hosting environment.
What is aaPanel?
aaPanel is an open-source hosting control panel that allows users to manage their servers with ease. It offers a graphical interface for managing various server tasks, making it an excellent choice for both beginners and experienced users. Some of the key features of aaPanel include:
- User-Friendly Interface: Navigate through your server settings effortlessly.
- Multi-Web Server Support: Choose between Apache, Nginx, and OpenLiteSpeed.
- Database Management: Easily manage MySQL, MariaDB, and PostgreSQL databases.
- One-Click Installation: Quickly install popular software like WordPress, Joomla, and more.
Compared to other control panels like cPanel and Plesk, aaPanel stands out due to its zero-cost model and extensive feature set tailored for Linux servers.
Prerequisites for Installation
System Requirements
Before installing aaPanel, ensure your system meets the following minimum hardware specifications:
- CPU: At least 1 GHz processor
- RAM: Minimum 1 GB (2 GB recommended)
- Storage: At least 10 GB of free disk space
Your server should be running Ubuntu 24.04 LTS to ensure compatibility with the latest version of aaPanel.
Software Requirements
You will need root or sudo access to install aaPanel. Familiarity with basic Linux commands will also be beneficial during the installation process.
Optional: Domain Name Setup
If you plan to host websites using aaPanel, consider setting up a domain name beforehand. This will make it easier to manage your web applications later on.
Step-by-Step Installation Guide
Step 1: Update Your System
The first step in the installation process is to ensure your system is up-to-date. This helps avoid any conflicts during installation. Run the following commands:
sudo apt update && sudo apt upgrade -yThis command updates the package lists and upgrades all installed packages to their latest versions.
Step 2: Install Required Packages
If you don’t have wget or curl installed on your system, you can easily install them with the following command:
sudo apt install wget curl -yThis ensures that you have the necessary tools for downloading the installation script.
Step 3: Download the Installation Script
The next step is to download the aaPanel installation script. Use the following command:
wget -O install.sh http://www.aapanel.com/script/install-ubuntu_7.0_en.sh && sudo bash install.sh aapanelThis command fetches the installation script from the official aaPanel website and executes it with root privileges. The script will automatically configure your server for aaPanel installation.
Step 4: Confirm Installation Settings
During the installation process, you will be prompted to confirm various settings. Pay attention to these options:
- Installation Directory: The default directory is usually fine, but you can customize it if needed.
- SSL Options: You can choose to enable SSL during installation for secure connections.
This step ensures that your server is set up according to your preferences.
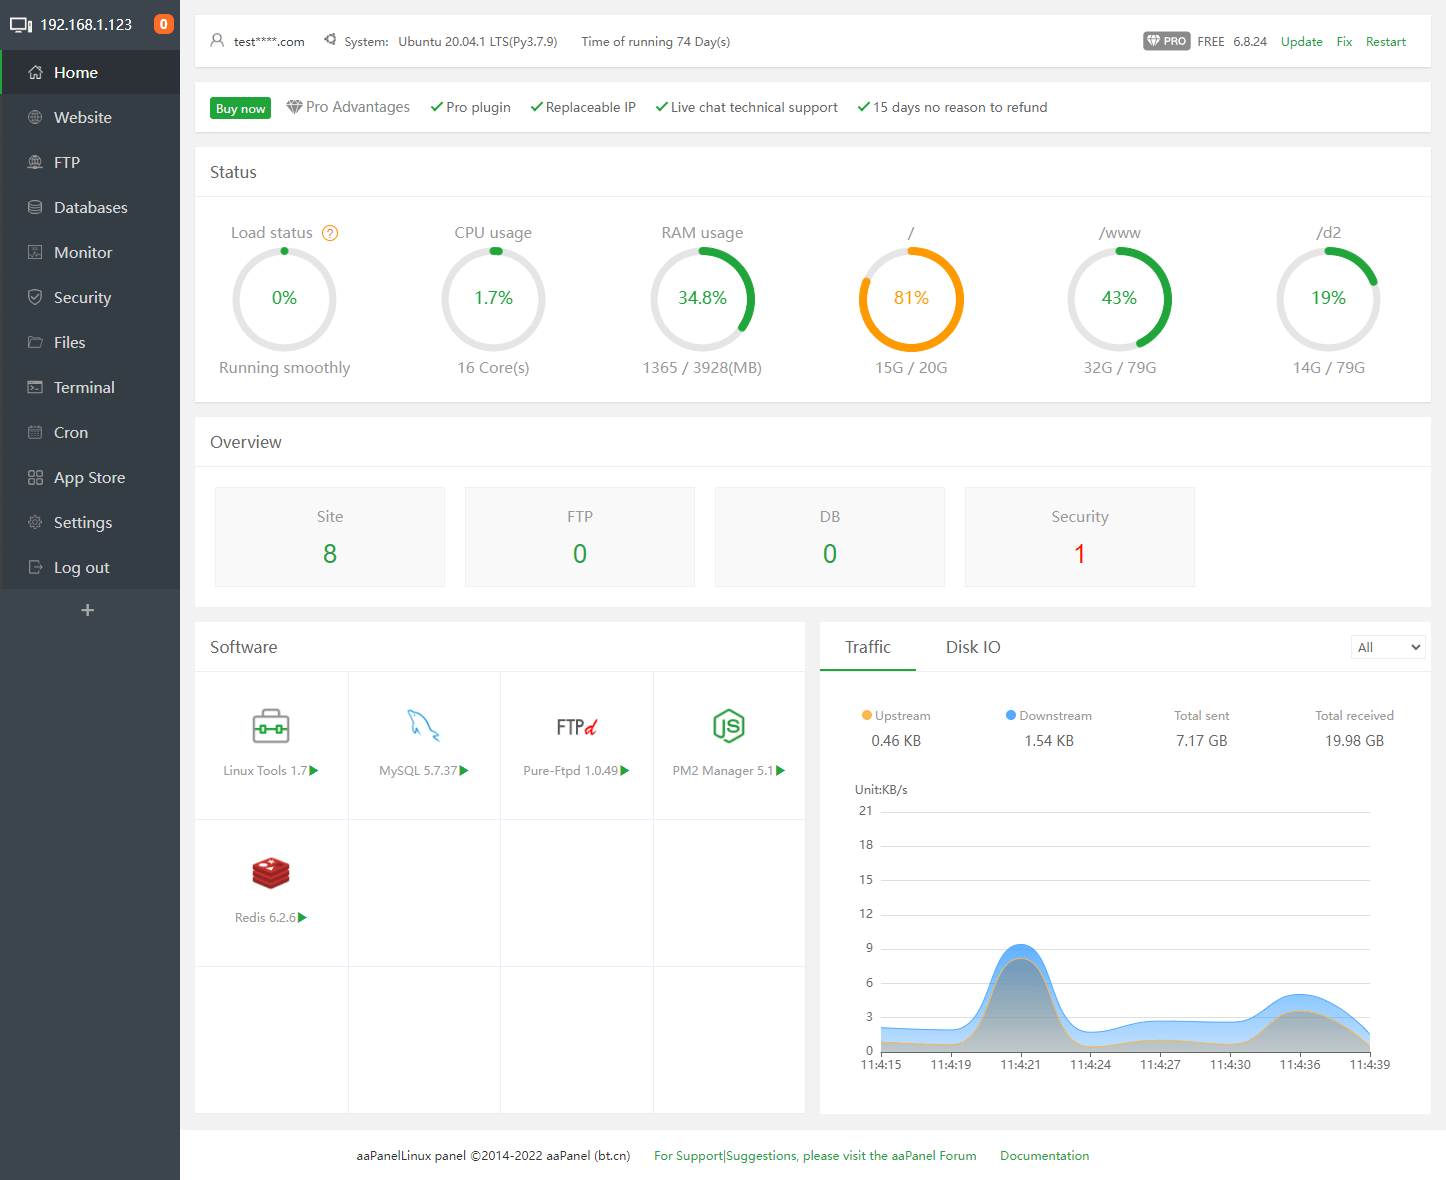
Step 5: Accessing the aaPanel Web Interface
Once the installation completes successfully, you can access the aaPanel web interface through your web browser. Open a browser and navigate to:
http://<your-server-ip>:7800You will see a login page where you can enter the default credentials provided at the end of the installation process. Typically, this includes an admin username and password generated by the script.

Step 6: Complete the Installation Wizard
The first time you log into aaPanel, you’ll be greeted by an installation wizard that guides you through initial configuration steps:
- Select Web Server: Choose between Apache, Nginx, or OpenLiteSpeed based on your needs.
- Select PHP Version: Choose from available PHP versions compatible with your applications.
- Database Configuration: Set up MySQL or MariaDB as per your requirements.
This wizard simplifies setting up essential components for hosting websites effectively.
Post-Installation Configuration
Setting Up Firewall Rules
A firewall helps protect your server from unauthorized access. To allow traffic on port 7800 (the default port for aaPanel), run the following commands:
sudo ufw allow 7800/tcp
sudo ufw enable
sudo ufw status
This ensures that users can access your aaPanel interface without issues while keeping other ports secure.
Basic Security Measures
- Change Default Passwords: Always change default passwords as soon as possible to prevent unauthorized access.
- Enable SSL: If not done during installation, consider enabling SSL for secure data transmission.
- Create Regular Backups: Use built-in backup tools within aaPanel to schedule regular backups of your data.
Troubleshooting Common Issues
If you encounter issues during or after installation, here are some common problems and solutions:
- Error: “Failed to download script”:
– Ensure that your internet connection is stable.
– Check if there are any firewall rules blocking outgoing connections. - Error: “Port already in use”:
– Another service may be using port 7800. Check running services using:
sudo netstat -tuln | grep :7800– If necessary, change the port in the configuration file.
- Error: “Cannot connect to database”:
– Verify database credentials entered during setup.
– Ensure that MySQL/MariaDB service is running:
sudo systemctl status mysql
- Error: “Permission denied”:
– Ensure you are executing commands with root privileges or using sudo where necessary.
Uninstallation Process
If you decide that aaPanel is not suitable for your needs or wish to remove it entirely from your server, follow these steps carefully:
sudo bt stop && sudo update-rc.d -f bt remove && sudo rm -f /etc/init.d/bt && sudo rm -rf /www/server/panel
This command stops all running processes related to aaPanel and removes its files from your system safely.
Congratulations! You have successfully installed aaPanel. Thanks for using this tutorial for installing the aaPanel web hosting control panel on the Ubuntu 24.04 LTS system. For additional help or useful information, we recommend you check the official aaPanel website.