How To Install Alacritty on AlmaLinux 9

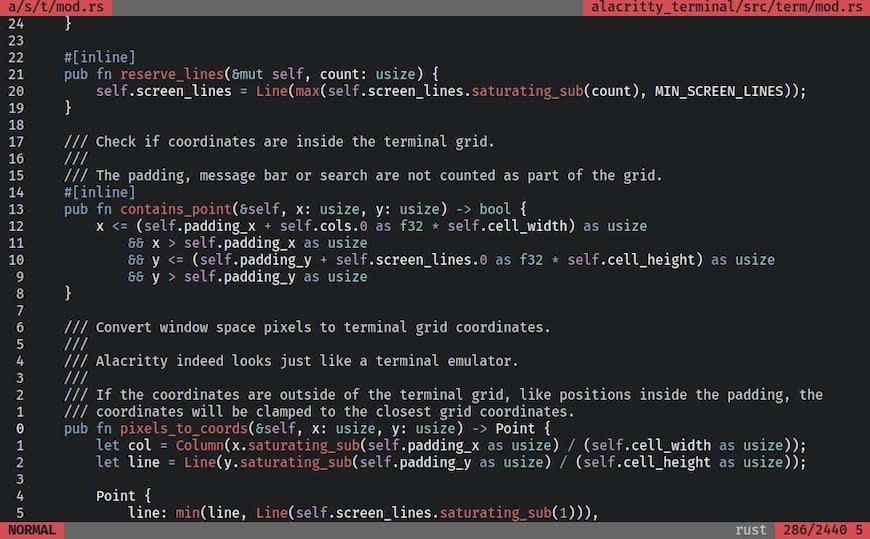
In this tutorial, we will show you how to install Alacritty on AlmaLinux 9. Alacritty is a free, open-source, GPU-accelerated terminal emulator that emphasizes performance and simplicity. Written in Rust and using OpenGL for rendering, it is designed to be the fastest terminal emulator available, providing unparalleled speed and responsiveness for command-line interface work. The software currently supports BSD, Linux, macOS, and Windows platforms and is considered at a beta level of readiness, though it is widely used as a daily driver by many users.
This article assumes you have at least basic knowledge of Linux, know how to use the shell, and most importantly, you host your site on your own VPS. The installation is quite simple and assumes you are running in the root account, if not you may need to add ‘sudo‘ to the commands to get root privileges. I will show you the step-by-step installation of Alacritty modern terminal emulator on AlmaLinux 9. You can follow the same instructions for CentOS and Rocky Linux or RHEL-based.
Prerequisites
- A server running one of the following operating systems: AlmaLinux 9.
- It’s recommended that you use a fresh OS install to prevent any potential issues.
- SSH access to the server (or just open Terminal if you’re on a desktop).
- An active internet connection. You’ll need an internet connection to download the necessary packages and dependencies for Alacritty.
- A
non-root sudo useror access to theroot user. We recommend acting as anon-root sudo user, however, as you can harm your system if you’re not careful when acting as the root.
Install Alacritty on AlmaLinux 9
Step 1. Update Your AlmaLinux 9 system.
Before diving into the installation process, ensure your AlmaLinux 9 system is up-to-date. Run the following commands in your terminal:
sudo dnf clean all
sudo dnf update
The first command cleans up the package cache, and the second command performs the system update.
Step 2. Installing Dependencies.
Alacritty relies on the Rust programming language, so make sure it’s installed. If not, you can do it using DNF:
sudo dnf install rust
Next, install ‘cmake‘ and ‘pkg-config,’ which are required for building Alacritty:
sudo dnf install cmake pkg-config
Step 3. Installing Alacritty on AlmaLinux 9.
Now, it’s time to fetch the Alacritty source code from its official repository:
git clone https://github.com/alacritty/alacritty.git
Navigate to the Alacritty directory and build the application:
cd alacritty
cargo build --release
After the compilation is complete, install Alacritty to make it available system-wide:
sudo cp target/release/alacritty /usr/local/bin/
Step 4. Setting Up Configuration.
Create a configuration file for Alacritty. If the alacritty.yml file doesn’t exist, it will be created in the specified directory:
touch ~/.config/alacritty/alacritty.yml
Now, you can customize Alacritty to match your preferences. Open the configuration file in your favorite text editor:
nano ~/.config/alacritty/alacritty.yml
Here, you can adjust various settings like font size, colors, keybindings, and more. Below is a sample configuration snippet:
# Example Alacritty Configuration
font:
  size: 14

colors:
  primary:
    background: '0x1d2021'
    foreground: '0xd5c4a1'

# Add your own customization here
Step 5. Accessing Alacritty on AlmaLinux.
Once the installation is complete, you can launch Alacritty by typing alacritty in the terminal.

Congratulations! You have successfully installed Alacritty. Thanks for using this tutorial for installing Alacritty modern terminal emulator on your AlmaLinux 9 system. For additional help or useful information, we recommend you check the official Alacritty website.