How To Install Alacritty on Ubuntu 24.04 LTS

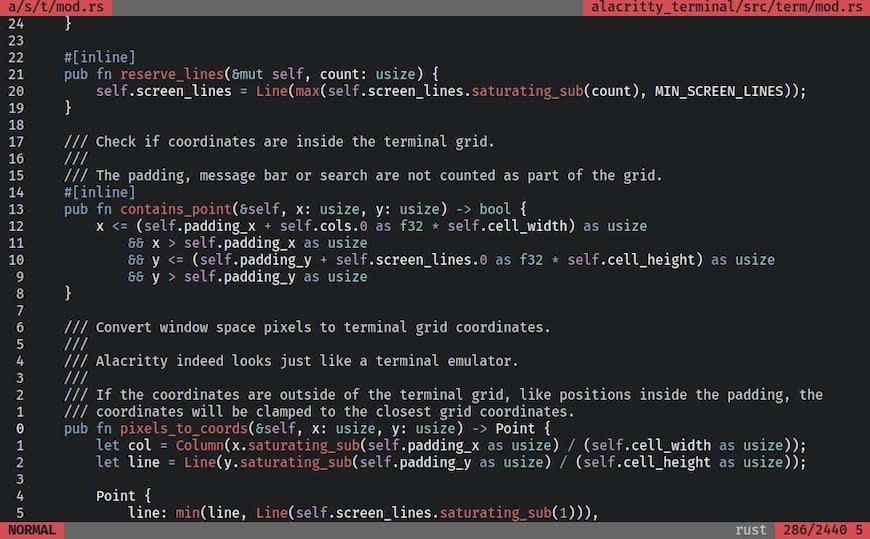
Alacritty is a modern, GPU-accelerated terminal emulator that promises high performance and simplicity. Written in Rust, it leverages OpenGL for rendering, making it one of the fastest terminal emulators available. This guide will walk you through the process of installing Alacritty on Ubuntu 24.04 using two primary methods: via a Personal Package Archive (PPA) and by compiling from source. By the end of this article, you will have a fully functional Alacritty terminal ready for your development needs.
What is Alacritty?
Alacritty stands out among terminal emulators due to its focus on performance and simplicity. Unlike many traditional terminal emulators, Alacritty does not support tabs or splits; instead, it emphasizes speed and efficiency. Key features include:
- GPU Acceleration: Utilizes your GPU for rendering, resulting in smoother graphics and faster performance.
- Cross-Platform: Available on Linux, macOS, BSD, and Windows.
- Vi Mode: Provides keyboard navigation similar to the popular text editor Vim.
- Extensive Configuration: Highly customizable through a configuration file.
This terminal emulator is particularly appealing to developers who prioritize speed and responsiveness in their workflow.
System Requirements
Before installing Alacritty, ensure your system meets the following requirements:
- Operating System: Ubuntu 24.04 or compatible distributions.
- Memory: At least 512 MB of RAM (1 GB recommended).
- Graphics: A GPU that supports OpenGL 3.3 or higher.
If you are unsure about your system’s specifications, you can check them using the command:
lshw -shortInstallation Methods Overview
You can install Alacritty using one of two methods:
- PPA Method: This is the easiest way to install Alacritty using a Personal Package Archive.
- Source Compilation: For those who prefer to compile software from source or want the latest version directly from the developers.
Method 1: Installing Alacritty via PPA
This method is straightforward and recommended for most users. Follow these steps to install Alacritty using the PPA method:
Step 1: Update Your System
Open your terminal by pressing Ctrl + Alt + T. Before proceeding with the installation, ensure your package list is up-to-date by running:
sudo apt update && sudo apt upgrade -yStep 2: Add the Alacritty PPA
Add the official Alacritty PPA to your system’s software sources with the following command:
sudo add-apt-repository ppa:aslatter/ppa -yThis command may prompt you for your password; simply enter it to continue.
Step 3: Install Alacritty
Now that the PPA has been added, you can install Alacritty using the APT package manager:
sudo apt install alacritty -yStep 4: Launching Alacritty
You can now launch Alacritty either from your application menu or by typing the following command in your terminal:
alacritty
Method 2: Compiling Alacritty from Source
If you prefer to compile Alacritty from source, perhaps to access the latest features or for educational purposes, follow these detailed steps:
Step 1: Install Prerequisites
You need several dependencies before compiling Alacritty. Install them using this command:
sudo apt install cmake pkg-config libfreetype6-dev libfontconfig1-dev libxcb-xfixes0-dev libxkbcommon-dev python3 cargo git -yStep 2: Clone the Alacritty Repository
The next step is to clone the official Alacritty repository from GitHub:
git clone https://github.com/alacritty/alacritty.gitThis command creates a local copy of the repository in a folder named “alacritty”. Navigate into this directory with:
cd alacrittyStep 3: Build Alacritty
You are now ready to build Alacritty. Run the following command within the cloned directory:
cargo build --releaseThis process may take some time depending on your system’s performance. Once completed without errors, proceed to install terminfo information necessary for proper functionality:
sudo tic -xe alacritty,alacritty-direct extra/alacritty.infoStep 4: Create a Desktop Entry (Optional)
If you want a desktop entry for easier access, create one by running:
nano ~/.local/share/applications/alacritty.desktopAdd the following lines into the file (make sure to replace “your_username” with your actual username):
[Desktop Entry]
Type=Application
Exec=/home/your_username/.cargo/bin/alacritty
Icon=~/.local/share/icons/alacritty.png
Terminal=false
Name=Alacritty
Comment=A fast, cross-platform OpenGL terminal emulator
Categories=System;TerminalEmulator;
StartupNotify=true
StartupWMClass=Alacritty
You can download an icon for Alacritty using this command:
wget https://raw.githubusercontent.com/alacritty/alacritty/master/extra/logo/compat/alacritty-term.png -O ~/.local/share/icons/alacritty.pngPost Installation Configuration
Your installation of Alacritty is now complete! To customize it further, you can modify its configuration file located at $HOME/.config/alacritty/alacritty.yml. This file allows you to change various settings such as colors, fonts, and key bindings. For example, you can set a custom font size by adding or modifying the following lines in your configuration file:
font:
  normal:
    family: "Fira Code"
    style: Regular
  size: 11.0
Troubleshooting Common Issues
- Error during installation: If you encounter issues while adding the PPA or installing packages, ensure that your system is fully updated and that you have entered commands correctly.
- No sound or graphics issues: If you experience performance problems or graphical glitches with Alacritty, check your GPU drivers and ensure they are up-to-date.
- No desktop entry appearing: If you’ve created a desktop entry but it doesn’t show up in your application menu, try running
update-desktop-database ~/.local/share/applications/. - Error with terminfo: If you see errors related to terminfo when launching Alacritty, ensure that you ran
sudo tic -xe alacritty,alacritty-direct extra/alacritty.info.
Congratulations! You have successfully installed Alacritty. Thanks for using this tutorial for installing Alacritty terminal emulator on Ubuntu 24.04 LTS system. For additional help or useful information, we recommend you check the official Alacritty website.