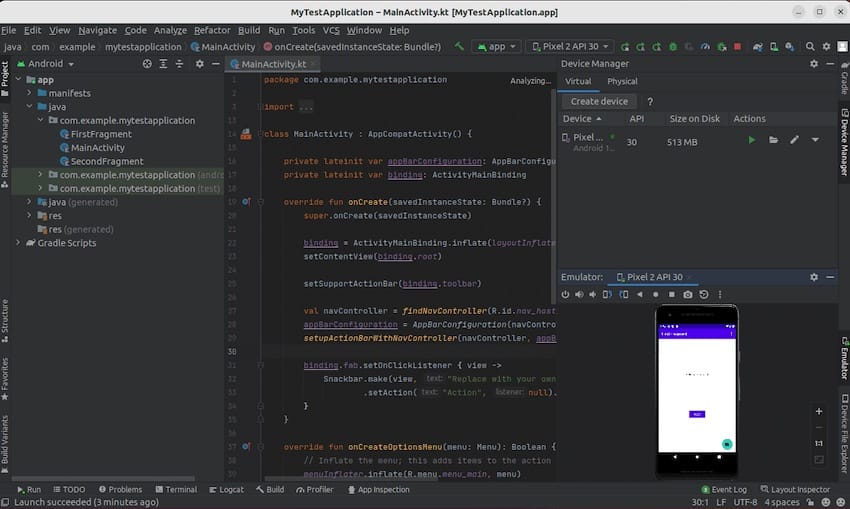
How To Install Android Studio on AlmaLinux 9

Android Studio is the official integrated development environment (IDE) for Google’s Android operating system. It provides developers with a robust set of tools to create, test, and debug their applications efficiently. If you’re looking to set up Android Studio on AlmaLinux 9, this guide will walk you through each step of the installation process, ensuring you have a smooth experience.
Understanding AlmaLinux
AlmaLinux is a community-driven, open-source Linux distribution that emerged as a popular alternative to CentOS. It aims to provide a stable and secure platform for developers and businesses alike. With its binary compatibility with Red Hat Enterprise Linux (RHEL), AlmaLinux is an excellent choice for those who want an enterprise-grade operating system without the associated costs.
For developers, AlmaLinux offers a reliable environment to build applications. Its compatibility with various software packages and libraries makes it suitable for running Android Studio effectively.
Prerequisites for Installation
System Requirements
Before installing Android Studio, ensure that your system meets the following minimum hardware specifications:
- RAM: At least 8 GB (16 GB recommended)
- CPU: 2 GHz dual-core processor or higher
- Disk Space: Minimum of 4 GB available disk space (SSD recommended for better performance)
Software Requirements
You will also need to install the Java Development Kit (JDK) as Android Studio requires it to run. The recommended version is OpenJDK 11 or higher. Additionally, ensure that you have the necessary libraries and dependencies installed on your system.
Step-by-Step Installation Guide
Step 1: Update Your System
The first step in the installation process is to update your system’s package list and upgrade any existing packages. This ensures that you have the latest updates and security patches.
sudo dnf updateThis command will refresh your package manager’s database and install any available updates. Once completed, you can proceed to the next step.
Step 2: Install Java Development Kit (JDK)
To install Android Studio, you need to have JDK installed on your AlmaLinux system. OpenJDK is a free and open-source implementation of the Java Platform.
sudo dnf install java-11-openjdk-develThis command installs the required JDK packages. After installation, verify that JDK is installed correctly by checking its version:
java -versionIf JDK is installed correctly, you will see the version information displayed in the terminal.
Step 3: Download Android Studio
The next step is to download Android Studio from its official website. Visit the Android Studio download page. Choose the Linux version and click on the download link. The file will be downloaded in a compressed format (usually .tar.gz).
Step 4: Extract the Downloaded Archive
Once the download is complete, navigate to your Downloads directory (or wherever you saved the file) and extract the downloaded archive using the following command:
tar -xvzf android-studio-*-linux.tar.gzThis command extracts all files from the compressed archive into a folder named “android-studio.” You can now navigate into this folder to continue with the installation.
Step 5: Run the Installer Script
To start the installation process, navigate to the bin directory within the extracted folder:
cd android-studio/binNext, run the installer script using:
./studio.shThis command launches Android Studio’s setup wizard. Follow the prompts in the wizard to complete the installation process. You will be asked whether to import previous settings if you have used Android Studio before; select accordingly.
Step 6: Complete the Setup Wizard
The setup wizard will guide you through several configuration options, including selecting a UI theme and choosing which components of Android SDK you want to install. It is generally advisable to install all recommended SDK components for full functionality.
Post-Installation Configuration
Configuring Android SDK
After completing the setup wizard, open Android Studio and go to “File” > “Settings” > “Appearance & Behavior” > “System Settings” > “Android SDK.” Here, you can manage SDK platforms and tools according to your development needs. Ensure that you download at least one SDK platform for building applications.
Creating a Desktop Entry
If you want easy access to Android Studio from your desktop environment, create a desktop entry. This can usually be done during installation; however, if it wasn’t created automatically, follow these steps:
- Create a new file named
android-studio.desktop. - Add the following content:
[Desktop Entry]
Version=1.0
Type=Application
Name=Android Studio
Icon=/path/to/android-studio/bin/studio.png
Exec=/path/to/android-studio/bin/studio.sh
Comment=Android Studio IDE
Categories=Development;IDE;
Terminal=false
StartupWMClass=android-studio
This entry allows you to launch Android Studio from your application menu or desktop environment easily.

Troubleshooting Common Issues
If you encounter issues during or after installation, consider these common problems and their solutions:
- Error: Unable to find JDK:
Ensure that JDK is correctly installed and that your JAVA_HOME environment variable points to it. - Error: Out of memory:
If Android Studio runs slowly or crashes due to insufficient memory, consider increasing your system’s RAM or adjusting memory settings in Android Studio. - Error: SDK not found:
If you cannot find SDKs after installation, revisit “File” > “Settings” > “Android SDK” and ensure that at least one SDK platform is downloaded. - Error: Missing libraries:
Sometimes additional libraries may be required. Check for missing dependencies in your terminal output during launch.
Congratulations! You have successfully installed Android Studio. Thanks for using this tutorial for installing the Android Studio on your AlmaLinux 9 system. For additional help or useful information, we recommend you check the official Android Studio website.