In this tutorial, we will show you how to install Ant Media Server on Ubuntu 20.04 LTS. In today’s digital landscape, video streaming has become an integral part of our lives, whether it’s for entertainment, education, or business purposes. As the demand for video content continues to grow, the need for reliable and scalable video streaming solutions has never been more crucial. Ant Media Server, a powerful open-source platform, has emerged as a popular choice for those looking to build and deploy their own video streaming applications.
This article assumes you have at least basic knowledge of Linux, know how to use the shell, and most importantly, you host your site on your own VPS. The installation is quite simple and assumes you are running in the root account, if not you may need to add ‘sudo‘ to the commands to get root privileges. I will show you the step-by-step installation of the Ant Media Server on Ubuntu 20.04 (Focal Fossa). You can follow the same instructions for Ubuntu 18.04, 16.04, and any other Debian-based distribution like Linux Mint.
Prerequisites
- A server running one of the following operating systems: Ubuntu 20.04, 18.04, 16.04, and any other Debian-based distribution like Linux Mint.
- It’s recommended that you use a fresh OS install to prevent any potential issues.
- A
non-root sudo useror access to theroot user. We recommend acting as anon-root sudo user, however, as you can harm your system if you’re not careful when acting as the root.
Install Ant Media Server on Ubuntu 20.04 LTS Focal Fossa
Step 1. To begin, make sure your system packages are up-to-date by running the following commands:
sudo apt update
sudo apt upgrade
Step 2. Installing Ant Media Server on Ubuntu 20.04.
Now we download the Ant media community version installer from the official website:
wget https://github.com/ant-media/Ant-Media-Server/releases/download/ams-v2.9.0/ant-media-server-community-2.9.0.zip
Next, download the Ant media script installer from the official website:
wget https://raw.githubusercontent.com/antmedia/Scripts/master/install_ant-media-server.sh
Then, give the bash script permission before execution, Use the following command below:
chmod 755 install_ant-media-server.sh
Finally, execute the downloaded script by using the following command:
./install_ant-media-server.sh ant-media-server-*.zip true
Once this is done, to get Ant Media Service status, You need to use the given commands:
sudo systemctl status antmedia.service
Step 3. Configure Firewall.
If you are running a firewall on the system, you need to allow in your firewall by using the commands:
sudo ufw allow 1935
sudo ufw allow 5080
sudo ufw allow 5443
sudo ufw allow 5554
Step 4. Accessing Ant Media Web Interface.
Once successfully installed, you can access the Ant Media web panel by using the given URL access:
http://your-ip-adddress:5080
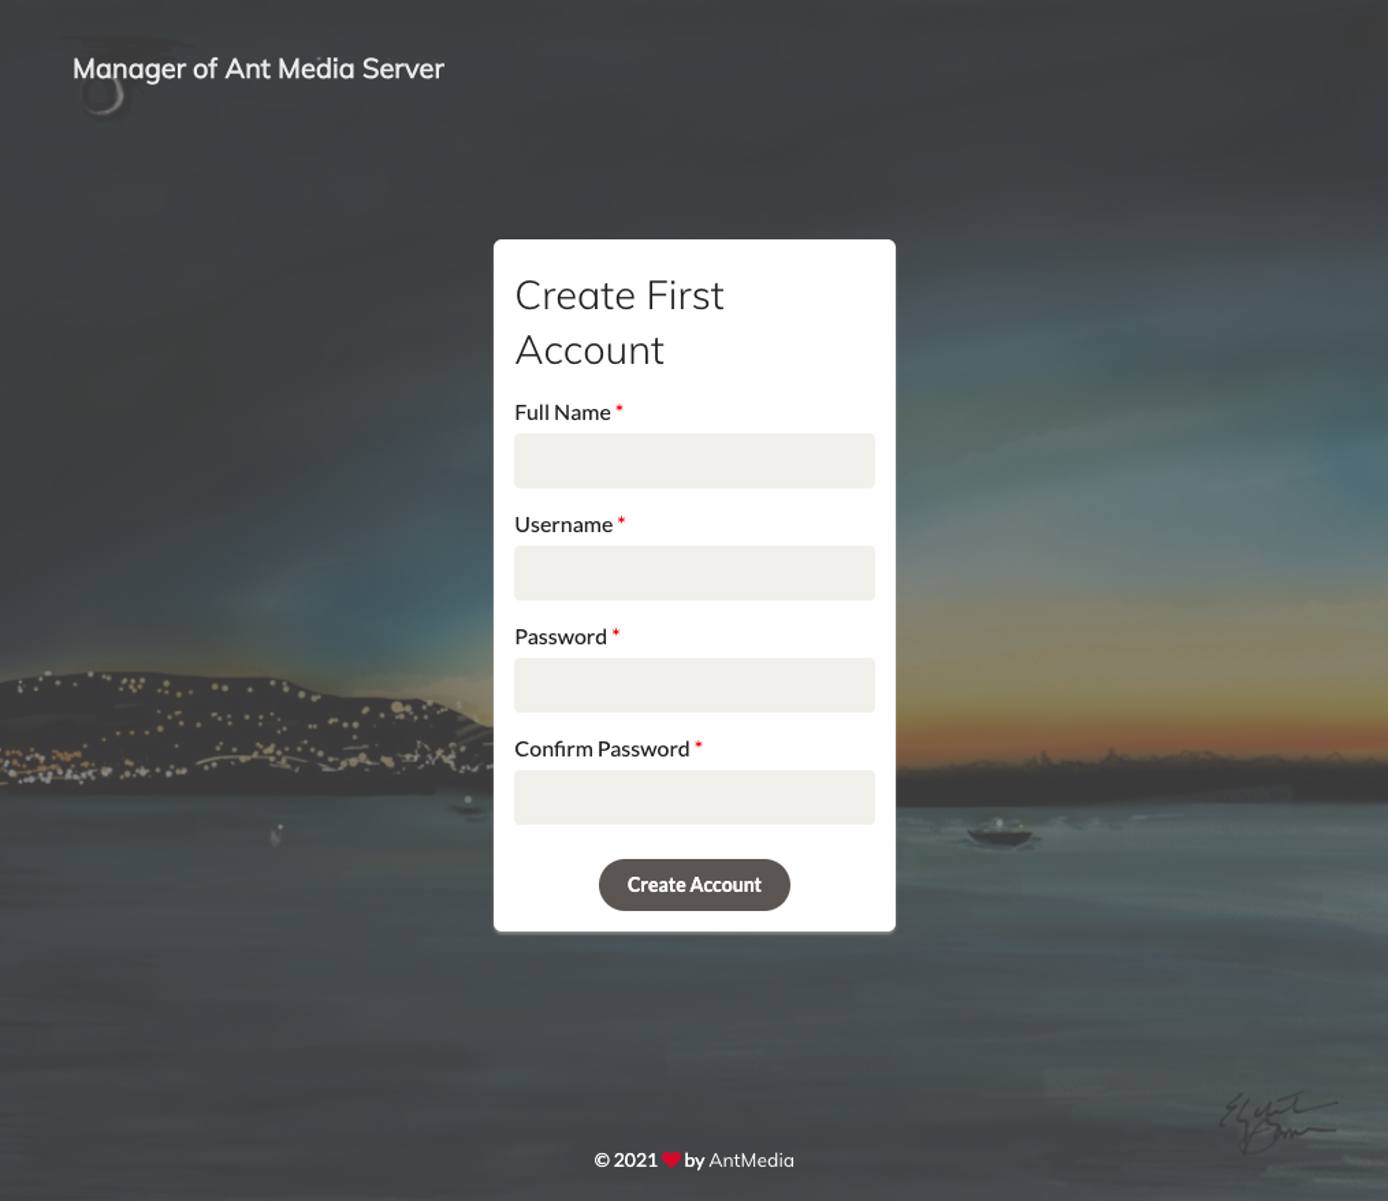
Now create an Admin user account in Ant Media Panel, By default you need to create a user the first time accessing the URL, The Screenshot is given below:

Congratulations! You have successfully installed Ant Media. Thanks for using this tutorial for installing the Ant Media Server on your Ubuntu 20.04 LTS Focal Fossa system. For additional help or useful information, we recommend you check the official Ant Media website.