How To Install Apache Airflow on AlmaLinux 9

Apache Airflow is an open-source platform designed to programmatically author, schedule, and monitor workflows. It has become a favorite among data engineers and analysts for its flexibility and scalability in managing complex data pipelines. Installing Apache Airflow on AlmaLinux 9 can enhance your workflow management capabilities, allowing you to orchestrate tasks efficiently. This guide provides a comprehensive, step-by-step approach to installing Apache Airflow on AlmaLinux 9, ensuring you have all the necessary tools and configurations for a successful setup.
Prerequisites
Before diving into the installation process, it’s essential to ensure that your system meets the necessary prerequisites. This section outlines the required system specifications and software components.
System Requirements
- Minimum Hardware Specifications:
- 2 GB of RAM (4 GB recommended)
- 2 CPU cores (4 cores recommended)
- 10 GB of free disk space
- Recommended Software Versions:
- Python 3.6 or higher
- Pip 20.0 or higher
- AlmaLinux 9 (or compatible)
AlmaLinux Setup
Ensure that AlmaLinux 9 is installed and updated. You can check your current version and update your system with the following commands:
cat /etc/os-release
sudo dnf update -y
Step 1: Update Your System
Keeping your system updated is crucial for security and performance. Run the following command to ensure all packages are up to date:
sudo dnf update
This command will refresh your package manager’s repository information and install any available updates.
Step 2: Install Required Dependencies
Apache Airflow requires several dependencies to function correctly. This step involves installing Python, pip, and additional libraries necessary for Airflow.
Install Python and Pip
First, check if Python is already installed on your system:
python3 --version
If Python is not installed, you can install it using the following command:
sudo dnf install python3 python3-pip -y
Install Additional Libraries
A few additional libraries are required for Apache Airflow to operate smoothly. Install these libraries by running:
sudo dnf install gcc libffi-devel python3-devel openssl-devel -y
This command installs essential development tools and libraries that Apache Airflow relies on.
Step 3: Set Up a Virtual Environment
A virtual environment allows you to manage dependencies for different projects separately. This step is crucial for maintaining a clean workspace.
Creating a Virtual Environment
Create a virtual environment specifically for Apache Airflow:
python3 -m venv airflow_venv
source airflow_venv/bin/activate
The `source` command activates the virtual environment, ensuring that any packages you install will be contained within this environment.
Step 4: Install Apache Airflow
The next step involves installing Apache Airflow using pip. It’s important to use constraints for reproducible installations.
Using Pip to Install Airflow
You can specify the version of Apache Airflow you wish to install along with any extras you may need. For example, if you want to use PostgreSQL as your backend database, use the following commands:
AIRFLOW_VERSION=2.10.3
PYTHON_VERSION="$(python -c 'import sys; print(f"{sys.version_info.major}.{sys.version_info.minor}")')"
CONSTRAINT_URL="https://raw.githubusercontent.com/apache/airflow/constraints-${AIRFLOW_VERSION}/constraints-${PYTHON_VERSION}.txt"

pip install "apache-airflow[postgres]==${AIRFLOW_VERSION}" --constraint "${CONSTRAINT_URL}"
This command installs Apache Airflow along with PostgreSQL support while adhering to the specified constraints for compatibility.
Step 5: Configure Airflow
After installation, you need to configure Apache Airflow before starting it up.
Setting AIRFLOW_HOME
The default home directory for Apache Airflow is `~/airflow`. You can change this by setting the `AIRFLOW_HOME` environment variable:
export AIRFLOW_HOME=~/airflow
This command sets the home directory where all of your configurations and logs will be stored.
Initializing the Database
The next step is to initialize the database that Airflow will use to store metadata:
airflow db init
This command creates the necessary tables in the database, allowing Airflow to function correctly.
Step 6: Start Airflow Services
Your installation is nearly complete! Now it’s time to start the web server and scheduler services.
Starting the Web Server and Scheduler
You can start both services using the following commands in separate terminal windows or tabs:
airflow webserver --port 8080
airflow scheduler
The web server will run on port 8080 by default, allowing you to access the user interface through your web browser.
Accessing the Airflow UI
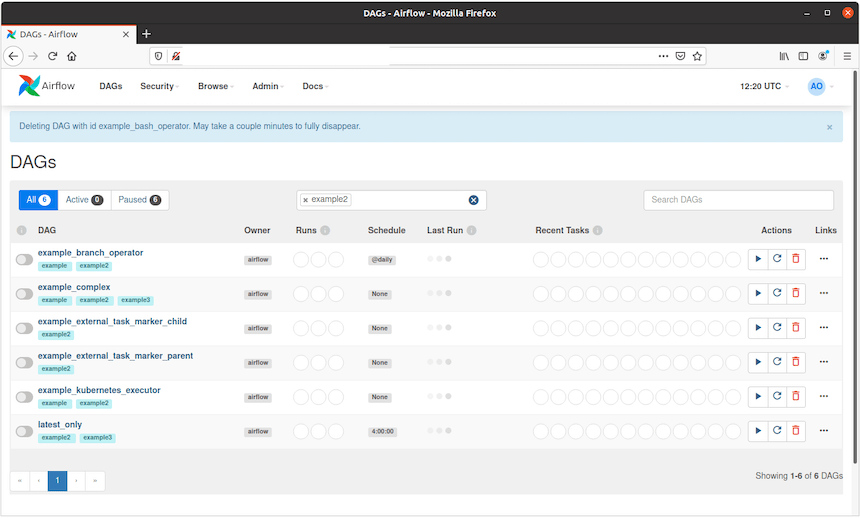
You can access the Apache Airflow user interface by navigating to http://localhost:8080. The default login credentials are typically set as follows:
- User: admin
- Password: admin
You should change these credentials after your first login for security purposes.

Step 7: Verify Installation
Your installation of Apache Airflow should now be complete. To verify everything is functioning correctly, check that both the web server and scheduler are running without errors.
Check Installed Components
- Status Check:
- You should see logs in your terminal indicating that both services are running.
- If you encounter issues, check logs located in your `
AIRFLOW_HOME/logs` directory for troubleshooting information.
- Troubleshooting Common Issues:
- If you cannot access the UI, ensure that no firewall rules are blocking port 8080.
- If there are database connection errors, verify that PostgreSQL is running and accessible from your environment.
Congratulations! You have successfully installed Apache Airflow. Thanks for using this tutorial for installing the Apache Airflow workflows management tool on AlmaLinux 9 system. For additional help or useful information, we recommend you check the official Apache Airflow website.