How To Install Apache on Rocky Linux 9

In this tutorial, we will show you how to install Apache on Rocky Linux 9. For those of you who didn’t know, Apache HTTP Server is one of the most popular and widely-used web servers in the world, serving as a robust, open-source solution for delivering web content on Rocky Linux systems. It’s a free and cross-platform web server software released under the Apache License 2.0, designed to provide secure, efficient, and extensible HTTP services.
Key Features and Capabilities
Apache HTTP Server offers numerous advanced features that make it suitable for enterprise and personal use:
- Loadable Dynamic Modules for extending functionality
- Static File Handling and auto-indexing capabilities
- Content Negotiation and .htaccess configuration support
- IPv6 and HTTP/2 Compatibility for modern web standards
- Compression, Bandwidth Throttling, and FTP Support
- Built-in Scripting Support, Load Balancing, and Session Tracking
- URL Rewriting and Geolocation Based on IP Address
This article assumes you have at least basic knowledge of Linux, know how to use the shell, and most importantly, you host your site on your own VPS. The installation is quite simple and assumes you are running in the root account, if not you may need to add ‘sudo‘ to the commands to get root privileges. I will show you the step-by-step installation of the Apache web server on Rocky Linux. 9.
Prerequisites
- A server running one of the following operating systems: Rocky Linux 9.
- It’s recommended that you use a fresh OS install to prevent any potential issues.
- SSH access to the server (or just open Terminal if you’re on a desktop).
- A
non-root sudo useror access to theroot user. We recommend acting as anon-root sudo user, however, as you can harm your system if you’re not careful when acting as the root.
Install Apache on Rocky Linux 9
Step 1. Update Your AlmaLinux system.
The first step is to update your system to the latest version of the package list. To do so, run the following commands:
sudo dnf check-update
sudo dnf install dnf-utils
Step 2. Installing Apache on Rocky Linux 9.
By default, Apache is available on Rocky Linux 9 base repository. Now run the following command below to install the latest stable of Apache to your system:
sudo dnf install httpd
By default, after the Apache installation successfully completed, the httpd service should be up and running. To be certain, we need to start it again:
sudo systemctl enable httpd --now
sudo systemctl status httpd
Step 3. Configure Firewall.
We assumed that you installed firewalld from the requirements. Now add new firewalld rules to allow HTTP, HTTPS traffic, and open port 80 on your server:
sudo firewall-cmd --permanent --add-service=http
sudo firewall-cmd --permanent --add-service=https
sudo firewall-cmd --reload
Confirm the new firewall rules:
sudo firewall-cmd --permanent --list-all
Step 4. Test Apache Web Server.
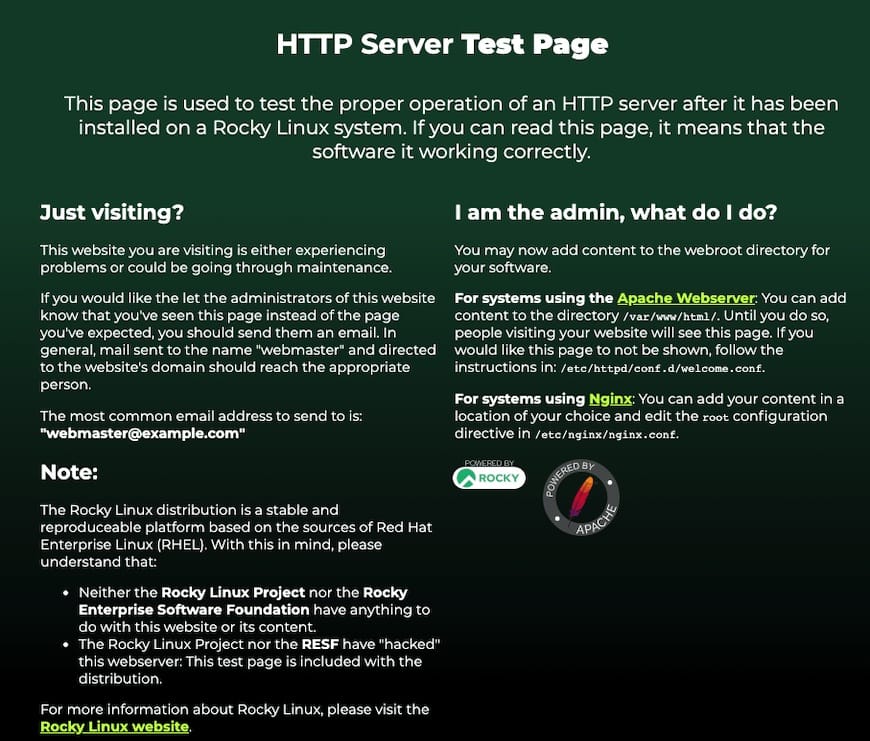
Now we check the Apache test page if it’s working by entering your domain name or IP address on the browser.
http://your-IP-address
You should see a page similar to this:

Congratulations! You have successfully installed Apache. Thanks for using this tutorial for installing the Apache HTTP server on your Rocky Linux 9 system. For additional help or useful information, we recommend you check the official Apache website.