In this tutorial, we will show you how to install Apache Solr on CentOS 8. For those of you who didn’t know, Apache Solr is an open-source search platform written on Java. It is based on Apache Lucene and is written in Java. Just like Elasticsearch, it supports database queries through REST APIs. Solr aims at providing distributed indexing, replication, and load-balanced querying with automated failover and recovery.
This article assumes you have at least basic knowledge of Linux, know how to use the shell, and most importantly, you host your site on your own VPS. The installation is quite simple. I will show you the step-by-step installation of Apache Solr in CentOS 8.
Prerequisites
- A server running one of the following operating systems: CentOS 8.
- It’s recommended that you use a fresh OS install to prevent any potential issues.
- SSH access to the server (or just open Terminal if you’re on a desktop).
- A
non-root sudo useror access to theroot user. We recommend acting as anon-root sudo user, however, as you can harm your system if you’re not careful when acting as the root.
Install Apache Solr on CentOS 8
Step 1. First, let’s start by ensuring your system is up-to-date.
sudo dnf install epel-release
sudo dnf update
Step 2. Installing Java on CentOS 8.
Currently, there are two LTS versions of OpenJDK – OpenJDK 8 and OpenJDK 11. You can also install both Java versions on any system and use them as per your requirements.
- Installing OpenJDK 11.
sudo dnf install java-11-openjdk-devel
- Installing OpenJDK 8.
sudo dnf install java-1.8.0-openjdk-devel
Verify Java version:
java -version
Step 3. Installing Apache Solr on CentOS 8.
Now we download the latest version of Apache Solr from the Apache official website:
wget https://downloads.apache.org/lucene/solr/8.7.0/solr-8.7.0.tgz
Next, extract tar the file using the following command:
tar xzf solr-8.7.0.tgz solr-8.7.0/bin/install_solr_service.sh --strip-components=2
After that, use the extracted installation script to install Apache Solr on your CentOS system:
sudo bash ./install_solr_service.sh solr-8.7.0.tgz
It will start the installation, be patient until the process is complete. Apache Solr service is managed under systemd services. Use the following commands to Start, Stop and check the status of the Solr service:
sudo systemctl enable solr
sudo systemctl start solr
sudo systemctl status solr
Step 4. Configure Firewall.
If you use Firewall add a rule to allow access to Solr’s admin section and query Solr data:
sudo firewall-cmd --add-port=8983/tcp --permanent
sudo firewall-cmd --reload
Step 5. Accessing Apache Solr on CentOS.
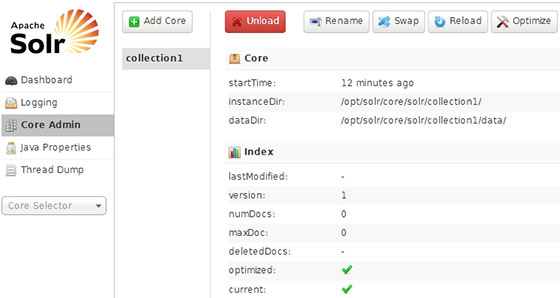
Apache Solr will be available on HTTP port 8983 by default. Access Solr dashboard in your web browser using server IP address or hostname with 8983 port:
http://your-server-ip:8983/solr

Congratulations! You have successfully installed Apache Solr. Thanks for using this tutorial for installing Apache Solr on your CentOS 8 system. For additional help or useful information, we recommend you check the official Apache Solr website.