In this tutorial, we will show you how to install Apache Solr on Debian 10. For those of you who didn’t know, Apache Solr is an open-source search platform written in Java. Solr aims at providing distributed indexing, replication, and load-balanced querying with automated failover and recovery.
This article assumes you have at least basic knowledge of Linux, know how to use the shell, and most importantly, you host your site on your own VPS. The installation is quite simple and assumes you are running in the root account, if not you may need to add ‘sudo‘ to the commands to get root privileges. I will show you the step-by-step installation of the Apache Solr on a Debian 10 (Buster).
Prerequisites
- A server running one of the following operating systems: Debian 10 (Buster).
- It’s recommended that you use a fresh OS install to prevent any potential issues.
- SSH access to the server (or just open Terminal if you’re on a desktop).
- A
non-root sudo useror access to theroot user. We recommend acting as anon-root sudo user, however, as you can harm your system if you’re not careful when acting as the root.
Install Apache Solr on Debian 10 Buster
Step 1. Before running the tutorial below, it’s important to make sure your system is up to date by running the following apt commands in the terminal:
sudo apt update
sudo apt install ca-certificates
Step 2. Installing Java.
Apache Solr requires Java to be installed. Run the following command to install it:
sudo apt install -y default-jdk
You can verify the Java installation using the following command:
java -version
Step 2. Installing Apache Solr on Debian 10.
Now we download the Apache Solr from its official site:
wget https://downloads.apache.org/lucene/solr/8.9.0/solr-8.9.0.tgz
Next, extract the downloaded file to set up the Solr environment:
tar xzf solr-8.9.0.tgz solr-8.9.0/bin/install_solr_service.sh --strip-components=2
sudo bash ./install_solr_service.sh solr-8.9.0.tgz
After that, to start and stop the Apache Solr service, run the following command:
sudo systemctl stop solr
sudo systemctl start solr
sudo systemctl status solr
Step 3. Create First Solr Collection.
Now we create the first collection in Apache Solr using the following command:
sudo su - solr -c "/opt/solr/bin/solr create -c mytestcollections -n data_driven_schema_configs"
Output:
Created new core 'mytestcollections'
Step 4. Configuration Firewall.
If you are using a firewall, please open port 8983 to enable access to the control panel:
sudo ufw allow from any to any port 8983 proto tcp
Step 5. Accessing Apache Solr Web Interface.
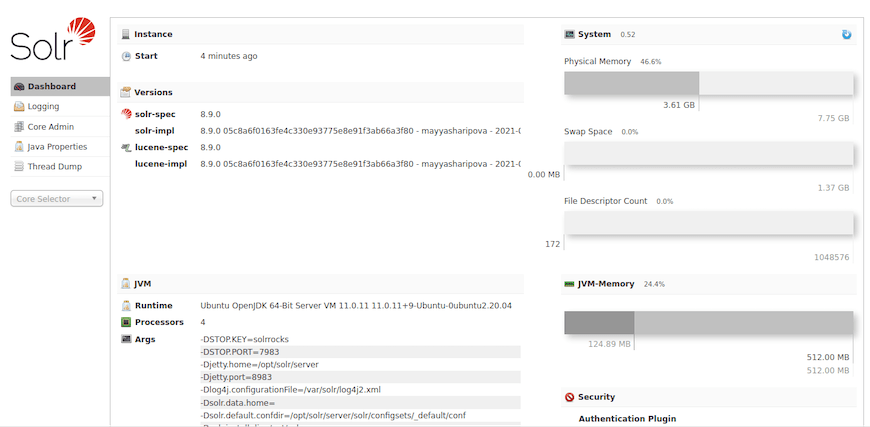
Apache Solr will be available on HTTP port 8983 by default. Open your favorite browser and navigate to http://your-domain.com:8983 or http://your-server-ip-address:8983.

Congratulations! You have successfully installed Apache Solr. Thanks for using this tutorial for installing the latest version of Apache Solr on the Debian system. For additional help or useful information, we recommend you check the official Apache website.