How To Install Apache Solr on Debian 12

In this tutorial, we will show you how to install Apache Solr on Debian 12. Apache Solr is a powerful open-source search platform built on Apache Lucene. It offers advanced full-text search capabilities, real-time indexing, and a wide range of features that make it an ideal choice for applications requiring fast and efficient search functionality.
This article assumes you have at least basic knowledge of Linux, know how to use the shell, and most importantly, you host your site on your own VPS. The installation is quite simple and assumes you are running in the root account, if not you may need to add ‘sudo‘ to the commands to get root privileges. I will show you the step-by-step installation of the Apache Solr on Debian 12 (Bookworm).
Prerequisites
Before proceeding with the installation of Apache Solr on Debian 12, ensure you meet the following requirements:
- A server running one of the following operating systems: Debian 12 (Bookworm).
- It’s recommended that you use a fresh OS install to prevent any potential issues.
- SSH access to the server (or just open Terminal if you’re on a desktop).
- An active internet connection. You’ll need an internet connection to download the necessary packages and dependencies.
- A user account with sudo privileges to execute administrative commands.
Install Apache Solr on Debian 12 Bookworm
Step 1. Before installing any packages, it’s crucial to update your system’s package list to ensure you have access to the latest versions. Open a terminal and run the following command:
sudo apt update
sudo apt upgrade
Step 2. Installing Java.
Apache Solr is written in Java, so the first step is to install a Java Development Kit (JDK) on your Debian 12 server. We recommend using OpenJDK 11, which is an open-source implementation of the Java platform. Now install OpenJDK 11 using the apt package manager:
sudo apt install openjdk-11-jdk
Verify the Java installation by checking the version:
java -version
Step 3. Installing Apache Solr on Debian 12.
Visit the official Apache Solr downloads page and copy the link to the latest stable release. At the time of writing, the latest version is 9.5.0:
wget https://dlcdn.apache.org/solr/solr/9.5.0/solr-9.5.0.tgz
Extract the downloaded tar.gz file:
tar xzf solr-9.5.0.tgz
Move into the extracted Solr directory:
cd solr-9.5.0
The Solr directory structure consists of the following key components:
- bin: Contains executable scripts for starting and managing Solr.
- contrib: Contains additional plugins and extensions for Solr.
- dist: Contains the main Solr JAR files and dependencies.
- docs: Contains Solr documentation.
- example: Contains example configurations and sample data.
- server: Contains the Solr server files and configurations.
To run Solr as a system service, we will use the install_solr_service.sh script provided in the Solr installation directory. Now navigate to the Solr installation script directory:
cd bin
Run the install_solr_service.sh script with the path to the Solr tar.gz file:
sudo ./install_solr_service.sh ../solr-9.5.0.tgz
This script performs the following actions:
- Creates a dedicated solr user and group for running Solr.
- Copies the Solr files to
/opt/solr-9.5.0. - Creates a symbolic link
/opt/solrpointing to the Solr installation directory. - Sets up an init script to manage the Solr service.
Once the installation script completes, start the Solr service:
sudo systemctl start solr
Verify that the Solr service is running:
sudo systemctl status solr
Step 4. Configure Firewall.
By default, Solr runs on port 8983. To access the Solr web interface from a remote machine, you need to allow incoming traffic on this port.
If you are using UFW (Uncomplicated Firewall) on your Debian 12 server, follow these steps to open port 8983:
sudo ufw allow 8983/tcp
sudo ufw reload
Step 5. Accessing the Apache Solr Web Interface
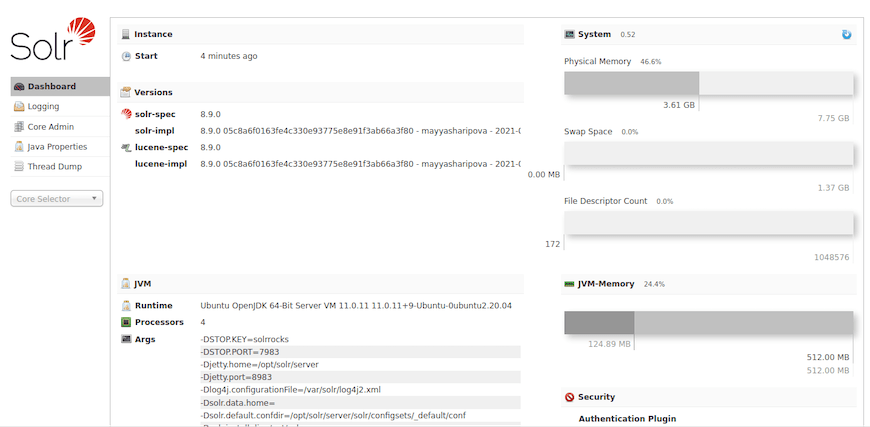
Now that Solr is installed and running, you can access its web interface to create and manage your search collections. Open a web browser and navigate to http://your_server_ip:8983/solr.

Congratulations! You have successfully installed Apache Solr. Thanks for using this tutorial to install the latest version of the Apache Solr on Debian 12 Bookworm. For additional help or useful information, we recommend you check the official Apache website.