![]()
In this tutorial, we will show you how to install Apache Solr on Rocky Linux 9. For those of you who didn’t know, Apache Solr is a popular, open-source search platform built on the Apache Lucene library. It was designed to provide full-text search, faceted search, and hit-highlighting capabilities for websites and applications. Solr uses the Lucene library to perform fast and efficient indexing, searching, and sorting of large volumes of data.
This article assumes you have at least basic knowledge of Linux, know how to use the shell, and most importantly, you host your site on your own VPS. The installation is quite simple and assumes you are running in the root account, if not you may need to add ‘sudo‘ to the commands to get root privileges. I will show you the step-by-step installation of Apache Solr on Rocky Linux. 9.
Prerequisites
- A server running one of the following operating systems: Rocky Linux 9.
- It’s recommended that you use a fresh OS install to prevent any potential issues.
- SSH access to the server (or just open Terminal if you’re on a desktop).
- An active internet connection. You’ll need an internet connection to download the necessary packages and dependencies for Apache Solr.
- A
non-root sudo useror access to theroot user. We recommend acting as anon-root sudo user, however, as you can harm your system if you’re not careful when acting as the root.
Install Apache Solr on Rocky Linux 9
Step 1. The first step is to update your system to the latest version of the package list. To do so, run the following commands:
sudo dnf check-update
sudo dnf install dnf-utils
Step 2. Installing Java.
Apache Solr is written in Java, so the first step is to install Java on your server. You can install the OpenJDK by running the following command:
sudo dnf install java-11-openjdk java-11-openjdk-devel
Verify the Java installation by running the following command:
java -version
For additional resources on installing Java, read the post below:
Step 3. Installing Apache Solr on Rocky Linux 9.
By default, Apache Solr is not available on Rocky Linux 9 AppStream repository. Now run the following command below to download the Apache Solr binary distribution from the official page on your Rocky Linux system:
cd /opt/
wget https://downloads.apache.org/lucene/solr/8.11.0/solr-8.11.0.tgz
Next, extract the installer script from the Solr package:
tar xzf solr-8.11.0.tgz solr-8.11.0/bin/install_solr_service.sh --strip-components=2
Then, run the installer script below to install Solr:
sudo bash ./install_solr_service.sh solr-8.11.0.tgz -i /opt -d /var/solr -u solr -s solr -p 8983
At this point, Apache Solr is running and listening on port 8983. You can check it with the following command:
ss -altnp | grep 8983
Output:
LISTEN 0      50     [::ffff:127.0.0.1]:7983            *:*    users:(("java",pid=3646,fd=46))
LISTEN 0      50                      *:8983            *:*    users:(("java",pid=3647,fd=136))
Now we kill the Solr process using the following command:
pkill java
kill -9 PID
Finally, reload the system manager to apply the new systemd service file:
sudo systemctl daemon-reload
sudo systemctl enable --now solr
Step 4. Setup Limits Open Files and Max Process for Solr User.
Now we set up the maximum processes and the maximum number of times the open file warnings by adding the below lines to the /etc/security/limits.conf file:
nano /etc/security/limits.conf
Copy and paste the following configuration to the bottom of the line:
solr   soft   nofile   65000
solr   hard   nofile   65000
solr   soft   nproc    65000
solr   hard   nproc    65000
Save and close the file, then verify the limits open file and max user processed using the following:
sudo -u solr ulimit -a
Then, restart Apache Solr using the following command below:
sudo systemctl restart solr
Step 5. Configure Firewall.
If you are using firewalld on your Rocky Linux system, then you will need to allow ports 8983 through the firewalld. You can allow them by running the following command below:
sudo firewall-cmd --add-port=8983/tcp --permanent
sudo firewall-cmd --reload
You can now list all firewalld ports using the following command:
firewall-cmd --list-ports
Step 6. Accessing Apache Solr Web Interface.
Once successfully installed, open your web browser and access the Apache Solr Web UI using the URL http://.your-IP-address:8983. You should see the following page:
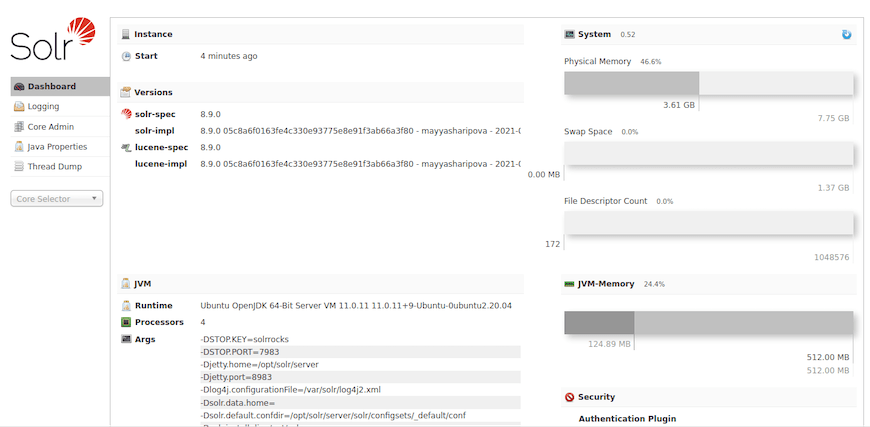
Congratulations! You have successfully installed Apache Solr. Thanks for using this tutorial for installing Apache Solr on your Rocky Linux 9 system. For additional help or useful information, we recommend you check the official Apache Solr website.
[su_box title=”VPS Manage Service Offer” style=”bubbles” box_color=”#000000″ radius=”10″]If you don’t have time to do all of this stuff, or if this is not your area of expertise, we offer a service to do “VPS Manage Service Offer”, starting from $10 (Paypal payment). Please contact us to get the best deal![/su_box]