How To Install Arduino on AlmaLinux 9

In this tutorial, we will show you how to install Arduino on AlmaLinux 9. Arduino is a combination of hardware and software components that work together to create a powerful development environment. The hardware consists of a microcontroller board, such as the Arduino Uno or Arduino Nano, which serves as the brain of your projects. These boards are equipped with various input and output pins, allowing you to connect sensors, actuators, and other peripherals. The software component, known as the Arduino Integrated Development Environment (IDE), provides a user-friendly interface for writing, compiling, and uploading code to the microcontroller board.
Running Arduino on AlmaLinux 9 provides several benefits. AlmaLinux 9 is known for its stability, security, and long-term support, ensuring a reliable environment for Arduino development. Additionally, Linux systems offer a vast ecosystem of open-source tools and libraries that can be seamlessly integrated with Arduino projects, expanding the possibilities for innovation and customization.
This article assumes you have at least basic knowledge of Linux, know how to use the shell, and most importantly, you host your site on your own VPS. The installation is quite simple and assumes you are running in the root account, if not you may need to add ‘sudo‘ to the commands to get root privileges. I will show you the step-by-step installation of the Arduino on AlmaLinux 9. You can follow the same instructions for CentOS and Rocky Linux or RHEL-based.
Prerequisites
- A server running one of the following operating systems: AlmaLinux 9.
- It’s recommended that you use a fresh OS install to prevent any potential issues.
- SSH access to the server (or just open Terminal if you’re on a desktop).
- An active internet connection. You’ll need an internet connection to download the necessary packages and dependencies.
- You’ll need root or sudo privileges to install Kitty Terminal and make system-wide changes. Make sure you have the necessary permissions before starting the installation process.
Install Arduino on AlmaLinux 9
Step 1. Update Your System.
Start by updating your AlmaLinux 9 system to ensure you have the latest packages and security patches. Open a terminal and run the following command:
sudo dnf clean all
sudo dnf update
These commands will update the package manager and upgrade all installed packages to their latest versions.
Step 2. Installing Necessary Dependencies.
Arduino IDE requires certain dependencies to function correctly. Install them using:
sudo dnf install java-11-openjdk-devel libusb zlib ncurses-libs xz-libs
Step 3. Configuring User Permissions.
If you want to run Arduino IDE as a regular user without requiring sudo privileges, you need to add your user to the dialout group. This group grants access to serial ports, which is necessary for communicating with Arduino boards. Run the following command, replacing <username> with your actual username:
sudo usermod -a -G dialout <username>
Step 4. Installing Arduino.
To download Arduino IDE, visit the official Arduino website. On the download page, you will find different versions of Arduino IDE available for various operating systems.
Alternatively, you can download the Arduino IDE package directly from the terminal using the wget command. Open a terminal and execute the following command, replacing <version> with the desired Arduino IDE version:
wget https://downloads.arduino.cc/arduino-<version>-linux64.tar.gz
For example, to download Arduino IDE version 1.8.19, the command would be:
wget https://github.com/arduino/arduino-ide/archive/refs/tags/2.3.2.tar.gz
Once the Arduino IDE package is downloaded and the dependencies are installed, you can proceed with running the installation script. First, extract the downloaded Arduino IDE package using the following command:
tar -xf arduino-<version>-linux64.tar.gz
Next, navigate to the extracted directory using the cd command:
cd arduino-<version>
Inside the Arduino directory, you will find an installation script named install.sh. To run this script and install Arduino IDE, execute the following command:
sudo ./install.sh
The installation script will prompt you for confirmation and guide you through the installation process. Follow the on-screen instructions and provide the necessary permissions when requested.
Once the installation is complete, you should see a success message indicating that Arduino IDE has been successfully installed on your AlmaLinux 9 system.
Step 5. Launching the Arduino IDE.
With Arduino IDE installed, you can now launch it from the terminal or create a desktop shortcut for easier access. To launch Arduino IDE from the terminal, simply type the following command:
arduino

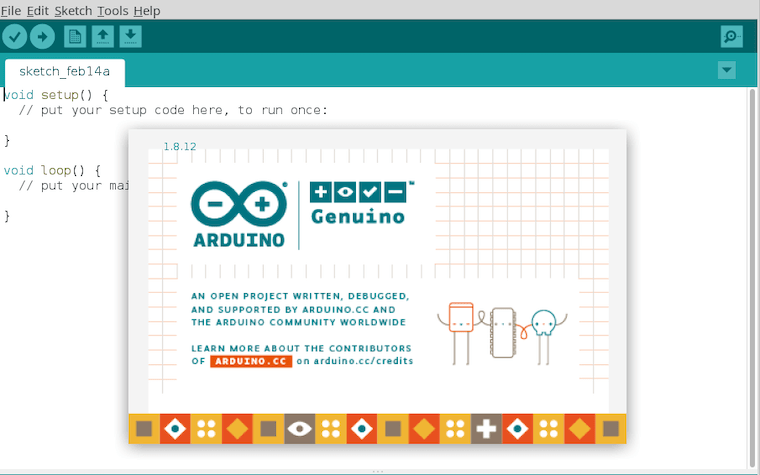
The Arduino IDE window will open, and you can start creating and editing your Arduino sketches.
To create a desktop shortcut, follow these steps:
sudo nano /usr/share/applications/arduino.desktop
Copy and paste the following content into the file:
[Desktop Entry]
Type=Application
Name=Arduino IDE
GenericName=Arduino IDE
Comment=Open-source electronics platform
Exec=arduino
Icon=arduino
Terminal=false
Categories=Development;IDE;Electronics;
Save the file and exit the text editor. The Arduino IDE shortcut should now appear in your desktop applications menu.
Congratulations! You have successfully installed Arduino. Thanks for using this tutorial for installing the Arduino on your AlmaLinux 9 system. For additional help or useful information, we recommend you check the official Arduino website.