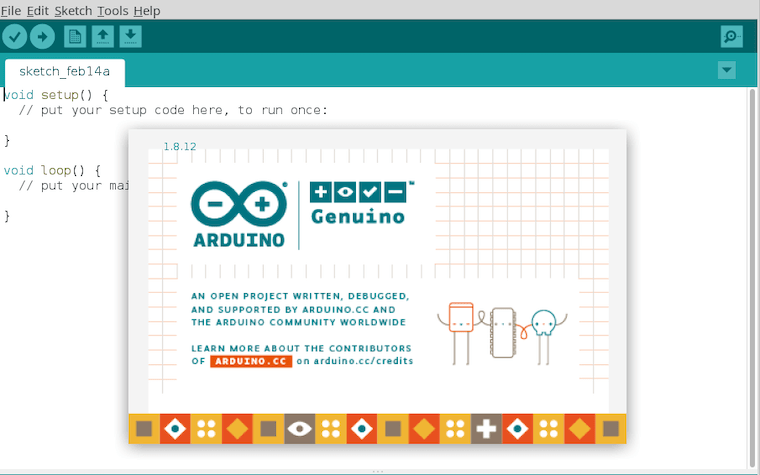
How To Install Arduino IDE on Fedora 39

In this tutorial, we will show you how to install Arduino IDE on Fedora 39. The Arduino Integrated Development Environment (IDE) is a software application that provides a platform for writing and uploading programs to Arduino boards. It contains a text editor for writing code, a message area, a text console, a toolbar with buttons for common functions, and a series of menus.
Programs written using Arduino Software (IDE) are called sketches. These sketches are written in the text editor and are saved with the file extension .ino. The message area gives feedback while saving and exporting and also displays errors. The console displays text output by the Arduino Software (IDE), including complete error messages and other information. The Arduino IDE supports both C and C++ languages, making it a versatile tool for developers. It’s open-source and easily available for download and installation, making it accessible to a wide range of users.
This article assumes you have at least basic knowledge of Linux, know how to use the shell, and most importantly, you host your site on your own VPS. The installation is quite simple and assumes you are running in the root account, if not you may need to add ‘sudo‘ to the commands to get root privileges. I will show you the step-by-step installation of the Arduino IDE on a Fedora 39.
Prerequisites
Before diving into the installation process, let’s ensure that you have everything you need:
- A server running one of the following operating systems: Fedora 39.
- It’s recommended that you use a fresh OS install to prevent any potential issues.
- You will need access to the terminal to execute commands. Fedora 39 provides the Terminal application for this purpose. It can be found in your Applications menu.
- A network connection or internet access to download the Arduino IDE packages.
- A
non-root sudo useror access to theroot user. We recommend acting as anon-root sudo user, however, as you can harm your system if you’re not careful when acting as the root.
Install Arduino IDE on Fedora 39
Step 1. Keeping your system updated is also crucial. You can update your Fedora system by running the following command in the terminal:
sudo dnf clean all
sudo dnf update
Additionally, you’ll need to install some dependencies. These include Java Development Kit (JDK) and other necessary libraries. Use the following command to install them:
sudo dnf install java-11-openjdk-devel
Step 2. Installing Arduino IDE on Fedora 39.
Flatpak is a universal package management system for Linux that allows you to install applications in an isolated environment. If Flatpak is not already installed on your Fedora system, you can install it using the following command:
sudo dnf install flatpak
Next, add the Flathub repository, which hosts a wide range of applications available for installation via Flatpak:
flatpak remote-add --if-not-exists flathub https://flathub.org/repo/flathub.flatpakrepo
With Flatpak set up, you can now install the Arduino IDE. Run the following command:
flatpak install flathub cc.arduino.arduinoide
After the installation is complete, verify it by running:
flatpak run cc.arduino.arduinoide
Step 3. Accessing Arduino IDE on Fedora.
You can launch the Arduino IDE from the command line using the same command used for verification. If you prefer a more convenient method, consider creating a desktop shortcut.
flatpak run cc.arduino.arduinoide

Congratulations! You have successfully installed Arduino. Thanks for using this tutorial for installing the Arduino IDE on your Fedora 39 system. For additional or useful information, we recommend you check the official Arduino website.