How To Install Arduino IDE on Ubuntu 22.04 LTS

In this tutorial, we will show you how to install Arduino IDE on Ubuntu 22.04 LTS. Arduino IDE (Integrated Development Environment) is a cross-platform application that enables users to write, debug, and upload code to Arduino boards. It offers a simplified coding experience, making it accessible to both beginners and experienced programmers. With Arduino IDE, you can take advantage of its rich set of features, including syntax highlighting, automatic code indentation, and a wide range of libraries and examples to kickstart your projects.
Choosing the right development environment is crucial for a smooth and efficient workflow. Arduino IDE stands out as the go-to choice for Arduino enthusiasts due to its simplicity, extensive community support, and compatibility with a wide range of Arduino boards. Whether you’re building a simple LED project or a complex IoT system, Arduino IDE provides the tools and resources you need to succeed.
This article assumes you have at least basic knowledge of Linux, know how to use the shell, and most importantly, you host your site on your own VPS. The installation is quite simple and assumes you are running in the root account, if not you may need to add ‘sudo‘ to the commands to get root privileges. I will show you the step-by-step installation of the Arduino IDE (Integrated Development Environment) on Ubuntu 22.04 (Jammy Jellyfish). You can follow the same instructions for Ubuntu 22.04 and any other Debian-based distribution like Linux Mint, Elementary OS, Pop!_OS, and more as well.
Prerequisites
- A server running one of the following operating systems: Ubuntu 22.04, 20.04, and any other Debian-based distribution like Linux Mint.
- It’s recommended that you use a fresh OS install to prevent any potential issues.
- SSH access to the server (or just open Terminal if you’re on a desktop).
- A
non-root sudo useror access to theroot user. We recommend acting as anon-root sudo user, however, as you can harm your system if you’re not careful when acting as the root.
Install Arduino IDE on Ubuntu 22.04 LTS Jammy Jellyfish
Step 1. Before installing Arduino IDE, it’s essential to prepare your Ubuntu 22.04 LTS system by updating it and installing the necessary dependencies.
sudo apt update
sudo apt upgrade
sudo apt install wget apt-transport-https gnupg2 build-essential
Step 2. Installing Java Runtime Environment (JRE).
Arduino IDE requires Java to run. Install the default JRE by executing the following command:
sudo apt install default-jre
Step 3. Installing Arduino IDE on Ubuntu 22.04.
By default, Arduino IDE is available on the Ubuntu 22.04 base repository. Now run the following command below to install the latest stable version of Arduino IDE to your Ubuntu system:
sudo apt install arduino
Using the APT method is convenient and straightforward, as it automatically handles the installation process and dependencies. However, it may not always provide the latest version of the Arduino IDE, as the package repository may not be updated immediately after a new release.
Step 4. Accessing Arduino IDE on Ubuntu 22.04.
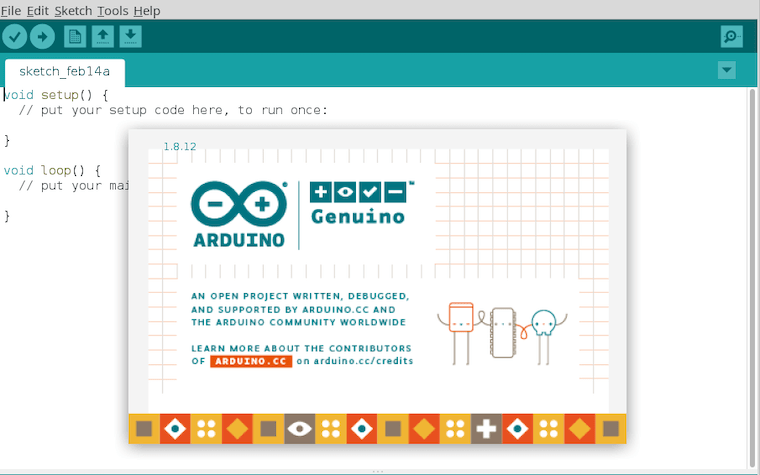
Once successfully installed on your Ubuntu system, run the following path on your desktop to open the path: Activities -> Show Applications -> Arduino IDE or launching it through the terminal with the command shown below:
arduino

Congratulations! You have successfully installed Arduino IDE. Thanks for using this tutorial for installing Arduino IDE (Integrated Development Environment) on the Ubuntu 22.04 LTS Jammy Jellyfish system. For additional help or useful information, we recommend you check the official Arduino website.