How To Install Atom Text Editor on Debian 12

Atom, developed by GitHub, is a powerful and versatile text editor that has gained popularity among developers worldwide. As a modern programmer working on Debian 12, having a reliable and feature-rich text editor is crucial for productivity and efficient coding. This comprehensive guide will walk you through the process of installing Atom on your Debian 12 system, exploring various methods and providing valuable insights to ensure a smooth setup experience.
What is Atom Text Editor?
Atom is an open-source, cross-platform text editor known for its flexibility and extensibility. It offers a wide range of features that cater to developers’ needs, including:
- Syntax highlighting for numerous programming languages
- Smart autocompletion
- File system browser
- Multiple panes for side-by-side editing
- Find and replace functionality
- Package manager for easy extension installation
- Customizable themes and layouts
Compared to other text editors like Sublime Text or Visual Studio Code, Atom stands out with its high degree of customization and active community support. Its integration with Git and GitHub makes it an excellent choice for developers who frequently use version control systems.
System Requirements
Before proceeding with the installation, ensure that your Debian 12 system meets the following requirements:
- Debian 12 (Bookworm) or later
- 64-bit processor
- Minimum 4GB RAM (8GB recommended)
- At least 500MB of free disk space
- Internet connection for downloading packages
While Atom can run on systems with lower specifications, these requirements ensure optimal performance, especially when working with larger projects or multiple files simultaneously.
Preparation Steps
To ensure a smooth installation process, follow these preparation steps:
- Update your system packages:
sudo apt update sudo apt upgrade - Install necessary dependencies:
sudo apt install software-properties-common apt-transport-https wget
These steps will ensure that your system is up-to-date and has the required tools for adding new repositories and downloading packages.
Installation Methods
There are three primary methods to install Atom on Debian 12:
- Via APT Repository
- Using Flatpak
- From Source
Each method has its advantages and considerations. We’ll explore each option in detail to help you choose the most suitable approach for your needs.
Method 1: Installing Atom via APT Repository
Installing Atom through the APT repository is the most straightforward method for Debian users. Follow these steps:
- Add the Atom repository to your system:
wget -qO - https://packagecloud.io/AtomEditor/atom/gpgkey | sudo apt-key add - sudo sh -c 'echo "deb [arch=amd64] https://packagecloud.io/AtomEditor/atom/any/ any main" > /etc/apt/sources.list.d/atom.list' - Update the package lists:
sudo apt update - Install Atom:
sudo apt install atom - Verify the installation:
atom --version
This method ensures that you receive automatic updates for Atom through your system’s package manager, making it easier to maintain and keep the software up-to-date.
Method 2: Installing Atom using Flatpak
Flatpak is a universal package management system that allows you to install applications across different Linux distributions. To install Atom using Flatpak:
- Install Flatpak if it’s not already on your system:
sudo apt install flatpak - Add the Flathub repository:
flatpak remote-add --if-not-exists flathub https://flathub.org/repo/flathub.flatpakrepo - Install Atom via Flatpak:
flatpak install flathub io.atom.Atom - Run Atom:
flatpak run io.atom.Atom
The Flatpak method provides a sandboxed environment for Atom, which can be beneficial for system security and stability. However, it may have slightly slower startup times compared to the APT installation method.
Method 3: Installing Atom from Source
For advanced users who prefer more control over the installation process, building Atom from source is an option. Here’s how to do it:
- Install build dependencies:
sudo apt install git nodejs npm build-essential libx11-dev libxkbfile-dev libsecret-1-dev - Clone the Atom repository:
git clone https://github.com/atom/atom.git - Navigate to the cloned directory:
cd atom - Build Atom:
script/build - Install Atom:
sudo script/grunt install
Building from source allows you to have the latest development version of Atom and customize the build process. However, it requires more time and technical knowledge, and you’ll need to manually update Atom when new versions are released.
Launching and Configuring Atom
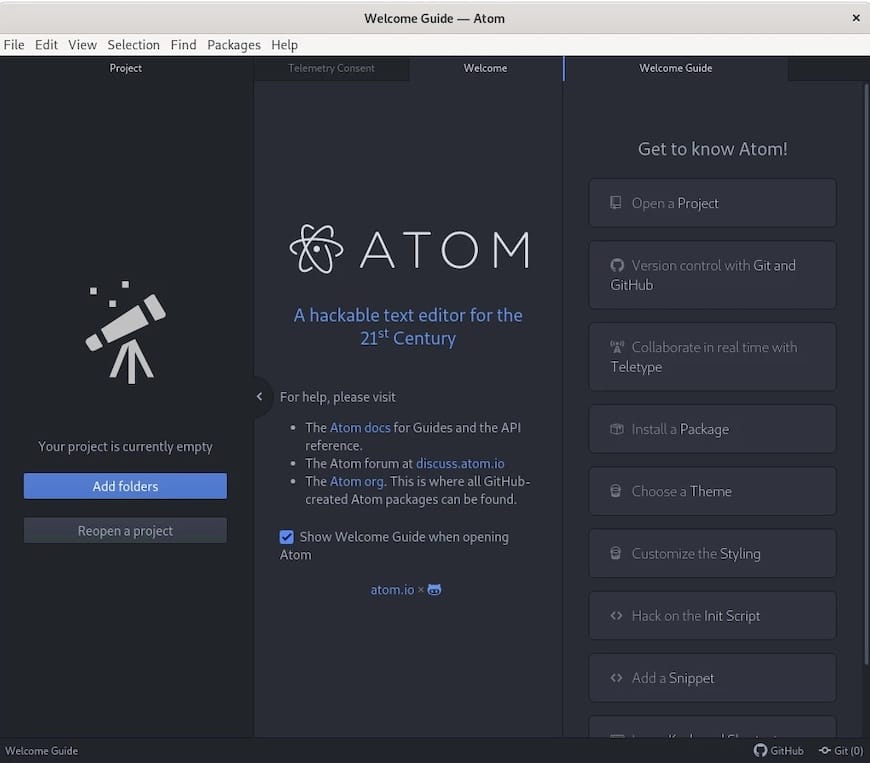
After installation, you can launch Atom by typing atom in the terminal or by finding it in your application menu. Upon first launch, you’ll be greeted with a welcome screen that introduces you to Atom’s features.
To configure Atom, navigate to Edit > Preferences (or use the shortcut Ctrl+,). Here, you can customize various settings, including:
- Theme and UI appearance
- Editor behavior (soft wrap, tab length, etc.)
- Keybindings
- Package settings
Take some time to explore these options and tailor Atom to your preferences for an optimal coding experience.

Popular Atom Packages for Developers
One of Atom’s strengths is its extensive package ecosystem. Here are some popular packages to enhance your development workflow:
- atom-beautify: Beautify your code for various languages
- minimap: Provides a preview of the full source code
- linter: Base package for linting your code
- file-icons: Adds file-specific icons to your project tree view
- autocomplete-plus: Enhances Atom’s autocomplete functionality
To install packages, go to Edit > Preferences > Install, search for the package name, and click “Install”. Alternatively, you can use the command line:
apm install package-nameRemember to choose packages that align with your development needs and programming languages.
Troubleshooting Common Installation Issues
If you encounter problems during the installation process, try these troubleshooting steps:
- Dependency issues: Ensure all required dependencies are installed by running:
sudo apt install -f - Permission errors: Make sure you have the necessary permissions to install software. Use
sudowhen required. - Repository problems: If you’re having issues with the APT repository, try removing and re-adding it:
sudo rm /etc/apt/sources.list.d/atom.list
sudo apt update
Then, follow the repository addition steps again.
If problems persist, consult the official Atom documentation or seek help on the Atom community forums.
Updating and Maintaining Atom
To keep Atom up-to-date:
- For APT installations:
sudo apt update sudo apt upgrade atom - For Flatpak installations:
flatpak update io.atom.Atom - For source installations, you’ll need to rebuild from the latest source code.
Regularly update your installed packages through Atom’s built-in package manager or by running:
apm updateUninstalling Atom
If you need to remove Atom from your system:
- For APT installations:
sudo apt remove atom sudo apt autoremove - For Flatpak installations:
flatpak uninstall io.atom.Atom - For source installations, remove the installed files (typically in
/usr/local/binand/usr/local/share/atom).
To remove configuration files and user data, delete the ~/.atom directory:
rm -rf ~/.atomCongratulations! You have successfully installed Atom. Thanks for using this tutorial for installing the latest version of the Atom Text Editor on Debian 12. For additional help or useful information, we recommend you to check the official Atom website.