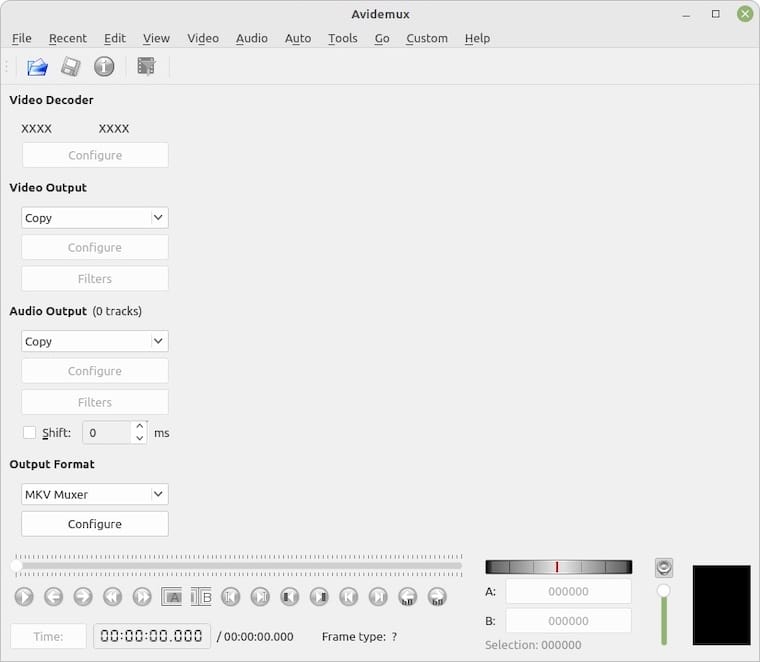
How To Install Avidemux on Linux Mint 21

In this tutorial, we will show you how to install Avidemux on Linux Mint 21. For those of you who didn’t know, Avidemux is a free and open-source video editor designed for simple cutting, filtering, and encoding tasks on Linux systems. Written in C++ and using Qt for its graphical user interface, Avidemux is intended as “a simple tool for simple video processing tasks” and allows users “to do elementary things in a very straightforward way”. It’s released under the GNU General Public License 2.0 or later and is specifically developed for Linux, macOS, and Windows, with unofficial builds available for FreeBSD, NetBSD, and OpenBSD.
Avidemux Features
- Video Editing Capabilities
Avidemux supports non-linear video editing, which allows users to edit specific portions of a video without altering the full sequence, making it efficient for precise cuts, stabilization, and clip-level modifications. The software can apply visual effects (called “Filters” in Avidemux) to video and transcode video into various formats. Many of these filters were ported from MPlayer and Avisynth.
- Audio Processing
The software excels at audio multiplexing (muxing) and demultiplexing (demuxing). Users can insert external audio streams into video files, which is useful for replacing audio or syncing new soundtracks with visuals. Additionally, users can extract audio streams from video files for separate processing, ideal for editing voice, music, or effects without affecting the visual track.
- Subtitle Support
Avidemux has built-in subtitle processing capabilities, including optical character recognition of DVD subtitles and rendering hard subtitles. It supports various subtitle formats, including MicroDVD (.SUB), SubStation Alpha (.SSA), Advanced SubStation Alpha (.ASS), and SubRip (.SRT).
- Scripting and Automation
An integral part of Avidemux’s design is its project system, which uses the SpiderMonkey JavaScript engine. Whole projects with all options, configurations, selections, and preferences can be saved into a project file. The software has advanced scripting available for both GUI and command-line interfaces, similar to VirtualDub’s VCF scripting abilities. Users can execute Python scripts containing Avidemux commands for batch processing, making it ideal for automation and headless server operations.
This article assumes you have at least basic knowledge of Linux, know how to use the shell, and most importantly, you host your site on your own VPS. The installation is quite simple and assumes you are running in the root account, if not you may need to add ‘sudo‘ to the commands to get root privileges. I will show you the step-by-step installation of an Avidemux on Linux Mint 21 (Vanessa).
Prerequisites
- A server running one of the following operating systems: Linux Mint 21 (Vanessa).
- It’s recommended that you use a fresh OS install to prevent any potential issues.
- SSH access to the server (or just open Terminal if you’re on a desktop).
- A
non-root sudo useror access to theroot user. We recommend acting as anon-root sudo user, however, as you can harm your system if you’re not careful when acting as the root.
Install Avidemux on Linux Mint 21 Vanessa
Step 1. Update Your Linux Mint 21 system.
Before running the tutorial below, it’s important to make sure your system is up to date by running the following apt commands in the terminal:
sudo apt update
sudo apt install software-properties-common apt-transport-https wget ca-certificates gnupg2
Step 2. Installing Avidemux on Linux Mint 21.
By default, Avidemux is not available on the Linux Mint 21 base repository. Now run the following command below to add Avidemux PPA to your Linux Mint system:
sudo gpg --no-default-keyring --keyring /usr/share/keyrings/xtradeb.gpg --keyserver keyserver.ubuntu.com --recv-keys 82BB6851C64F6880 >> /dev/null
Next, import the GPG key using the following command:
echo 'deb [signed-by=/usr/share/keyrings/xtradeb.gpg] https://ppa.launchpadcontent.net/xtradeb/apps/ubuntu jammy main' | sudo tee -a /etc/apt/sources.list.d/xtradeb.list
After that, update your system and you can install Avidemux on it with the help of the command shown below:
sudo apt update
sudo apt install avidemux*
Step 3. Accessing Avidemux on Linux Mint 21.
Once we finish with the installation, we will find Avidemux in the Mint menu, in the Sound & Video section or you can launch it through the terminal with the help of the command shown below:
avidemux

Congratulations! You have successfully installed Avidemux. Thanks for using this tutorial for installing the latest version of Avidemux on the Linux Mint system. For additional help or useful information, we recommend you check the official Avidemux website.