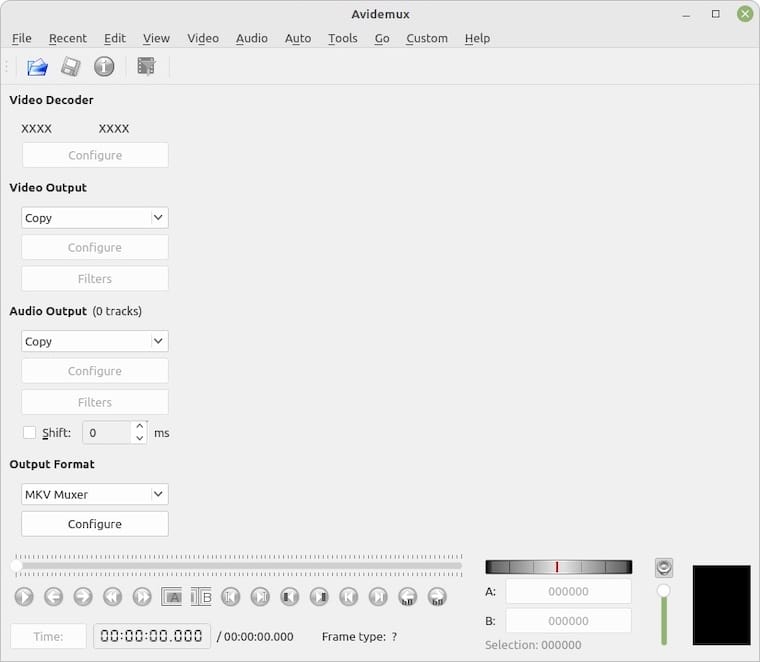
How To Install Avidemux on Ubuntu 24.04 LTS

Avidemux is a powerful, open-source video editing software that offers a wide range of features for cutting, filtering, and encoding tasks. It supports various file types, including AVI, DVD, MPEG, QuickTime, and MP4, making it a versatile tool for both beginners and advanced users. Ubuntu 24.04 LTS, the latest long-term support release of the popular Linux distribution, provides a stable and secure platform for running Avidemux. In this article, we will guide you through the process of installing Avidemux on Ubuntu 24.04 LTS, ensuring that you can start editing your videos with ease.
System Requirements
Before installing Avidemux on your Ubuntu 24.04 LTS system, it’s essential to ensure that your hardware meets the minimum requirements. Avidemux requires a 1 GHz processor, 512 MB of RAM, and at least 100 MB of free disk space. Additionally, make sure that your system has the necessary software dependencies, such as GTK+ 2.24 or later, and the latest graphics drivers for optimal performance.
Step 1: Update Ubuntu
Before installing any new software, it’s crucial to update your Ubuntu system to ensure that you have the latest security patches and bug fixes. To update your system, open a terminal and run the following commands:
sudo apt update && sudo apt upgradeThis command will refresh the package list and upgrade any outdated packages to their latest versions.
Step 2: Add Avidemux PPA
To install the latest version of Avidemux on Ubuntu 24.04 LTS, we will use a Personal Package Archive (PPA). A PPA is a third-party repository that contains software packages not included in the official Ubuntu repositories. To add the Avidemux PPA, run the following commands in your terminal:
sudo add-apt-repository ppa:xtradeb/apps
sudo apt update
These commands will add the Avidemux PPA to your system and update the package list to include the new repository.
Step 3: Install Avidemux
Now that the Avidemux PPA is added, you can proceed with the installation. To install Avidemux, run the following command in your terminal:
sudo apt install avidemux*This command will install Avidemux and all its associated packages. The asterisk (*) ensures that all Avidemux-related packages are installed, including plugins and extras. During the installation process, you may be prompted to confirm the installation by pressing ‘Y’ and then ‘Enter.’
Once the installation is complete, you can verify that Avidemux is successfully installed by checking its version. Run the following command:
avidemux --versionThis command will display the installed version of Avidemux, confirming that the installation was successful.
Step 4: Launching Avidemux
There are two ways to launch Avidemux on Ubuntu 24.04 LTS: through the terminal or the graphical user interface (GUI). To launch Avidemux from the terminal, simply run the following command:
avidemux &The ampersand (&) at the end of the command allows Avidemux to run in the background, freeing up the terminal for other tasks.
Alternatively, you can launch Avidemux from the GUI by clicking on the Ubuntu Applications menu, searching for “Avidemux,” and clicking on the Avidemux icon.

When launching Avidemux for the first time, you may want to configure its settings to suit your preferences. This includes setting the default language, choosing your preferred video and audio codecs, and customizing the user interface layout.
Step 5: Updating Avidemux
To ensure that you have the latest version of Avidemux with all the newest features, bug fixes, and security patches, it’s essential to keep the software updated. Since we installed Avidemux using a PPA, updating it is a straightforward process. Simply run the following commands in your terminal:
sudo apt update && sudo apt upgradeThese commands will update the package list and upgrade Avidemux to the latest version available in the PPA.
Step 6: Uninstalling Avidemux
If you no longer need Avidemux or want to remove it from your Ubuntu 24.04 LTS system, you can easily uninstall it using the following commands:
sudo apt remove --autoremove avidemux*
sudo add-apt-repository --remove ppa:xtradeb/apps
The first command removes Avidemux and all its associated packages, while the second command removes the Avidemux PPA from your system. This ensures a clean uninstallation and prevents any potential conflicts with future software installations.
Congratulations! You have successfully installed Avidemux. Thanks for using this tutorial for installing Avidemux video editing on Ubuntu 24.04 LTS system. For additional help or useful information, we recommend you check the official Avidemux website.