How To Install Bagisto on AlmaLinux 9

In this tutorial, we will show you how to install Bagisto on AlmaLinux 9. In today’s fast-paced digital world, launching an online store has never been easier. The choice of e-commerce platforms is vast, and one such platform that has garnered immense popularity is Bagisto. This open-source e-commerce solution offers flexibility, scalability, and an extensive set of features, making it an ideal choice for entrepreneurs and businesses.
This article assumes you have at least basic knowledge of Linux, know how to use the shell, and most importantly, you host your site on your own VPS. The installation is quite simple and assumes you are running in the root account, if not you may need to add ‘sudo‘ to the commands to get root privileges. I will show you the step-by-step installation of the Bagisto e-commerce platform on AlmaLinux 9. You can follow the same instructions for CentOS and Rocky Linux or RHEL-based.
Prerequisites
- A server running one of the following operating systems: AlmaLinux 9.
- It’s recommended that you use a fresh OS install to prevent any potential issues.
- SSH access to the server (or just open Terminal if you’re on a desktop).
- An active internet connection. You’ll need an internet connection to download the necessary packages and dependencies for Bagisto.
- A
non-root sudo useror access to theroot user. We recommend acting as anon-root sudo user, however, as you can harm your system if you’re not careful when acting as the root.
Install Bagisto on AlmaLinux 9
Step 1. Before diving into the installation process, ensure your AlmaLinux 9 system is up-to-date. Run the following commands in your terminal:
sudo dnf clean all
sudo dnf update
Step 2. Set Up a LAMP Stack.
Bagisto relies on the LAMP stack (Linux, Apache, MySQL, PHP). Let’s install and configure these components.
Install the Apache web server:
sudo dnf install httpd
Start and enable Apache to run on boot:
systemctl start httpd
systemctl enable httpd
Install the MySQL database server:
sudo dnf install mariadb-server mariadb
Start and enable MySQL:
systemctl start mariadb
systemctl enable mariadb
Bagisto requires PHP 7.4 or higher. Install PHP and necessary modules:
sudo dnf install php php-mysqlnd php-json php-zip php-gd php-mbstring php-curl php-xml php-bcmath php-json
To enhance Bagisto’s functionality, install additional PHP extensions:
sudo dnf install php-zip php-dom php-simplexml php-xml php-xmlreader php-xmlwriter
Step 3. Installing Bagisto on AlmaLinux 9.
Navigate to the webroot directory and download Bagisto. The latest release URL can be found on the official Bagisto GitHub repository:
cd /var/www/html
wget https://github.com/bagisto/bagisto/archive/refs/tags/v1.5.1.zip
unzip v1.5.1.zip
mv bagisto-1.5.1 bagisto
Next, create a .env file in the Bagisto directory and configure your database settings. Replace your_database, your_username, and your_password with your database information:
cd /var/www/html/bagisto
cp .env.example .env
nano .env
Update the following variables:
APP_URL=http://yourdomain.com
DB_CONNECTION=mysql
DB_HOST=127.0.0.1
DB_PORT=3306
DB_DATABASE=bagistodb
DB_USERNAME=bagistouser
DB_PASSWORD=your-strong-passwd
To ensure the web server can access and modify Bagisto files, set the correct permissions and ownership:
chown -R apache:apache /var/www/html/bagisto
chmod -R 755 /var/www/html/bagisto
Step 4. Create a Database for Bagisto.
Access the MySQL command-line interface and create a database for Bagisto:
mysql -u root -p
This will prompt you for a password, so enter your MariaDB root password and hit Enter. Once you are logged in to your database server you need to create a database for Bagisto installation:
MariaDB [(none)]> CREATE DATABASE bagistodb;
MariaDB [(none)]> CREATE USER 'bagistouser'@'localhost' IDENTIFIED BY 'your-strong-passwd';
MariaDB [(none)]> GRANT ALL ON bagistodb.* TO 'bagistouser'@'localhost' WITH GRANT OPTION;
MariaDB [(none)]> FLUSH PRIVILEGES;
MariaDB [(none)]> EXIT;
Step 5. Configure Bagisto.
Now, configure Bagisto by generating a key, seeding the database, and performing migrations:
php artisan key:generate
php artisan migrate
php artisan db:seed
Migrate the database tables and seed them with necessary data:
php artisan migrate --seed
Generate a unique application key:
php artisan key:generate
Step 6. Setting Up SSL for Secure Access.
To secure your Bagisto installation with SSL, we’ll use Let’s Encrypt and Certbot. First, install Certbot:
sudo dnf install certbot python3-certbot-apache
Use Certbot to obtain a free SSL certificate for your domain. Replace yourdomain.com with your actual domain:
certbot --apache -d yourdomain.com
Follow the on-screen prompts to configure your SSL certificate. Certbot will automatically configure Apache to use SSL.
To ensure your SSL certificate remains valid, set up automatic renewal:
certbot renew --dry-run
Step 7. Configure Firewall.
Your firewall must allow incoming traffic on ports 80 (HTTP) and 443 (HTTPS) for Apache. Update your firewall rules accordingly:
firewall-cmd --permanent --add-service=http
firewall-cmd --permanent --add-service=https
firewall-cmd --reload
Step 8. Access Bagisto via Web Browser.
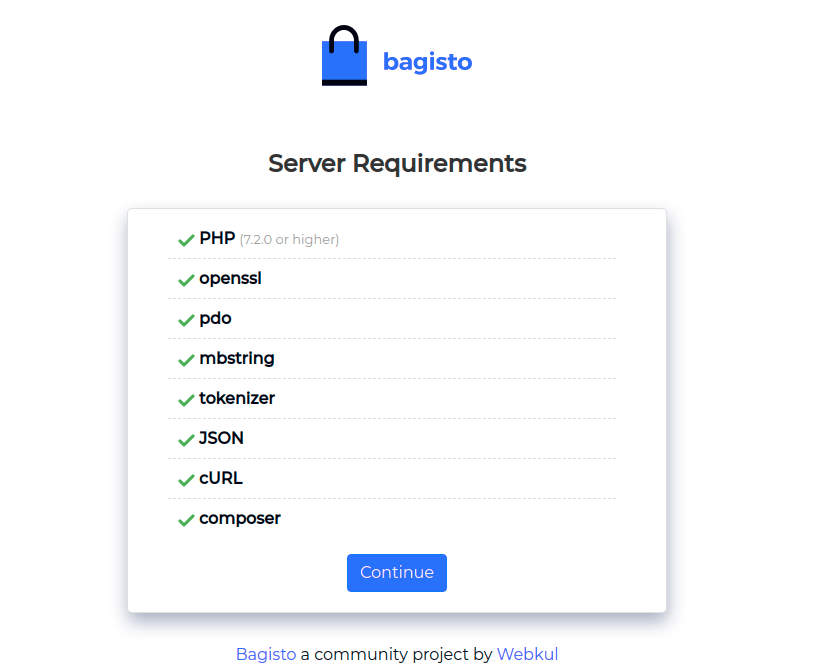
Open your web browser and navigate to your domain, for example, https://yourdomain.com. You should see the Bagisto setup wizard.

Congratulations! You have successfully installed Bagisto. Thanks for using this tutorial for installing the Bagisto e-commerce platform on your AlmaLinux 9 system. For additional help or useful information, we recommend you check the official Bagisto website.