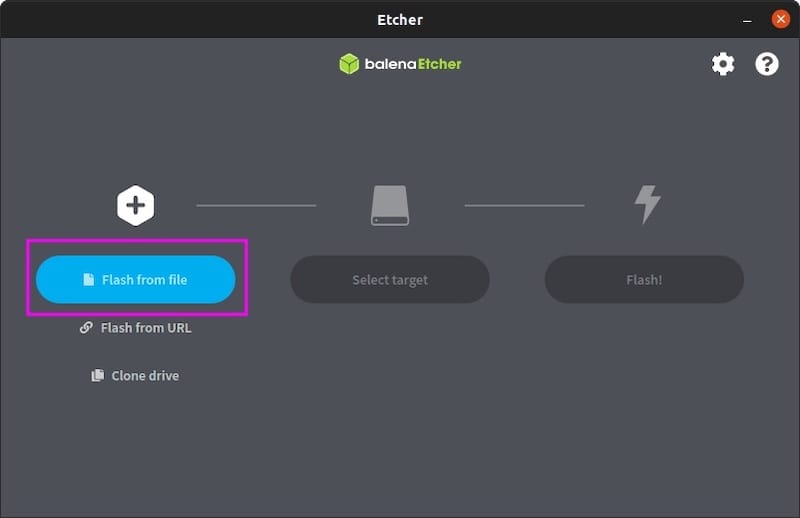
In this tutorial, we will show you how to install BalenaEtcher on Debian 11. For those of you who didn’t know, BalenaEtcher is a powerful open-source utility that allows you to create bootable USB drives from various operating system images, including Linux distributions, Windows installers, and even ARM-based images for devices like the Raspberry Pi. Whether you’re a developer, system administrator, or an enthusiast, having a reliable tool to create bootable media is essential.
This article assumes you have at least basic knowledge of Linux, know how to use the shell, and most importantly, you host your site on your own VPS. The installation is quite simple and assumes you are running in the root account, if not you may need to add ‘sudo‘ to the commands to get root privileges. I will show you the step-by-step installation of the BalenaEtcher on a Debian 11 (Bullseye).
Prerequisites
- A server running one of the following operating systems: Debian 11 (Bullseye).
- It’s recommended that you use a fresh OS install to prevent any potential issues.
- SSH access to the server (or just open Terminal if you’re on a desktop).
- A
non-root sudo useror access to theroot user. We recommend acting as anon-root sudo user, however, as you can harm your system if you’re not careful when acting as the root.
Install BalenaEtcher on Debian 11 Bullseye
Step 1. Keeping your system up-to-date is crucial for ensuring stability and security. Open a terminal and run the following commands to update the package lists and upgrade any existing packages:
sudo apt update
sudo apt upgrade
sudo apt install curl apt-transport-https
Step 2. Installing BalenaEtcher on Debian 11.
By default, BalenaEtcher is not available on the Debian 11 base repository. Now we add the official BalenaEtcher repository to your Debian system:
curl -1sLf 'https://dl.cloudsmith.io/public/balena/etcher/setup.deb.sh' | sudo -E bash
With the repository added, we can now proceed to install BalenaEtcher. Run the following commands to update the package lists and install BalenaEtcher:
sudo apt update
sudo apt install balena-etcher-electron
To verify the installation, you can run:
sudo apt-cache policy balena-etcher-electron
Step 3. Accessing BalenaEtcher on Debian.
After the installation is complete, you can launch BalenaEtcher from your desktop environment’s application launcher or by running the following command in the terminal:

Frequently Asked Questions
Does BalenaEtcher support creating bootable drives for all operating systems?
Yes, BalenaEtcher supports creating bootable drives for a variety of operating systems, including Linux, Windows, and macOS. It also supports creating bootable drives for Raspberry Pi and other embedded devices.
Can I create a bootable USB drive from an ISO file using BalenaEtcher?
Yes, you can create a bootable USB drive from an ISO file using BalenaEtcher. Simply select the ISO file in the BalenaEtcher interface, select the target drive, and click “Flash”.
Why do I get a “failed to write” error when using BalenaEtcher?
A “failed to write” error can occur if there is an issue with the USB drive or the disk image you are trying to write. Try using a different USB drive or disk image, or try formatting the USB drive before writing the disk image. You can also try using a different imaging tool to see if the issue persists.
Congratulations! You have successfully installed BalenaEtcher. Thanks for using this tutorial for installing the latest version of the BalenaEtcher on Debian 11 Bullseye. For additional help or useful information, we recommend you check the official BalenaEtcher website.