How To Install BalenaEtcher on Rocky Linux 9

In this tutorial, we will show you how to install BalenaEtcher on Rocky Linux 9. For those of you who didn’t know, BalenaEtcher is a free and open-source tool that is used to burn operating system images to a USB drive or SD card. It is available for Linux, Windows, and macOS, and is designed to be easy to use even for people who are not familiar with using command-line tools. BalenaEtcher works by flashing a disk image onto a USB drive or SD card, making it bootable and ready to be used to install an operating system on a computer. It is commonly used to install Linux distributions, but can also be used to install other operating systems, such as Windows or macOS. BalenaEtcher is known for its simplicity and reliability and is a popular choice among people looking to create bootable USB drives or SD cards.
This article assumes you have at least basic knowledge of Linux, know how to use the shell, and most importantly, you host your site on your own VPS. The installation is quite simple and assumes you are running in the root account, if not you may need to add ‘sudo‘ to the commands to get root privileges. I will show you the step-by-step installation of the BalenaEtcher on Rocky Linux. 9.
Prerequisites
- A server running one of the following operating systems: Rocky Linux 9.
- It’s recommended that you use a fresh OS install to prevent any potential issues.
- SSH access to the server (or just open Terminal if you’re on a desktop).
- A
non-root sudo useror access to theroot user. We recommend acting as anon-root sudo user, however, as you can harm your system if you’re not careful when acting as the root.
Install BalenaEtcher on Rocky Linux 9
Step 1. Update Your System.
Before installing BalenaEtcher, it’s crucial to ensure that your Rocky Linux 9 system is up to date. This helps prevent potential compatibility issues and ensures that you have the latest security patches and bug fixes. To update your system, open a terminal and run the following commands:
sudo dnf check-update
sudo dnf upgrade
Additionally, you’ll need to install the dnf-utils package, which provides additional utilities for managing packages in Rocky Linux. To install dnf-utils, open a terminal, and run the following command:
sudo dnf install dnf-utils
Step 2. Installing BalenaEtcher on Rocky Linux 9.
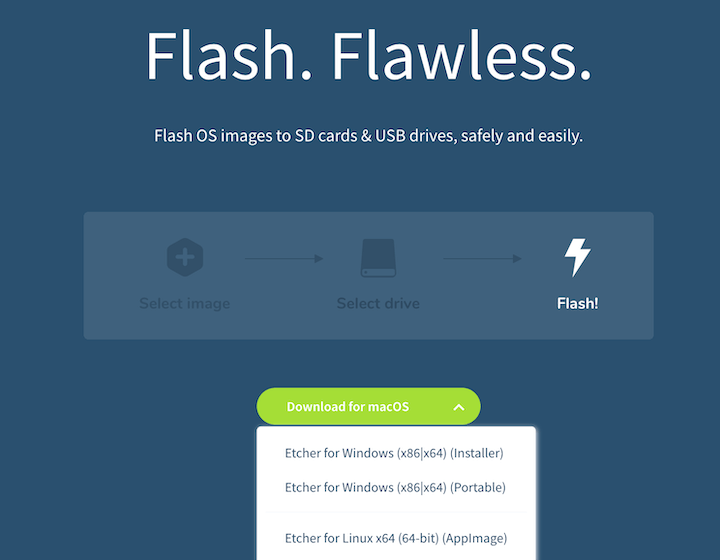
By default, BalenaEtcher is not available on Rocky Linux 9 base repository. Now navigate to the Etcher download page. Scroll down and select Etcher for Linux as shown below:

By default, the downloaded AppImage file may not have execute permissions. To make it executable, open a terminal, navigate to the directory containing the AppImage, and run the following command:
chmod u+x balenaEtcher-1.10.2-x64.AppImage
With the AppImage now executable, you can launch BalenaEtcher by running the following command in the terminal:
./balenaEtcher-1.10.2-x64.AppImage
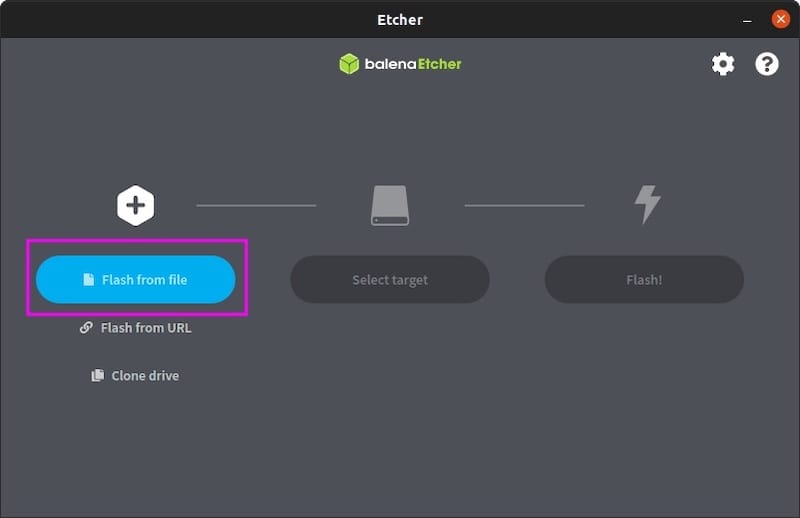
When the Etcher is open, select an image to burn, then select a target drive to save the image to, and then click Flash to start burning.

Congratulations! You have successfully installed BalenaEtcher. Thanks for using this tutorial for installing the BalenaEtcher on your Rocky Linux 9 system. For additional help or useful information, we recommend you check the official BalenaEtcher website.