How To Install Bitwarden on AlmaLinux 9

In today’s digital landscape, safeguarding your online accounts with strong, unique passwords is more crucial than ever. Bitwarden, a popular open-source password manager, provides a secure and user-friendly solution for managing your login credentials across various devices. AlmaLinux 9, a community-driven, RHEL-based operating system, offers a stable and reliable platform for hosting your own Bitwarden instance. In this comprehensive guide, we’ll walk you through the step-by-step process of installing Bitwarden on AlmaLinux 9, empowering you to take control of your password security.
Prerequisites
Before diving into the installation process, ensure that your AlmaLinux 9 system meets the following requirements:
- Processor: x64, 1.4GHz minimum
- Memory: At least 2GB RAM
- Storage: Minimum of 12GB available space
Additionally, you’ll need to have Docker and Docker Compose installed on your system. If you haven’t already, you can install these tools by following the official Docker documentation for AlmaLinux 9.
Lastly, ensure that ports 80 and 443 are open and accessible on your network to allow incoming connections to your Bitwarden instance.
Step-by-Step Installation Guide
Step 1: Update System and Install Dependencies
Begin by updating your AlmaLinux 9 system to ensure you have the latest packages and security patches installed. Open a terminal and run the following command:
sudo dnf update -yNext, install the necessary tools and dependencies required for the Bitwarden installation:
sudo dnf install curl wget -yStep 2: Install Docker and Docker Compose
To install Docker on AlmaLinux 9, run the following command:
sudo dnf install docker-ce docker-ce-cli containerd.io -yOnce the installation is complete, enable and start the Docker service:
sudo systemctl enable docker --nowVerify that Docker is installed and running correctly by executing:
docker versionStep 3: Create Bitwarden User and Directory
To enhance security and isolate the Bitwarden installation, create a dedicated user and directory. Run the following commands:
sudo adduser bitwarden
sudo passwd bitwarden
Add the newly created user to the Docker group to allow running Docker commands without sudo:
sudo usermod -aG docker bitwardenCreate a directory for the Bitwarden installation and assign ownership to the bitwarden user:
sudo mkdir /opt/bitwarden && sudo chown bitwarden:bitwarden /opt/bitwardenStep 4: Obtain Bitwarden Installation ID and Key
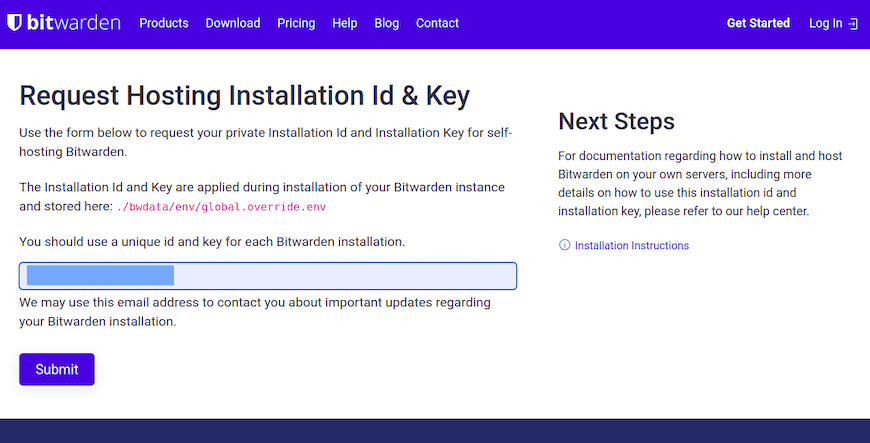
Visit the Bitwarden host page and sign up for a free account. Once logged in, navigate to the “Download” section and copy your unique Installation ID and Installation Key. Keep these credentials secure, as they will be required during the installation process.

Step 5: Download and Install Bitwarden
Switch to the bitwarden user and navigate to the installation directory:
su - bitwarden
cd /opt/bitwarden
Download the Bitwarden installation script using curl:
curl -Lso bitwarden.sh https://go.btwrdn.co/bw-sh && chmod +x bitwarden.shRun the installation script, providing your Installation ID and Key when prompted:
./bitwarden.sh installThe script will download and configure the necessary components for your Bitwarden installation.
Step 6: Configure Environment Variables
To customize your Bitwarden instance, edit the global.override.env file located in the /opt/bitwarden directory. This file allows you to configure SMTP settings for email notifications and specify your domain settings.
Open the file using a text editor:
nano global.override.envModify the necessary variables according to your requirements and save the changes.
Step 7: Start and Verify Bitwarden Installation
Start your Bitwarden instance using the installation script:
./bitwarden.sh startVerify that all containers are running properly by executing:
docker psYou should see a list of running containers, indicating that your Bitwarden installation is up and running.
Post-installation Configuration
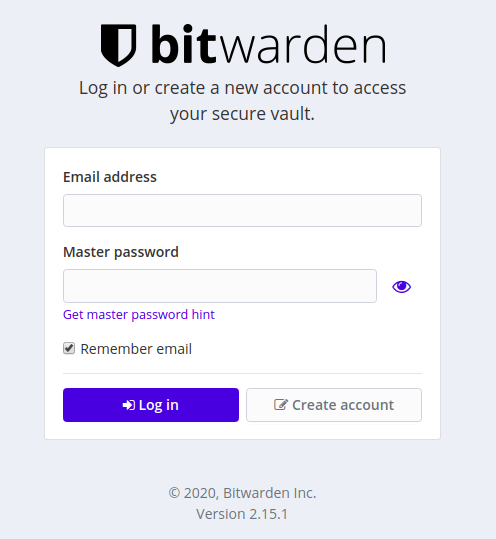
With your Bitwarden instance now installed and running, you can access the web interface by navigating to your server’s IP address or domain name in a web browser. You’ll be prompted to create an admin account and configure your security settings, such as two-factor authentication.

Take the time to familiarize yourself with the Bitwarden interface and explore the various features and settings available to customize your password management experience.
Troubleshooting Common Issues
If you encounter any issues during the installation process or while using Bitwarden on AlmaLinux 9, here are a few common problems and their solutions:
- SELinux-related issues: If you experience permission-denied errors or containers failing to start, ensure that SELinux is configured correctly. You may need to adjust SELinux policies or set it to permissive mode temporarily to troubleshoot the issue.
- Port conflicts: Double-check that ports 80 and 443 are not being used by other applications. If necessary, modify the port mappings in the
docker-compose.ymlfile to use alternative ports. - SSL certificate issues: If you encounter problems with SSL certificates, verify that your domain name is correctly configured and pointing to your AlmaLinux 9 server. Additionally, ensure that your SSL certificates are valid and properly installed.
Congratulations! You have successfully installed Bitwarden. Thanks for using this tutorial for installing the Bitwarden password manager on the AlmaLinux 9 system. For additional help or useful information, we recommend you check the Bitwarden website.