How To Install Bitwarden on Fedora 41

In today’s digital landscape, managing passwords securely is more crucial than ever. With numerous accounts across various platforms, a reliable password manager becomes essential. Bitwarden stands out as a popular choice due to its open-source nature, robust security features, and user-friendly interface. This article provides a comprehensive, step-by-step guide on how to install Bitwarden on Fedora 41, ensuring you can manage your passwords with ease and confidence.
Understanding Bitwarden
What is Bitwarden?
Bitwarden is an open-source password management solution designed to help users securely store and manage their passwords. Unlike many proprietary alternatives, Bitwarden allows users to access their source code, promoting transparency and trust. Key features include:
- Cross-platform compatibility (Windows, macOS, Linux, iOS, Android)
- Secure password sharing
- Two-factor authentication (2FA)
- Encrypted storage for sensitive data
Why Use Bitwarden?
Using Bitwarden offers numerous benefits:
- Security: With end-to-end encryption, your data is secure from unauthorized access.
- User Control: Being open-source means you can host your own server if desired.
- Community Support: A strong community continually contributes to its development and security audits.
Prerequisites for Installation
System Requirements
Before installing Bitwarden on Fedora 41, ensure your system meets the following requirements:
- A 64-bit processor
- A minimum of 1 GB RAM (2 GB recommended)
- A stable internet connection for downloading packages and updates
Software Dependencies
The installation of Bitwarden requires Docker and Docker Compose. These tools facilitate the deployment of applications in containers, ensuring a smooth installation process.
User Permissions
It is advisable to perform the installation using a non-root user account for security reasons. This practice minimizes risks associated with running applications with elevated privileges.
Step-by-Step Installation Guide
Step 1: Prepare the Environment
Update Fedora System
The first step in the installation process is updating your Fedora system to ensure all packages are current. Open a terminal and execute the following command:
sudo dnf updateInstall Required Packages
You will need to install Docker and Docker Compose. Run the following commands:
sudo dnf install docker
sudo dnf install docker-compose
After installation, start the Docker service and enable it to run at boot:
sudo systemctl start docker
sudo systemctl enable docker
Step 2: Create a Bitwarden User
Create a Dedicated User
Create a dedicated user for running Bitwarden to enhance security:
sudo adduser bitwardenAdd User to Docker Group
Add the newly created user to the Docker group to allow it to execute Docker commands without sudo:
sudo usermod -aG docker bitwardenStep 3: Download and Run the Installation Script
Download the Bitwarden Installation Script
The next step involves downloading the official Bitwarden installation script. Use the following command:
curl -Lso bitwarden.sh https://go.btwrdn.co/bw-shSet Permissions and Execute the Script
After downloading, set executable permissions on the script and run it:
chmod +x bitwarden.sh
./bitwarden.sh install
You will encounter prompts during installation where you need to provide information such as your domain name or IP address for accessing Bitwarden. If you plan to use SSL certificates (recommended), you can opt for Let’s Encrypt or provide your own.
Step 4: Start Bitwarden Service
Start the Bitwarden Service
Once installed, start the Bitwarden service with this command:
./bitwarden.sh startCheck Service Status
You can verify that the Bitwarden service is running correctly by executing:
docker psThis command lists all running containers; you should see an entry for Bitwarden if it has started successfully.
Step 5: Accessing the Bitwarden Web Interface
Accessing via Browser
You can now access your Bitwarden instance through a web browser using the following URL format:
https://your-server-ipCreate an Account
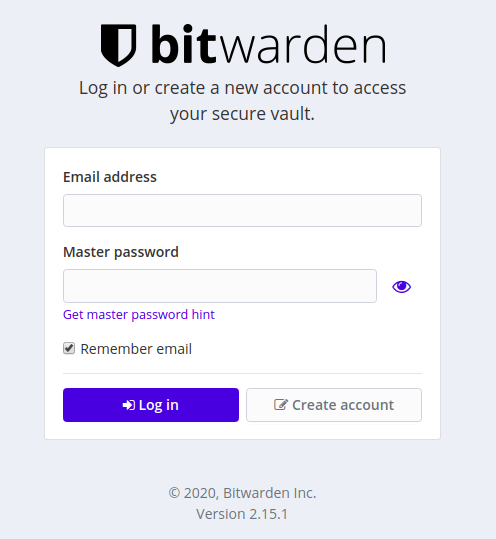
The first time you access the web interface, you will be prompted to create an account. Follow these steps:
- Select “Create Account.”
- Enter your email address and create a strong master password.
- Select “Submit” to finalize account creation.
Post-Installation Configuration
Configuring Environment Variables
You may want to customize certain settings for your Bitwarden instance. Edit the `global.override.env` file located in your Bitwarden directory. Use a text editor like nano or vim:
nano ./bwdata/env/global.override.envYou can configure settings such as email notifications, rate limiting, or enabling/disabling certain features based on your needs.
Setting Up Backups
A crucial aspect of managing any application is ensuring data integrity through regular backups. For Bitwarden, consider implementing automated backups of your database. You can use cron jobs or scripts that periodically back up your data directory.
Troubleshooting Common Issues
Common Errors During Installation
- Ssl Certificate Issues: If you encounter SSL errors during installation, ensure that port 80 (HTTP) is accessible from outside your network if using Let’s Encrypt.
- User Permission Errors: If you face permission errors while executing commands, ensure that you are logged in as the correct user (bitwarden) and that it has been added to the Docker group.
- Docker Not Running: If Docker fails to start or shows errors, check its status with:
sudo systemctl status docker
Congratulations! You have successfully installed Bitwarden. Thanks for using this tutorial for installing the Bitwarden open-source password management on your Fedora 41 system. For additional or useful information, we recommend you check the official Bitwarden website.
