How To Install Bitwarden on openSUSE

In this tutorial, we will show you how to install Bitwarden on openSUSE. Bitwarden is a powerful and feature-rich password manager that allows you to securely store and access your passwords, credit card details, and other sensitive information across multiple devices. By self-hosting the Bitwarden server, you gain complete control over your data, ensuring maximum privacy and security.
This article assumes you have at least basic knowledge of Linux, know how to use the shell, and most importantly, you host your site on your own VPS. The installation is quite simple and assumes you are running in the root account, if not you may need to add ‘sudo‘ to the commands to get root privileges. I will show you the step-by-step installation of the Bitwarden open-source password manager on openSUSE.
Prerequisites
- A server running one of the following operating systems: openSUSE (Leap or Tumbleweed)
- It’s recommended that you use a fresh OS install to prevent any potential issues.
- You will need access to the terminal to execute commands. openSUSE provides the Terminal application for this purpose. It can be found in your Applications menu.
- You’ll need an active internet connection to download Bitwarden and its dependencies.
- You’ll need administrative (root) access or a user account with sudo privileges.
Install Bitwarden on openSUSE
Step 1. Keeping your system up-to-date is a best practice for security and performance. Open your terminal and execute the following command to refresh your system’s package repository and upgrade all your installed packages to their latest versions:
sudo zypper refresh
sudo zypper update
Step 2. Installing Docker and Docker Compose.
Bitwarden leverages Docker and Docker Compose for easy installation and management. If you haven’t already installed these tools, follow these steps:
sudo zypper install docker docker-compose
Start and enable the Docker service:
sudo systemctl start docker
sudo systemctl enable docker
Verify that Docker is installed correctly by running:
docker --version
If the command outputs the Docker version, you’re all set to proceed with the Bitwarden installation.
Step 3. Creating a Bitwarden User and Directory.
It’s recommended to create a dedicated user and directory for running the Bitwarden server. This separation of concerns enhances security and makes it easier to manage the Bitwarden installation.
Create a new user named “bitwarden“:
sudo useradd -r -s /bin/false bitwarden
Create a directory for Bitwarden data and set the appropriate permissions:
sudo mkdir /opt/bitwarden
sudo chown bitwarden:bitwarden /opt/bitwarden
Add the “bitwarden” user to the “docker” group to allow running Docker commands:
sudo usermod -aG docker bitwarden
Step 4. Installing Bitwarden on openSUSE.
Bitwarden provides a convenient installation script that simplifies the setup process. Follow these steps to download and prepare the script:
cd /opt/bitwarden
Next, download the installation script:
sudo curl -Ls https://raw.githubusercontent.com/bitwarden/server/master/scripts/bitwarden.sh -o bitwarden.sh
Make the script executable:
sudo chmod +x bitwarden.sh
With the installation script ready, it’s time to run it and configure the Bitwarden server. The script will guide you through several prompts, allowing you to customize the installation according to your preferences. Run the installation script:
sudo ./bitwarden.sh install
During the installation process, you’ll be prompted to enter the following information:
- Domain name: Enter the domain name you want to use for accessing your Bitwarden instance (e.g., bitwarden.example.com).
- SSL certificate setup: Choose whether to use Let’s Encrypt for SSL certificate generation or provide your own certificate.
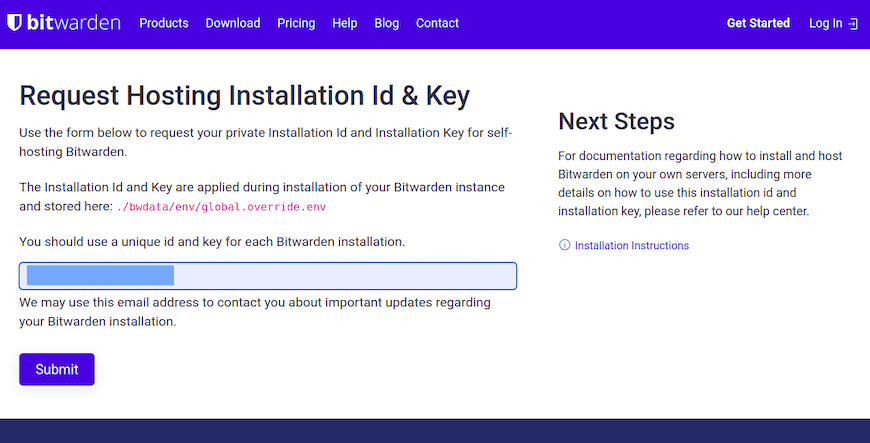
- Installation ID and key: Visit https://bitwarden.com/host and create a new installation to obtain the ID and key. Enter these values when prompted.

Step 5. Configuring Email Server (SMTP.
Bitwarden requires an email server (SMTP) to send user invitations, password reset emails, and other notifications. Follow these steps to configure the SMTP settings:
sudo nano /opt/bitwarden/env/global.override.env
Update the SMTP settings with your email provider’s information. Here’s an example for Gmail:
globalSettings__smtp__host=smtp.gmail.com
globalSettings__smtp__port=587
globalSettings__smtp__ssl=true
globalSettings__smtp__username=your.email@gmail.com
globalSettings__smtp__password=your_email_password
Save the file and restart the Bitwarden containers for the changes to take effect:
sudo docker restart bitwarden
Step 6. Accessing the Bitwarden Web UI.
With the Bitwarden server installed and configured, you can now access the web interface using the domain name you specified during the installation process.
- Open a web browser and navigate to
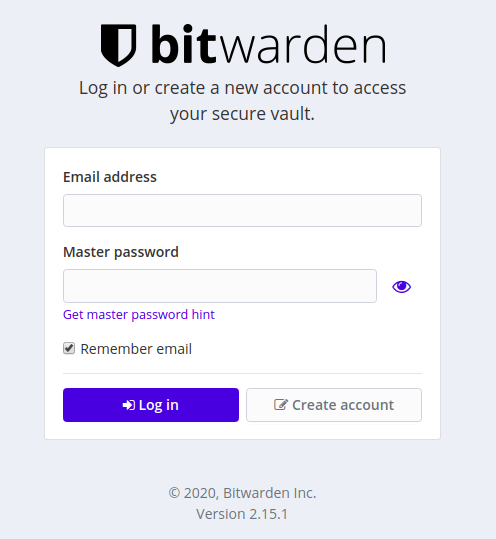
https://your-domain.com. - Log in using the email address and password you set up during the installation process.
- Upon successful login, you’ll be greeted by the Bitwarden web interface, where you can start managing your passwords and other sensitive data.
Step 7. Installing Bitwarden Client.
While the Bitwarden web interface is convenient, you may also want to install the Bitwarden client on your openSUSE system for a more seamless experience. There are two main methods for installing the Bitwarden client on openSUSE: using the AppImage or via the package manager.
To install the Bitwarden client using the AppImage:
- Visit the Bitwarden downloads page and download the latest AppImage for Linux.
- Make the AppImage executable:
chmod +x Bitwarden-*.AppImage
- Run the AppImage:
./Bitwarden-*.AppImage
- During the first run, the Bitwarden client will prompt you to connect to your self-hosted server. Enter the URL of your Bitwarden instance (e.g.,
https://bitwarden.example.com). - Log in with your Bitwarden account credentials, and you’re ready to start using the client.

Congratulations! You have successfully installed Bitwarden. Thanks for using this tutorial for installing the Bitwarden open-source password manager on your openSUSE system. For additional or useful information, we recommend you check the official Bitwarden website.