How To Install BookStack on Debian 12

In this tutorial, we will show you how to install BookStack on Debian 12. BookStack is a powerful open-source platform designed for organizing and storing information, notes, and documentation. If you’re looking to set up BookStack on your Debian 12 server using the Command Line Interface (CLI), you’re in the right place.
This article assumes you have at least basic knowledge of Linux, know how to use the shell, and most importantly, you host your site on your own VPS. The installation is quite simple and assumes you are running in the root account, if not you may need to add ‘sudo‘ to the commands to get root privileges. I will show you the step-by-step installation of BookStack on a Debian 12 (Bookworm).
Prerequisites
- A server running one of the following operating systems: Debian 12 (Bookworm).
- It’s recommended that you use a fresh OS install to prevent any potential issues.
- SSH access to the server (or just open Terminal if you’re on a desktop).
- Make sure your Debian 12 system is connected to the internet. An active connection is essential for downloading the required packages and updates during the installation.
- A
non-root sudo useror access to theroot user. We recommend acting as anon-root sudo user, however, as you can harm your system if you’re not careful when acting as the root.
Install BookStack on Debian 12 Bookworm
Step 1. Start by updating your system’s package list and upgrading installed packages to their latest versions. Use the following commands:
sudo apt update
sudo apt upgrade
This command updates the package list and upgrades the installed packages to their latest versions.
Step 2. Installing LAMP Stack.
Before you install BookStack, you need to set up a LAMP (Linux, Apache, MariaDB, PHP) stack on your Debian server.
Step 3. Configuring MariaDB.
In the next step, you will configure the MariaDB server installation using the mariadb-secure-installation utility, which allows you to set up basic security for MariaDB:
sudo mysql_secure_installation
Follow the on-screen prompts to set a root password, remove anonymous users, disallow remote root login, and remove the test database.
Create a dedicated database and user for BookStack by running the following commands:
mysql -u root -p
Enter your root password, then execute the following SQL commands:
CREATE DATABASE bookstack;
CREATE USER 'bookstack'@'localhost' IDENTIFIED BY 'your_strong_password';
GRANT ALL PRIVILEGES ON bookstack.* TO 'bookstack'@'localhost';
FLUSH PRIVILEGES;
EXIT;
Step 4. Installing Composer.
Composer is a dependency management tool for PHP that we’ll use to install and manage BookStack. Install Composer with the following commands:
php -r "copy('https://getcomposer.org/installer', 'composer-setup.php');"
php composer-setup.php --install-dir=/usr/local/bin --filename=composer
php -r "unlink('composer-setup.php');"
Step 5. Installing BookStack on Debian 12.
Now clone the BookStack Repository from GitHub:
cd /var/www/html
sudo git clone https://github.com/BookStackApp/BookStack.git
Move to the BookStack directory and configure the environment:
cd BookStack
cp .env.example .env
Edit the .env file with your preferred text editor:
sudo nano .env
Update the following settings with your MariaDB credentials:
DB_DATABASE=bookstack
DB_USERNAME=bookstack
DB_PASSWORD=your_strong_password
Save and exit the text editor, then install the required dependencies using Composer:
composer install
Generate the application key and migrate the database:
php artisan key:generate
php artisan migrate
Initialize BookStack by running:
php artisan bookstack:install
Follow the prompts to configure your BookStack instance, including setting up an administrator account and specifying your preferred email settings.
Step 6. Configuring Apache Virtual Host.
Create a new Apache virtual host configuration file for BookStack:
sudo nano /etc/apache2/sites-available/bookstack.conf
Add the following content, adjusting paths as needed:
<VirtualHost *:80>
ServerName your_domain_or_IP
DocumentRoot /var/www/html/BookStack/public
<Directory /var/www/html/BookStack/public>
Options Indexes FollowSymLinks
AllowOverride All
Require all granted
</Directory>
</VirtualHost>
Save and exit the text editor, then enable the new virtual host and restart Apache:
sudo a2ensite bookstack.conf
sudo systemctl restart apache2
Step 7. Set Up Let’s Encrypt for SSL.
To secure your BookStack instance with SSL, we recommend using Let’s Encrypt. Install Certbot and obtain an SSL certificate:
sudo apt install certbot python3-certbot-apache
sudo certbot --apache
Step 8. Setting Up Cron Jobs.
BookStack requires periodic tasks to maintain optimal performance. Create a cron job to automate these tasks:
sudo crontab -u www-data -e
Add the following line to the crontab file:
* * * * * php /var/www/html/BookStack/artisan schedule:run >> /dev/null 2>&1
Save and exit the text editor.
Step 9. Access the BookStack Web Interface.
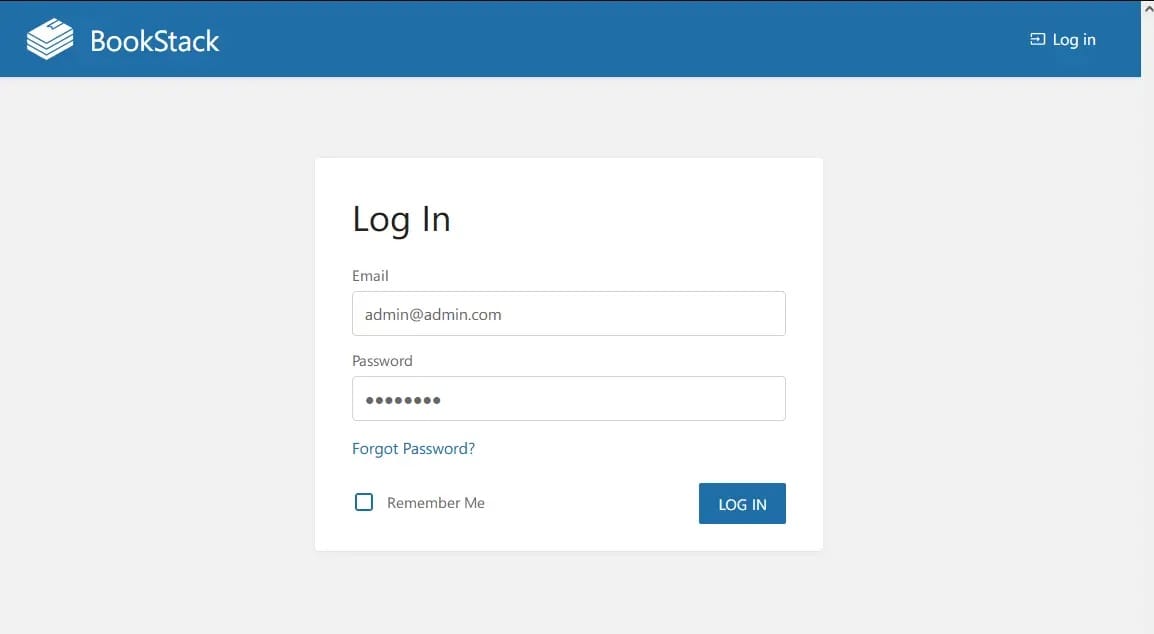
Open your web browser and navigate to your BookStack site (https://your_domain_or_IP). You should see the BookStack login page. Log in with the administrator account you created during the installation.

Congratulations! You have successfully installed BookStack. Thanks for using this tutorial to install the latest version of BookStack on Debian 12 Bookworm. For additional help or useful information, we recommend you check the official BookStack website.