How To Install Cacti on AlmaLinux 9

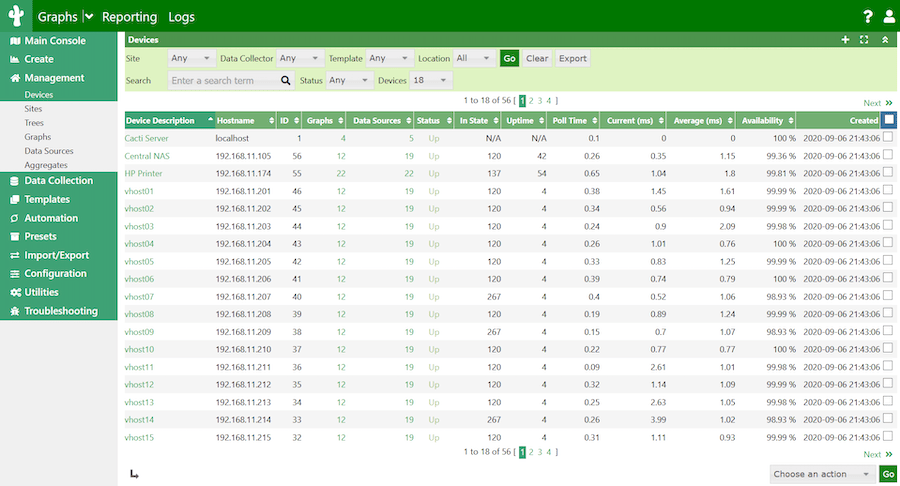
In this tutorial, we will show you how to install Cacti on AlmaLinux 9. Cacti is a powerful, open-source, web-based network monitoring and graphing tool designed as a front-end application for the open-source, industry-standard data logging tool RRDtool. Cacti harnesses the power of RRDtool’s data storage and graphing functionality, providing a fast poller, advanced graph templating, multiple data acquisition methods, and user management features out of the box. All of this is wrapped in an intuitive, easy-to-use interface that makes sense for LAN-sized installations up to complex networks with hundreds of devices.
This article assumes you have at least basic knowledge of Linux, know how to use the shell, and most importantly, you host your site on your own VPS. The installation is quite simple and assumes you are running in the root account, if not you may need to add ‘sudo‘ to the commands to get root privileges. I will show you the step-by-step installation of the Cacti on AlmaLinux 9. You can follow the same instructions for CentOS and Rocky Linux or RHEL-based.
Prerequisites
- A server running one of the following operating systems: AlmaLinux 9.
- It’s recommended that you use a fresh OS install to prevent any potential issues.
- SSH access to the server (or just open Terminal if you’re on a desktop).
- An active internet connection. You’ll need an internet connection to download the necessary packages and dependencies for Cacti.
- Cacti requires certain permissions that can only be granted to a superuser or a user with
sudoprivileges. Ensure that you have the necessary administrative access.
Install Cacti on AlmaLinux 9
Step 1. Before installing any new software, it’s good practice to update your system. Use the following command to update your AlmaLinux system:
sudo dnf clean all
sudo dnf update
Step 2. Installing Apache and PHP.
First, we need to install the Apache web server and PHP. Open your terminal and type the following commands:
sudo dnf install httpd php-mysqlnd php-cli php-gd php-ldap php-odbc php-pdo php-pear php-xml php-xmlrpc php-mbstring php-snmp
Once the installation is complete, start and enable the Apache service using:
sudo systemctl start httpd
sudo systemctl enable httpd
Step 3. Installing MySQL
Next, install the MySQL database server by executing the following command:
sudo dnf install mysql-server
Start and enable the MySQL service with these commands:
sudo systemctl start mysqld
sudo systemctl enable mysqld
After installing MySQL, secure your installation by running:
sudo mysql_secure_installation
Follow the prompts to set a root password and remove any insecure default settings.
Then, create a MySQL database and user for Cacti:
sudo mysql -u root -p
Enter the following commands to create the database, user, and grant the necessary privileges:
CREATE DATABASE cacti;
CREATE USER 'cactiuser'@'localhost' IDENTIFIED BY 'your_password';
GRANT ALL PRIVILEGES ON cacti.* TO 'cactiuser'@'localhost';
FLUSH PRIVILEGES;
EXIT;
Replace your_password with a strong, unique password.
Step 4. Installing Cacti on AlmaLinux 8.
Now, let’s download the latest version of Cacti from the official website:
cd /tmp
wget https://www.cacti.net/downloads/cacti-latest.tar.gz
Extract the downloaded tarball to the Apache web server’s document root:
sudo tar xzf cacti-latest.tar.gz -C /var/www/html/
sudo mv /var/www/html/cacti-* /var/www/html/cacti
Step 5. Configuring Cacti.
Configure the Cacti database by importing the cacti.sql file:
sudo mysql -u cactiuser -p cacti < /var/www/html/cacti/cacti.sql
Edit the Cacti configuration file to specify the database credentials:
sudo nano /var/www/html/cacti/include/config.php
Update the $database_* variables with the appropriate values:
$database_type = 'mysql';
$database_default = 'cacti';
$database_hostname = 'localhost';
$database_username = 'cactiuser';
$database_password = 'your_password';
$database_port = '3306';
$database_ssl = false;
Set appropriate permissions on Cacti’s directories:
sudo chown -R apache:apache /var/www/html/cacti
sudo chmod -R 755 /var/www/html/cacti
Add a line to the /etc/crontab file to schedule Cacti’s polling process:
echo "*/5 * * * * apache /usr/bin/php /var/www/html/cacti/poller.php > /dev/null 2>&1" | sudo tee -a /etc/crontab
Step 6. Completing Cacti Installation via Web UI.
Finally, Access the Cacti installer by navigating to http://your_server_ip/cacti in your web browser. Follow the on-screen prompts to complete the installation process, ensuring that all pre-installation checks pass successfully.

Congratulations! You have successfully installed Cacti. Thanks for using this tutorial for installing Cacti on your AlmaLinux 9 system. For additional help or useful information, we recommend you check the official Cacti website.