How To Install Cacti on CentOS Stream 10

In this tutorial, we will show you how to install Cacti on CentOS Stream 10. Cacti is a powerful open-source network monitoring and graphing tool that leverages the capabilities of RRDTool for data storage and visualization. This comprehensive guide will walk you through the process of installing Cacti on CentOS Stream 10, providing you with a robust solution for monitoring your network infrastructure.
Prerequisites
Before we dive into the installation process, ensure that you have the following:
- A CentOS Stream 10 server with root access or sudo privileges
- Minimum of 2 GB RAM and 20 GB disk space
- Basic knowledge of Linux commands and system administration
- A stable internet connection
System Preparation
To begin, we’ll update the system packages and install necessary dependencies. Open a terminal and execute the following commands:
sudo dnf update -y
sudo dnf install epel-release -y
sudo dnf install net-snmp net-snmp-utils rrdtool -y
These commands update your system, add the EPEL repository, and install SNMP and RRDTool, which are essential for Cacti’s operation.
Installing LAMP Stack
Cacti requires a web server, database, and PHP to function. We’ll install the LAMP (Linux, Apache, MySQL, PHP) stack:
1. Apache Web Server
sudo dnf install httpd -y
sudo systemctl start httpd
sudo systemctl enable httpd
2. MariaDB (MySQL) Database Server
sudo dnf install mariadb-server -y
sudo systemctl start mariadb
sudo systemctl enable mariadb
sudo mysql_secure_installation
Follow the prompts to secure your MariaDB installation. Set a strong root password and answer ‘Y’ to all security questions.
3. PHP and Required Modules
sudo dnf install php php-mysqlnd php-snmp php-xml php-mbstring php-json php-gd php-curl php-zip php-gmp php-intl php-ldap -y
sudo systemctl restart httpd
Database Configuration
Now, let’s set up the database for Cacti:
sudo mysql -u root -pEnter your MariaDB root password, then execute these SQL commands:
CREATE DATABASE cacti;
GRANT ALL ON cacti.* TO 'cactiuser'@'localhost' IDENTIFIED BY 'your_password';
FLUSH PRIVILEGES;
EXIT;
Replace ‘your_password‘ with a strong, unique password.
Cacti Installation
With the prerequisites in place, we can now install Cacti:
sudo dnf install cacti -yThis command installs Cacti and its dependencies from the EPEL repository.
Configuring Cacti
Edit the Cacti configuration file:
sudo nano /etc/cacti/db.phpUpdate the database settings:
$database_type = "mysql";
$database_default = "cacti";
$database_hostname = "localhost";
$database_username = "cactiuser";
$database_password = "your_password";
$database_port = "3306";
$database_ssl = false;
Web Interface Setup
Configure Apache to serve Cacti:
sudo nano /etc/httpd/conf.d/cacti.confAdd or modify the following:
Alias /cacti /usr/share/cacti
<Directory /usr/share/cacti>
    Options +FollowSymLinks
    AllowOverride None
    Require all granted
    <IfModule mod_php.c>
        php_flag magic_quotes_gpc Off
        php_flag short_open_tag On
        php_flag register_globals Off
        php_flag register_argc_argv On
        php_flag track_vars On
        php_value max_execution_time 300
        php_value memory_limit 128M
        php_value date.timezone America/New_York
    </IfModule>
</Directory>
Adjust the timezone to match your location.
SELinux and Firewall Configuration
If SELinux is enabled, configure it to allow Cacti to function properly:
sudo setsebool -P httpd_can_network_connect on
sudo setsebool -P httpd_can_sendmail on
Open the necessary firewall ports:
sudo firewall-cmd --permanent --add-service=http
sudo firewall-cmd --permanent --add-service=https
sudo firewall-cmd --reload
Setting Up Cron Jobs
Cacti requires regular polling to collect data. Set up a cron job:
sudo crontab -e -u apacheAdd the following line:
*/5 * * * * /usr/bin/php /usr/share/cacti/poller.php > /dev/null 2>&1Initializing Cacti
Restart Apache to apply all changes:
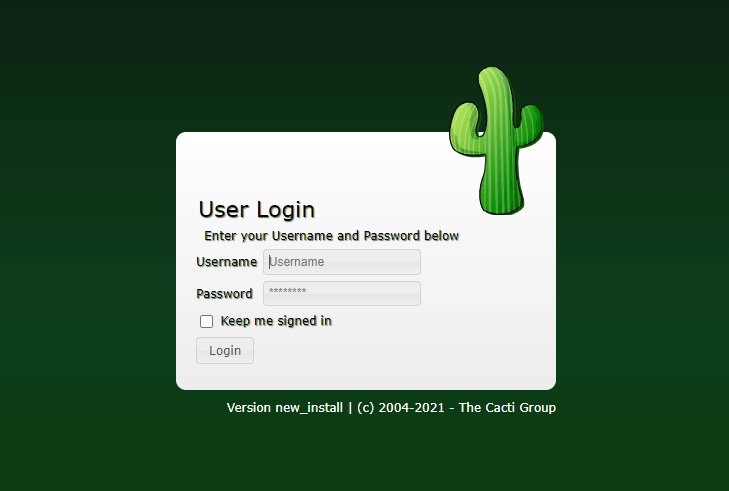
sudo systemctl restart httpdNow, access the Cacti web interface by navigating to:
http://your_server_ip/cactiFollow the on-screen instructions to complete the installation:
- Accept the license agreement
- Choose ‘New Install’ as the installation type
- Verify that all system requirements are met
- Enter the database information you configured earlier
- Create an admin account with a strong password

Post-Installation Configuration
After the initial setup, log in to Cacti and perform these tasks:
1. Add Devices
Navigate to ‘Console’ > ‘Devices’ > ‘Add’ to start monitoring network devices.
2. Create Graphs
Select a device and click ‘Create Graphs for this Host’ to begin data collection.
3. Configure Data Collection
Adjust polling intervals and data retention settings in ‘Console’ > ‘Configuration’ > ‘Settings’.
Troubleshooting Tips
If you encounter issues during or after installation, try these troubleshooting steps:
- Check Apache error logs:
sudo tail -f /var/log/httpd/error_log - Verify Cacti log:
sudo tail -f /var/log/cacti/cacti.log - Ensure proper permissions:
sudo chown -R apache:apache /usr/share/cacti/rra /usr/share/cacti/log - Restart services:
sudo systemctl restart httpd mariadb snmpd
Performance Optimization
To enhance Cacti’s performance:
- Adjust PHP settings in php.ini for increased
memory_limitandmax_execution_time - Optimize MariaDB by tweaking
my.cnfparameterslike innodb_buffer_pool_size - Consider using Cacti’s spine poller for faster data collection on large installations
Security Considerations
Enhance the security of your Cacti installation:
- Implement SSL/TLS encryption for the web interface
- Use strong, unique passwords for all accounts
- Regularly update Cacti and all system packages
- Limit access to the Cacti web interface using Apache’s authentication mechanisms
Congratulations! You have successfully installed Cacti. Thanks for using this tutorial for installing the Cacti on your CentOS Stream 10 system. For additional help or useful information, we recommend you check the official Cacti website.