![]()
In this tutorial, we will show you how to install Cacti on Debian 12. Cacti is a web-based network monitoring and graphing tool designed to harness the power of the Simple Network Management Protocol (SNMP) and create insightful graphical representations of network performance data. With Cacti, you can visualize and analyze network traffic, server performance, and a wide range of other metrics critical for maintaining a stable and efficient IT infrastructure. Whether you’re monitoring a small network or a large enterprise infrastructure, Cacti’s scalability and feature set make it a valuable addition to your system management toolkit.
This article assumes you have at least basic knowledge of Linux, know how to use the shell, and most importantly, you host your site on your own VPS. The installation is quite simple and assumes you are running in the root account, if not you may need to add ‘sudo‘ to the commands to get root privileges. I will show you the step-by-step installation of the Cacti network monitoring on a Debian 12 (Bookworm).
Prerequisites
- A server running one of the following operating systems: Debian 12 (Bookworm).
- It’s recommended that you use a fresh OS install to prevent any potential issues.
- SSH access to the server (or just open Terminal if you’re on a desktop).
- Make sure your Debian 12 system is connected to the internet. An active connection is essential for downloading the required packages and updates during the installation.
- A
non-root sudo useror access to theroot user. We recommend acting as anon-root sudo user, however, as you can harm your system if you’re not careful when acting as the root.
Install Cacti on Debian 12 Bookworm
Step 1. Step 1: Update Your System.
Before we install any software, it’s important to make sure your system is up to date by running the following apt commands in the terminal:
sudo apt update
sudo apt upgrade
This command updates the package list and upgrades the installed packages to their latest versions.
Step 2. Installing Necessary Dependencies.
Let’s start by installing the essential packages that Cacti requires:
sudo apt install apache2 mariadb-server php php-mysql php-snmp php-gd php-ldap php-net-socket php-xml php-zip php-mbstring snmp snmpd rrdtool
Step 3. Installing Cacti on Debian 12.
Visit the Cacti website to download the latest version:
wget https://files.cacti.net/cacti/linux/cacti-latest.tar.gz
Extract the downloaded Cacti archive:
tar -xzvf cacti-latest.tar.gz
Move the extracted Cacti files to the web server’s document root directory:
sudo mv cacti-*/ /var/www/html/cacti
Step 4. Configure MySQL database for Cacti.
Log in to the MySQL server as the root user:
sudo mysql -u root -p
Execute the following SQL commands to create a database, user, and grant privileges for Cacti:
CREATE DATABASE cacti;
GRANT ALL PRIVILEGES ON cacti.* TO 'cactiuser'@'localhost' IDENTIFIED BY 'your_strong_password';
FLUSH PRIVILEGES;
exit;
To ensure proper data collection, import Cacti’s default data templates:
mysql -u cactiuser -p cacti < /var/www/html/cacti/cacti.sql
Configure the Cacti database settings:
sudo nano /var/www/html/cacti/include/config.php
Modify the following lines to match your setup:
$database_type = "mysql";
$database_default = "cacti";
$database_hostname = "localhost";
$database_username = "cactiuser";
$database_password = "your_strong_password";
Step 5. Configure the webserver to serve the Cacti.
Create a virtual host configuration file for Cacti:
sudo nano /etc/apache2/sites-available/cacti.conf
Add the following content, adjusting the values as needed:
<VirtualHost *:80>
ServerAdmin webmaster@example.com
DocumentRoot /var/www/html/cacti

ErrorLog ${APACHE_LOG_DIR}/error.log
CustomLog ${APACHE_LOG_DIR}/access.log combined

<Directory /var/www/html/cacti/>
Options -Indexes +FollowSymLinks
AllowOverride All
Require all granted
</Directory>
</VirtualHost>
Enable the virtual host and Apache modules:
sudo a2ensite cacti.conf
sudo a2enmod rewrite
sudo systemctl restart apache2
Step 6. Setting Up Cron Jobs.
Create the poller cron job by editing your crontab:
sudo crontab -e
Add the following lines:
*/5 * * * * /usr/bin/php /var/www/html/cacti/poller.php --force
This schedules the poller to run every 5 minutes.
Step 7. Accessing the Cacti Web Interface.
Open a web browser and navigate to http://localhost/cacti. You should see the Cacti login page. Use the default credentials:
- Username: admin
- Password: admin
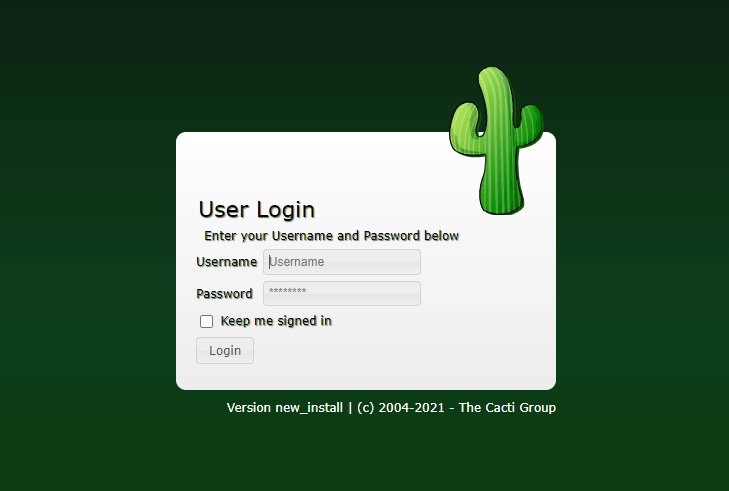
Upon login, you will be prompted to change the default password. Follow the instructions to set a secure password. Next, configure your Cacti user account, email settings, and timezone preferences.
Congratulations! You have successfully installed Cacti. Thanks for using this tutorial to install the latest version of Cacti monitoring on Debian 12 Bookworm. For additional help or useful information, we recommend you check the official Cacti website.
[su_box title=”VPS Manage Service Offer” style=”bubbles” box_color=”#000000″ radius=”10″]If you don’t have time to do all of this stuff, or if this is not your area of expertise, we offer a service to do “VPS Manage Service Offer”, starting from $10 (Paypal payment). Please contact us to get the best deal![/su_box]