How To Install Cacti on Fedora 40

In today’s interconnected world, network monitoring is crucial for maintaining the health and performance of IT infrastructure. Cacti, an open-source network graphing solution, stands out as a powerful tool for this purpose. By leveraging the Simple Network Management Protocol (SNMP), Cacti provides detailed insights into network traffic and device performance through visually appealing graphs.
Fedora 40, known for its stability and cutting-edge features, serves as an excellent platform for hosting Cacti. This guide will walk you through the process of installing Cacti on Fedora 40, ensuring you have a robust monitoring solution up and running in no time.
Prerequisites
Before diving into the installation process, ensure you meet the following requirements:
- A Fedora 40 server with at least 2GB RAM and 20GB storage
- Root or sudo access to the server
- A stable internet connection
- Basic familiarity with Linux command-line operations
First, update your Fedora 40 system to ensure you have the latest packages:
sudo dnf update -yInstalling Dependencies
Cacti relies on several components to function properly. Let’s install them one by one.
Apache Web Server
Install Apache with the following command:
sudo dnf install httpd -yStart and enable Apache to run at boot:
sudo systemctl start httpd
sudo systemctl enable httpd
PHP and Necessary Modules
Cacti requires PHP and several PHP modules. Install them using:
sudo dnf install php php-mysqlnd php-snmp php-xml php-gd php-gmp php-zip php-mbstring php-json php-ldap php-posix -yMariaDB Database Server
Install MariaDB with this command:
sudo dnf install mariadb-server -yStart and enable MariaDB:
sudo systemctl start mariadb
sudo systemctl enable mariadb
SNMP and RRDtool
Install SNMP and RRDtool, which are essential for Cacti’s functionality:
sudo dnf install net-snmp net-snmp-utils rrdtool -yConfiguring MariaDB
Now that MariaDB is installed, let’s secure it and set up the Cacti database.
Securing MariaDB Installation
Run the MySQL secure installation script:
sudo mysql_secure_installationFollow the prompts, answering ‘Y’ to all questions to enhance security.
Creating Cacti Database
Log into MariaDB as root:
sudo mysql -u root -pCreate the Cacti database and user:
CREATE DATABASE cacti;
CREATE USER 'cactiuser'@'localhost' IDENTIFIED BY 'your_strong_password';
GRANT ALL PRIVILEGES ON cacti.* TO 'cactiuser'@'localhost';
FLUSH PRIVILEGES;
EXIT;
Replace ‘your_strong_password‘ with a secure password of your choice.
Installing Cacti
Adding Cacti Repository
Fedora’s default repositories may not have the latest version of Cacti. Add the EPEL repository to ensure you get the most recent release:
sudo dnf install epel-release -yInstalling Cacti Package
Now, install Cacti using dnf:
sudo dnf install cacti -yConfiguring Cacti Database Settings
Edit the Cacti configuration file:
sudo nano /etc/cacti/db.phpUpdate the database settings to match your configuration:
$database_type = 'mysql';
$database_default = 'cacti';
$database_hostname = 'localhost';
$database_username = 'cactiuser';
$database_password = 'your_strong_password';
$database_port = '3306';
$database_ssl = false;
Configuring Apache for Cacti
Creating Virtual Host for Cacti
Create a new Apache configuration file for Cacti:
sudo nano /etc/httpd/conf.d/cacti.confAdd the following content:
Alias /cacti /usr/share/cacti


    Options +FollowSymLinks
    AllowOverride None
    Require all granted
Restart Apache to apply changes:
sudo systemctl restart httpdSetting up SSL/TLS (Optional)
For enhanced security, consider setting up SSL/TLS for your Cacti installation. You can use Let’s Encrypt to obtain a free SSL certificate:
sudo dnf install certbot python3-certbot-apache -y
sudo certbot --apache -d your_domain.com
Follow the prompts to complete the SSL setup.
Initial Cacti Setup
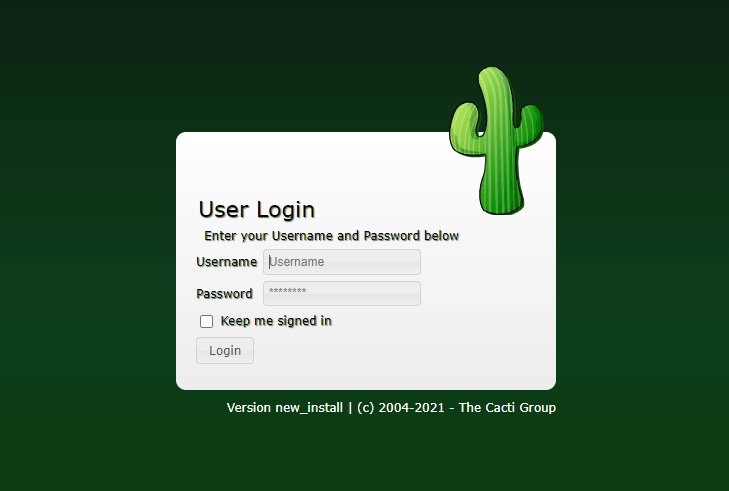
Accessing Cacti Web Interface
Open your web browser and navigate to:
http://your_server_ip/cactior if you’ve set up SSL:
https://your_domain.com/cacti
Running Installation Wizard
You’ll be greeted by the Cacti installation wizard. Follow these steps:
- Click “New Install” on the first screen.
- Review the system checks and ensure all requirements are met.
- On the database connection settings page, enter the details you configured earlier.
- Choose your preferred template package.
- Complete the installation by clicking “Finish”.

Configuring Basic Settings
After installation, log in with the default credentials (admin/admin). You’ll be prompted to change the password immediately. Set a strong password to secure your Cacti installation.
Post-Installation Tasks
Setting up Cron Job for Data Collection
Cacti needs to run a script periodically to collect data. Set up a cron job by editing the crontab:
sudo crontab -eAdd the following line:
*/5 * * * * /usr/bin/php /usr/share/cacti/poller.php > /dev/null 2>&1This will run the Cacti poller every 5 minutes.
Configuring SNMP on Monitored Devices
To monitor remote devices, you’ll need to configure SNMP on those devices. The exact process varies depending on the device and operating system. Generally, you’ll need to:
- Install an SNMP agent on the device
- Configure the SNMP community string
- Open UDP port 161 for SNMP traffic
Adding Devices to Cacti
Adding Local Host
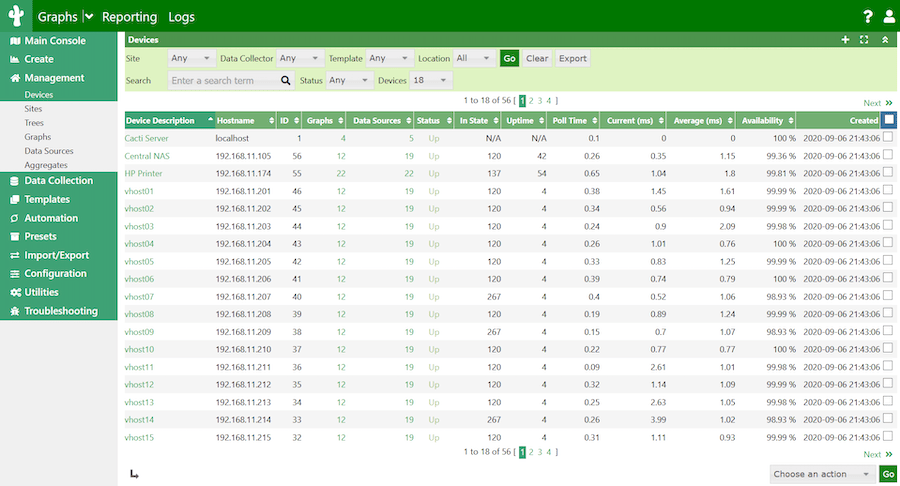
Cacti should automatically add the local host during installation. To verify:
- Go to “Console” > “Management” > “Devices”
- You should see an entry for “Localhost”
Adding Remote Devices
To add a remote device:
- Go to “Console” > “Management” > “Devices”
- Click “Add”
- Enter the device’s details, including its IP address and SNMP community string
- Choose appropriate templates for the device
- Click “Create”
Troubleshooting Common Issues
Database Connection Problems
If Cacti can’t connect to the database:
- Verify the database credentials in /etc/cacti/db.php
- Ensure MariaDB is running: sudo systemctl status mariadb
- Check MariaDB logs: sudo journalctl -u mariadb
SNMP Issues
If you’re having trouble collecting data via SNMP:
- Verify SNMP is configured correctly on the monitored device
- Check firewall settings to ensure SNMP traffic is allowed
- Use snmpwalk to test SNMP connectivity: snmpwalk -v2c -c public device_ip
Graph Generation Errors
If graphs aren’t generating:
- Check Cacti’s log file:
/var/log/cacti/cacti.log - Ensure RRDtool is installed and functioning
- Verify PHP has write permissions to Cacti’s RRA directory
Best Practices and Tips
Regular Backups
Regularly backup your Cacti database and configuration files. You can use mysqldump for database backups:
mysqldump -u root -p cacti > cacti_backup.sqlKeeping Cacti Updated
Regularly update Cacti to benefit from new features and security patches:
sudo dnf update cactiPerformance Optimization
For large installations:
- Adjust PHP memory limit in
/etc/php.ini - Optimize MariaDB settings for better performance
- Consider using Spine poller instead of
cmd.phpfor faster data collection
Congratulations! You have successfully installed Cacti. Thanks for using this tutorial for installing the Cacti on your Fedora 40 system. For additional help or useful information, we recommend you check the official Cacti website.