How To Install Caddy Web Server on Fedora 39

In this tutorial, we will show you how to install Caddy Web Server on Fedora 39. In the realm of web servers, Caddy has emerged as a robust, user-friendly option that’s gaining popularity among developers and system administrators. Caddy is an open-source web server written in Go. It’s known for its simplicity, ease of use, and the automatic HTTPS feature that secures your sites by default.
This article assumes you have at least basic knowledge of Linux, know how to use the shell, and most importantly, you host your site on your own VPS. The installation is quite simple and assumes you are running in the root account, if not you may need to add ‘sudo‘ to the commands to get root privileges. I will show you the step-by-step installation of the Caddy Web Server on a Fedora 39.
Prerequisites
Before diving into the installation process, let’s ensure that you have everything you need:
- A server running one of the following operating systems: Fedora 39.
- It’s recommended that you use a fresh OS install to prevent any potential issues.
- You will need access to the terminal to execute commands. Fedora 39 provides the Terminal application for this purpose. It can be found in your Applications menu.
- A network connection or internet access to download the Caddy packages.
- A
non-root sudo useror access to theroot user. We recommend acting as anon-root sudo user, however, as you can harm your system if you’re not careful when acting as the root.
Install Caddy Web Server on Fedora 39
Step 1. Before installing any new software, it’s a good practice to update your system. This ensures that you have the latest security patches and system updates. To update your Fedora 39 system, open the terminal and run the following command:
sudo dnf clean all
sudo dnf update
Step 2. Installing Caddy Web Server on Fedora 39.
Once your system is up-to-date, you can proceed with the installation of Caddy. Fedora‘s official repositories include Caddy, so you can install it directly using the dnf package manager. Run the following command to install Caddy:
sudo dnf install caddy
After the installation is complete, it’s a good idea to verify that Caddy has been installed correctly. You can do this by checking the version of Caddy. Run the following command:
caddy version
This command will display the version of Caddy that is currently installed on your system.
Step 3. Configure Caddy.
Caddy’s configuration is handled through a file called Caddyfile. This file is typically located in the /etc/caddy directory. The Caddyfile uses a simple syntax to define how Caddy should serve your sites.
Here’s a basic example of a Caddyfile:
example.com

root * /var/www/html
file_server
In this example, example.com is the site that Caddy will serve. The root directive tells Caddy where the site’s files are located, and file_server enables the file server, which serves static files.
After configuring Caddy, you need to start the Caddy service. You can do this with the following command:
sudo systemctl start caddy
To ensure that Caddy starts automatically at boot, you should also enable the Caddy service:
sudo systemctl enable caddy
Step 4. Open Firewall Ports.
By default, Caddy serves sites over HTTP and HTTPS, which use ports 80 and 443, respectively. You need to ensure that these ports are open in your firewall. You can open these ports with the following commands:
sudo firewall-cmd --permanent --add-service=http
sudo firewall-cmd --permanent --add-service=https
sudo firewall-cmd --reload
Step 5. Test Caddy Server.
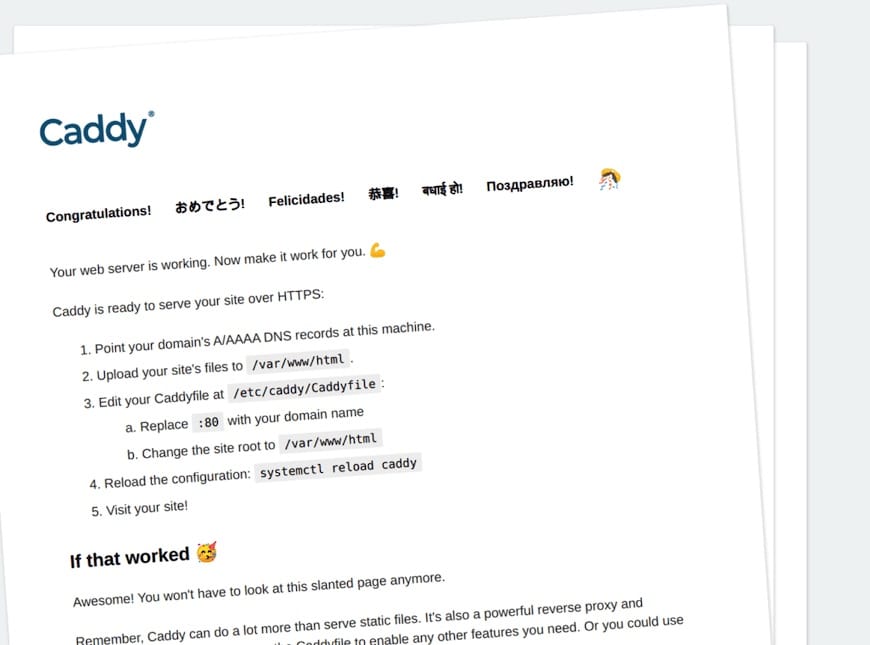
At this point, Caddy should be serving your site. You can test this by visiting your site in a web browser. If you see your site, then Caddy is working correctly. If not, you should check the Caddy service’s status for any errors:
sudo systemctl status caddy

Congratulations! You have successfully installed Caddy. Thanks for using this tutorial for installing the Caddy Web Server on your Fedora 39 system. For additional or useful information, we recommend you check the official Caddy website.