How To Install Cockpit on AlmaLinux 9

In this tutorial, we will show you how to install Cockpit on AlmaLinux 9. In the ever-evolving landscape of IT management, the effective administration of servers is a critical pillar for business success. AlmaLinux 9, a robust Linux distribution, offers a solid foundation for server deployment, while Cockpit serves as a versatile web-based interface to manage these servers remotely.
This article assumes you have at least basic knowledge of Linux, know how to use the shell, and most importantly, you host your site on your own VPS. The installation is quite simple and assumes you are running in the root account, if not you may need to add ‘sudo‘ to the commands to get root privileges. I will show you the step-by-step installation of Cockpit on AlmaLinux 9. You can follow the same instructions for CentOS and Rocky Linux or RHEL-based.
Prerequisites
- A server running one of the following operating systems: AlmaLinux 9.
- It’s recommended that you use a fresh OS install to prevent any potential issues.
- SSH access to the server (or just open Terminal if you’re on a desktop).
- An active internet connection. You’ll need an internet connection to download the necessary packages and dependencies for Cockpit.
- A
non-root sudo useror access to theroot user. We recommend acting as anon-root sudo user, however, as you can harm your system if you’re not careful when acting as the root.
Install Cockpit on AlmaLinux 9
Step 1. Before diving into the installation process, ensure your AlmaLinux 9 system is up-to-date. Run the following commands in your terminal:
sudo dnf update
Step 2. Installing Cockpit on AlmaLinux 9.
Open a terminal and use the command below:
sudo dnf install cockpit
Next, enable and start the Cockpit service with the commands:
sudo systemctl enable --now cockpit.socket
Verify that the service is running by running the command:
sudo systemctl status cockpit
Step 3. Configure Firewall for Cockpit.
By default, the Cockpit listens to port 9090. So we need to allow the service through the firewall:
sudo firewall-cmd --add-service=cockpit --permanent
sudo firewall-cmd --reload
Step 4. Accessing Cockpit’s Web Console.
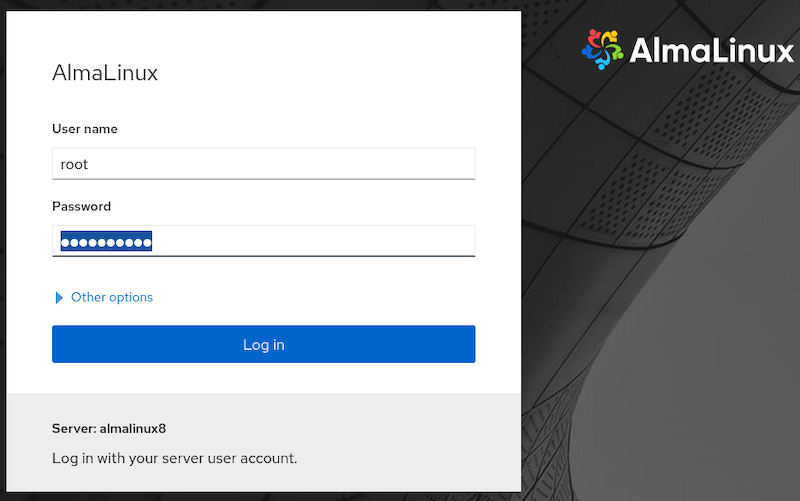
Once successfully installed, open your favorite browser and navigate to http://your-server-ip-address:9090. Accept any security warnings and log in using the user account created during the AlmaLinux installation.

Step 5. Troubleshooting with Cockpit.
Even the most meticulously managed servers can encounter issues. Cockpit assists in identifying and resolving problems:
-
Diagnostics and Logs: Utilize Cockpit’s built-in diagnostics tools to identify potential issues. Inspect system logs for error messages.
-
Command Line Troubleshooting: Apply standard troubleshooting commands like
journalctlto investigate system logs and diagnose problems.
Congratulations! You have successfully installed Cockpit. Thanks for using this tutorial for installing Cockpit on your AlmaLinux 9 system. For additional help or useful information, we recommend you check the official Cockpit website.