How To Install Cockpit on Debian 12

In this tutorial, we will show you how to install Cockpit on Debian 12. Cockpit stands as a versatile toolset that eliminates the complexities associated with traditional server management interfaces. With its web-based graphical interface, it bridges the gap between user-friendliness and robust functionality. Among its features are system monitoring, service management, storage configuration, network analysis, log exploration, and user account administration.
This article assumes you have at least basic knowledge of Linux, know how to use the shell, and most importantly, you host your site on your own VPS. The installation is quite simple and assumes you are running in the root account, if not you may need to add ‘sudo‘ to the commands to get root privileges. I will show you the step-by-step installation of Cockpit on a Debian 12 (Bookworm).
Prerequisites
- A server running one of the following operating systems: Debian 12 (Bookworm).
- It’s recommended that you use a fresh OS install to prevent any potential issues.
- SSH access to the server (or just open Terminal if you’re on a desktop).
- An active internet connection. You’ll need an internet connection to download the necessary packages and dependencies for Cockpit.
- A
non-root sudo useror access to theroot user. We recommend acting as anon-root sudo user, however, as you can harm your system if you’re not careful when acting as the root.
Install Cockpit on Debian 12 Bookworm
Step 1. Before installing Cockpit, it is recommended to update the system to ensure that all packages are up to date. You can do this by running the following command in the terminal:
sudo apt update
sudo apt install curl gnupg apt-transport-https
This command will refresh the repository, allowing you to install the latest versions of software packages.
Step 2. Installing Cockpit on Debian 12.
- Method 1: Install from the Debian repository
Install the Cockpit package by running the following command:
sudo apt install cockpit
Once the installation is complete, start the Cockpit service by running the following command:
sudo systemctl start cockpit
Enable the Cockpit service to start automatically at boot time by running the following command:
sudo systemctl enable cockpit
- Method 2: Install from the Cockpit Project repository
Add the Cockpit Project repository to your system by running the following command:
sudo sh -c 'echo "deb https://cockpit-project.org/running.html $(lsb_release -cs) main" > /etc/apt/sources.list.d/cockpit.list'
Import the Cockpit Project GPG key by running the following command:
sudo apt-key adv --keyserver keyserver.ubuntu.com --recv-keys 7B1AB590A0B05258
Update the package list by running the following command:
sudo apt update
Install the Cockpit package by running the following command:
sudo apt install cockpit
Once the installation is complete, start the Cockpit service by running the following command:
sudo systemctl start cockpit
Enable the Cockpit service to start automatically at boot time by running the following command:
sudo systemctl enable cockpit
Step 3. Configuring Firewall Settings.
For seamless access to Cockpit, adjust your firewall settings to allow the necessary port:
sudo ufw allow 9090/tcp
Step 4. Accessing Cockpit’s Web-Based Interface.
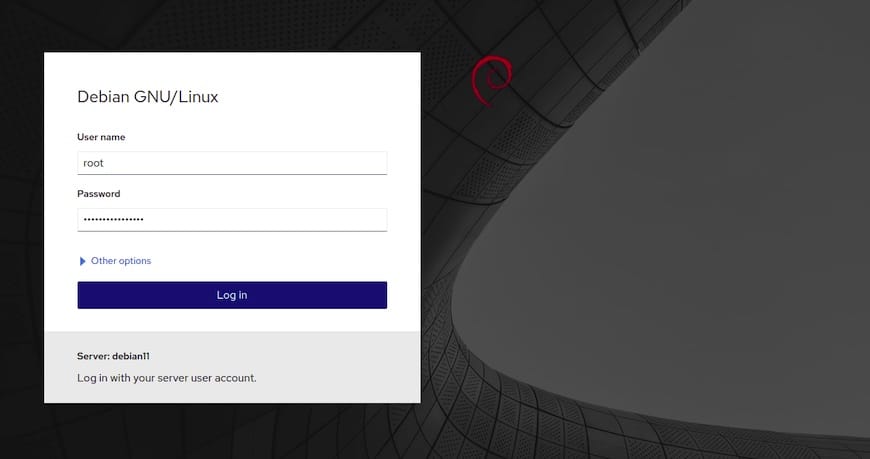
Your Cockpit installation is now ready to be accessed via a web browser. Open your browser and navigate to: https://your_server_ip:9090.

Congratulations! You have successfully installed Cockpit. Thanks for using this tutorial for installing the latest version of Cockpit on Debian 12 Bookworm. For additional help or useful information, we recommend you check the official Cockpit website.