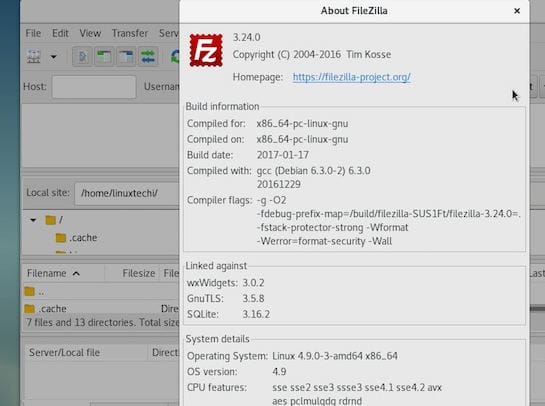
In this tutorial, we will show you how to install and configuration of FileZilla on your Debian 9 server. For those of you who didn’t know, FileZilla is the most popular cross-platform, open-source FTP client. FileZilla works as an FTP, FTPS, and SFTP client with many features and an intuitive graphical user interface.
This article assumes you have at least basic knowledge of Linux, know how to use the shell, and most importantly, you host your site on your own VPS. The installation is quite simple and assumes you are running in the root account, if not you may need to add ‘sudo‘ to the commands to get root privileges. I will show you the step-by-step installation of FileZilla on a Debian 9 (Stretch) server.
FileZilla features
- Supports FTP, FTP over SSL/TLS (FTPS), and SSH File Transfer Protocol (SFTP)
- Cross-platform. Runs on Windows, Linux, *BSD, Mac OS X, and more
- Available in multiple languages
- Supports resume and transfer of large files >4GB
- Tabbed user interface
- Powerful Site Manager and transfer queue
- Drag & drop support
- Configurable transfer speed limits
- Directory comparison
- Network configuration wizard
- Remote file editing
- Synchronized directory browsing
- Remote file search
Prerequisites
- A server running one of the following operating systems: Debian-based.
- It’s recommended that you use a fresh OS install to prevent any potential issues.
- SSH access to the server (or just open Terminal if you’re on a desktop).
- An active internet connection. You’ll need an internet connection to download the necessary packages and dependencies for FileZilla.
- A
non-root sudo useror access to theroot user. We recommend acting as anon-root sudo user, however, as you can harm your system if you’re not careful when acting as the root.
Install FileZilla on Debian 9 Stretch
Step 1. Before we install any software, it’s important to make sure your system is up to date by running the following apt-get commands in the terminal:
sudo apt-get update
sudo apt-get upgrade
Step 2. Installing FileZilla.
Now run the following commands below to install Filezilla on your Debian 9 system:
sudo apt-get install filezilla -y
Step 3. Accessing FileZilla Clinet on Debian 9
We can use the GUI icon to start FileZilla in our system or use the below command on the terminal:
filezilla

Congratulations! You have successfully installed FileZilla. Thanks for using this tutorial for installing FileZilla on Ubuntu Debian 9 Stretch system. For additional help or useful information, we recommend you check the official FileZilla website.