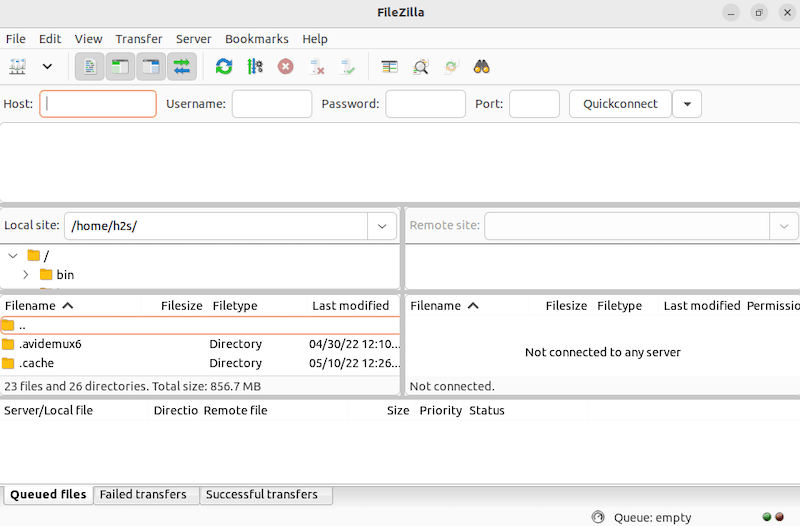
How To Install FileZilla on Ubuntu 24.04 LTS

In this tutorial, we will show you how to install FileZilla on Ubuntu 24.04 LTS. FileZilla is a powerful, open-source FTP client that supports multiple platforms including Windows, macOS, and Linux. It allows users to transfer files between their local machines and remote servers using various protocols such as FTP, SFTP, and FTPS. Ubuntu 24.04 LTS, the latest long-term support release, provides a stable and secure environment for running applications like FileZilla.
This article assumes you have at least basic knowledge of Linux, know how to use the shell, and most importantly, you host your site on your own VPS. The installation is quite simple and assumes you are running in the root account, if not you may need to add ‘sudo‘ to the commands to get root privileges. I will show you the step-by-step installation of the FileZilla on Ubuntu 24.04 (Noble Numbat). You can follow the same instructions for Ubuntu 22.04 and any other Debian-based distribution like Linux Mint, Elementary OS, Pop!_OS, and more as well.
Prerequisites
- A server running one of the following operating systems: Ubuntu and any other Debian-based distribution like Linux Mint.
- It’s recommended that you use a fresh OS install to prevent any potential issues.
- SSH access to the server (or just open Terminal if you’re on a desktop).
- 1 GB of RAM and 50 MB of free disk space.
- An active internet connection. You’ll need an internet connection to download the necessary packages and dependencies.
- An Ubuntu 24.04 system with root access or a user with sudo privileges.
Install FileZilla on Ubuntu 24.04
Step 1. Updating the Package Repository.
Before installing any new software, it’s always a good practice to update your system. Open a terminal and run the following commands:
sudo apt update
sudo apt upgrade
Updating the package index ensures you have the latest information about available packages.
Step 2. Installing FileZilla.
- Method 1: Installing FileZilla via Ubuntu Software Center.
For users who prefer a graphical interface, the Ubuntu Software Center provides a straightforward way to install FileZilla. This method is particularly suitable for those new to Ubuntu or those who prefer to avoid command-line operations.
- Open the Ubuntu Software Center: Click on the Ubuntu Software icon in the dock or search for it in the application menu.
- Search for FileZilla: In the search bar, type “FileZilla” and press Enter.
- Install FileZilla: Click on the FileZilla entry from the search results, then click the “Install” button. Enter your password when prompted.
- Verify Installation: Once the installation is complete, you can launch FileZilla from the application menu.
- Method 2: Installing FileZilla via Terminal.
For users comfortable with the command line or those seeking more control over the installation process, the terminal offers a powerful way to install FileZilla. We’ll cover two approaches: using APT and using a PPA.
Now installing FileZilla using APT command:
sudo apt install filezilla
This command installs FileZilla from the default Ubuntu repositories. Verify the installation by launching FileZilla:
filezilla

Method 3: Installing FileZilla from PPA (Personal Package Archive).
For users who want to ensure they have the latest version of FileZilla, using a PPA can be beneficial. Here’s how to do it:
sudo add-apt-repository ppa:n-muench/programs-ppa
PPAs are third-party repositories that provide additional software packages.
Now install FileZilla using the following command below:
sudo apt update
sudo apt install filezilla
Verify Installation:
filezilla
- Method 4: Installing FileZilla from Source.
For advanced users or those requiring specific configurations, installing FileZilla from source code provides the most flexibility. This method involves compiling the software yourself, which can be more complex but offers complete control over the installation process.
Before compiling the source code, you need to install the required dependencies:
sudo apt install build-essential libwxgtk3.0-gtk3-dev
Navigate to the official FileZilla website and download the source tarball for Linux, Extract the Source Code:
tar -xvf FileZilla_X.Y.Z_src.tar.bz2
Navigate to the Extracted Directory:
cd FileZilla_X.Y.Z
Run the Configuration Script:
./configure
Compile the Source Code:
make
Install FileZilla:
sudo make install
Verify Installation:
filezilla
By following the steps outlined in this guide, you can easily set up and start using FileZilla for your file transfer needs. Explore its features and enjoy the ease of managing your files across different servers. Thanks for using this tutorial for installing FileZilla on the Ubuntu 24.04 LTS system. For additional help or useful information, we recommend you check the official FileZilla website.