How To Install Firefox on Rocky Linux 9

In this tutorial, we will show you how to install Firefox on Rocky Linux 9. For those of you who didn’t know, Firefox is a fast, secure, and privacy-focused web browser trusted by millions worldwide. It offers an extensive collection of add-ons, customization options, and advanced features that enhance the browsing experience. Installing Firefox on Rocky Linux 9 is a straightforward process that can be completed in just a few steps.
This article assumes you have at least basic knowledge of Linux, know how to use the shell, and most importantly, you host your site on your own VPS. The installation is quite simple and assumes you are running in the root account, if not you may need to add ‘sudo‘ to the commands to get root privileges. I will show you the step-by-step installation of the Firefox browser on Rocky Linux 9 or RHEL-based.
Prerequisites
- A server running one of the following operating systems: Rocky Linux 9.
- It’s recommended that you use a fresh OS install to prevent any potential issues.
- SSH access to the server (or just open Terminal if you’re on a desktop).
- An active internet connection. You’ll need an internet connection to download the necessary packages and dependencies for Firefox.
- A
non-root sudo useror access to theroot user. We recommend acting as anon-root sudo user, however, as you can harm your system if you’re not careful when acting as the root.
Install Firefox on Rocky Linux 9
Step 1. The first step is to update your system to the latest version of the package list. To do so, run the following commands:
sudo dnf update
sudo dnf install epel-release
Step 2. Installing Firefox on Rocky Linux 9.
To get started with the installation, you need to download the latest version of Firefox. You can either visit the official Firefox download page or use the command line to download the package directly.
Alternatively, you can use the wget command to download the latest version of Firefox directly from the command line. Open the terminal and run the following commands:
cd ~/Downloads
wget -O firefox-latest.tar.bz2 "https://download.mozilla.org/?product=firefox-latest&os=linux64&lang=en-US"
This command will download the latest Firefox package as a compressed archive named firefox-latest.tar.bz2 in your Downloads directory.
Once the download is complete, extract the downloaded archive using the following command:
tar xvjf firefox-latest.tar.bz2 -C /usr/local
Now that you have downloaded and extracted the Firefox package, you can proceed with the installation. Firefox comes as a pre-compiled binary, so the installation process involves configuring it for your system. Follow these steps:
cd /usr/local/firefox
Create a symlink to the Firefox binary in the system’s bin directory by running the following command:
sudo ln -s /usr/local/firefox/firefox /usr/bin/firefox
This command creates a symbolic link named Firefox in the /usr/bin directory, pointing to the actual Firefox binary located in /usr/local/firefox.
Step 3. Accessing Firefox Browser on Rocky Linux.
Once successfully installed, now verify the installation by launching Firefox from the terminal:
firefox &

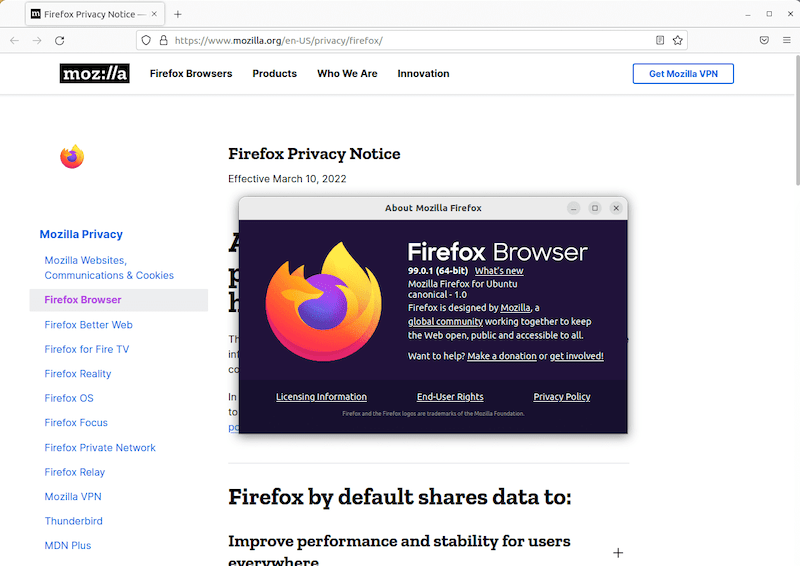
Firefox should now open, and you will see its familiar interface. To further verify the installation, click on the Firefox menu (three horizontal lines) in the upper-right corner and select “Help” > “About Firefox”. The About Firefox window will display the version number and the installation path.
Congratulations! You have successfully installed Firefox. Thanks for using this tutorial for installing the Firefox browser on your Rocky Linux 9 system. For additional help or useful information, we recommend you check the official Firefox website.