How To Install Fish Shell on Fedora 39

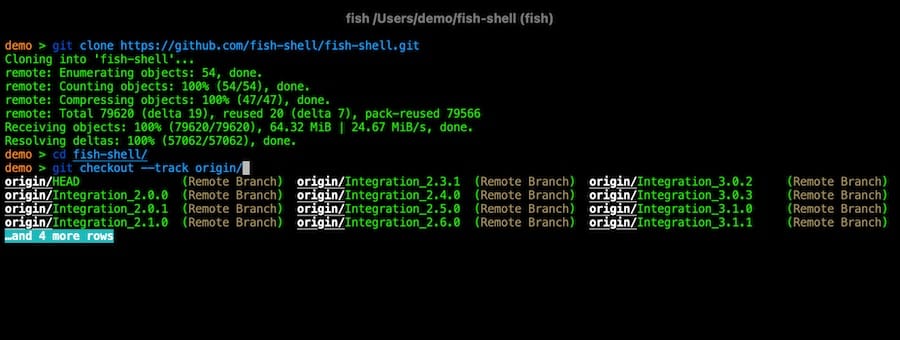
In this tutorial, we will show you how to install Fish Shell on Fedora 39. Fish Shell, or simply Fish, stands out as a smart and user-friendly command-line interface (CLI) shell that is renowned for its simplicity, powerful features, and ease of use. Unlike traditional shells like Bash or Zsh, Fish offers syntax highlighting, autosuggestion, and out-of-the-box support for powerful features, making it an attractive choice for developers, system administrators, and Linux enthusiasts alike.
This article assumes you have at least basic knowledge of Linux, know how to use the shell, and most importantly, you host your site on your own VPS. The installation is quite simple and assumes you are running in the root account, if not you may need to add ‘sudo‘ to the commands to get root privileges. I will show you the step-by-step installation of the Fish Shell on a Fedora 39.
Prerequisites
Before diving into the installation process, let’s ensure that you have everything you need:
- A server running one of the following operating systems: Fedora 39.
- It’s recommended that you use a fresh OS install to prevent any potential issues.
- You will need access to the terminal to execute commands. Fedora 39 provides the Terminal application for this purpose. It can be found in your Applications menu.
- A network connection or internet access to download the Fish Shell repository.
- A
non-root sudo useror access to theroot user. We recommend acting as anon-root sudo user, however, as you can harm your system if you’re not careful when acting as the root.
Install Fish Shell on Fedora 39
Step 1. Before diving into the installation process, it’s crucial to prepare your Fedora system. Start by updating your system to ensure all existing packages are up to date, using the command:
sudo dnf clean all
sudo dnf update
Next, check if Fish Shell is already installed on your system by running:
fish --version
If this command returns a version number, Fish is already installed. Otherwise, proceed with the installation. Although Fish has minimal dependencies, ensuring your system is fully updated is a good practice.
Step 2. Installing Fish Shell on Fedora 39.
To install Fish on Fedora 39, utilize the DNF package manager with the following command:
sudo dnf install fish
If you wish to make Fish your default shell, first install the util-linux-user package:
sudo dnf install util-linux-user
Then, change the default shell with:
chsh -s /usr/bin/fish
Remember to log out and back in for the change to take effect.
Step 3. Configuration for Enhanced Experience.
Configuring Fish allows you to tailor your command-line experience to your preferences.
- Create Configuration File: Fish’s configuration file can be found (or created if it doesn’t exist) at
~/.config/fish/config.fishfor per-user settings, or/etc/fish/config.fishfor system-wide settings. - Customize Prompt: For a more visually appealing prompt, consider installing Oh My Fish with
curl -L https://get.oh-my.fish | fish, then install thebobthefishtheme withomf install bobthefish. - Set Environment Variables: Easily add directories to your PATH with
set -gx PATH $PATH ~/bin. - Create Aliases: Simplify commands with aliases, e.g.,
alias ll='ls -lh'. - Autocomplete and Syntax Highlighting: Fish’s built-in features enhance your command-line experience by predicting commands and highlighting syntax.
Step 4. Accessing Fish Shell on Fedora.
Once Fish Shell is installed, you can start using it immediately by opening a terminal and entering the fish command. This switches your current terminal session to Fish Shell, allowing you to experience its features such as syntax highlighting, autosuggestions, and tab completions.

Step 5. Uninstallation Process.
If you decide to uninstall Fish, revert your default shell back to Bash (if Fish was set as default) with chsh -s /bin/bash, then remove Fish using DNF:
sudo dnf remove fish
Optionally, clean up configuration files by removing the ~/.config/fish directory.
Congratulations! You have successfully installed Fish Shell. Thanks for using this tutorial for installing the Fish Shell on your Fedora 39 system. For additional or useful information, we recommend you check the official Fish Shell website.