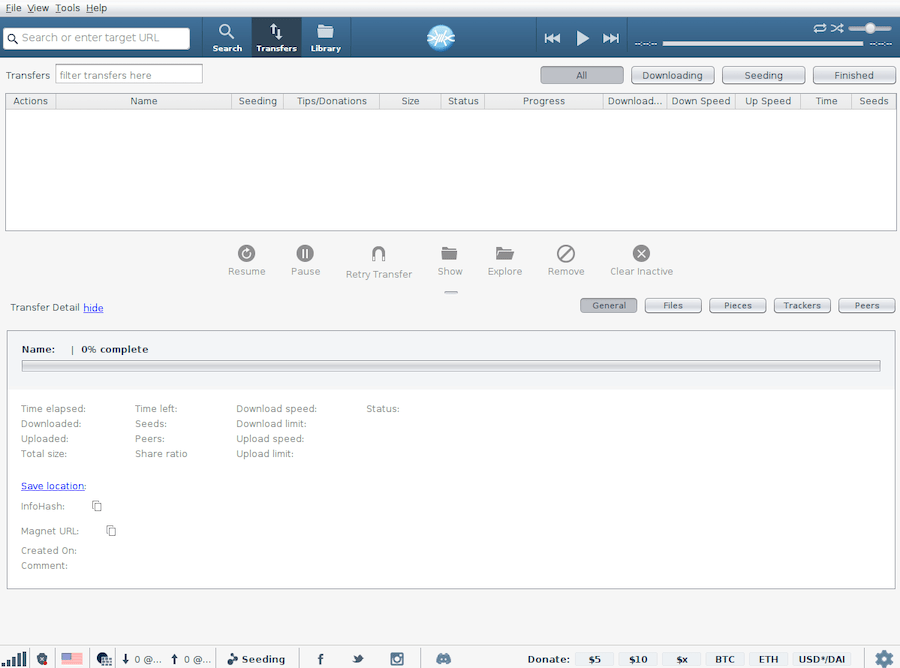
How To Install FrostWire on Rocky Linux 9

In this tutorial, we will show you how to install FrostWire on Rocky Linux 9. For those of you who didn’t know, FrostWire, a popular free and open-source BitTorrent client, has become a go-to choice for users looking to search, download, and share a wide variety of content, including music, movies, games, eBooks, and software. With its user-friendly interface and powerful features, FrostWire makes it easy to access and distribute files across peer-to-peer networks.
This article assumes you have at least basic knowledge of Linux, know how to use the shell, and most importantly, you host your site on your own VPS. The installation is quite simple and assumes you are running in the root account, if not you may need to add ‘sudo‘ to the commands to get root privileges. I will show you the step-by-step installation of the FrostWire BitTorrent client on Rocky Linux 9 or RHEL-based.
Prerequisites
- A server running one of the following operating systems: Rocky Linux 9.
- It’s recommended that you use a fresh OS install to prevent any potential issues.
- SSH access to the server (or just open Terminal if you’re on a desktop).
- An active internet connection. You’ll need an internet connection to download the necessary packages and dependencies.
- A
non-root sudo useror access to theroot user. We recommend acting as anon-root sudo user, however, as you can harm your system if you’re not careful when acting as the root.
Install FrostWire on Rocky Linux 9
Step 1. Preparing your Rocky Linux 9 system.
The first step is to update your system to the latest version of the package list. To do so, run the following commands:
sudo dnf update
sudo dnf install epel-release
This command will update all installed packages to their latest versions, including any security patches and bug fixes.
Step 2. Installing OpenJDK.
For optimal compatibility and performance, we recommend installing OpenJDK 11. To do this, follow these steps:
sudo dnf install java-11-openjdk java-11-openjdk-devel
Once the installation is complete, verify the Java version by running:
java -version
You should see output similar to the following:
openjdk version "11.0.15" 2022-04-19 LTS
OpenJDK Runtime Environment 18.9 (build 11.0.15+10-LTS)
OpenJDK 64-Bit Server VM 18.9 (build 11.0.15+10-LTS, mixed mode, sharing)
If your specific use case requires a different Java version, Rocky Linux 9 also provides OpenJDK 8 and 17. To install OpenJDK 8, use:
sudo dnf install java-1.8.0-openjdk java-1.8.0-openjdk-devel
For OpenJDK 17, use:
sudo dnf install java-17-openjdk java-17-openjdk-devel
Step 3. Installing FrostWire on Rocky Linux 9.
Now that we have Java installed, let’s download the FrostWire package suitable for Rocky Linux 9. After downloading the FrostWire package, it’s essential to verify its integrity to ensure the file hasn’t been corrupted during the download process. You can do this by comparing the checksum of the downloaded file with the one provided on the FrostWire website.
Next, navigate to the directory where you downloaded the FrostWire RPM package:
cd /Downloads
Run the following command to install FrostWire:
sudo rpm -ivh frostwire-6.13.2.amd64.rpm
If you encounter any dependency issues, you can use DNF to resolve them automatically:
sudo dnf install ./frostwire-6.1.9.noarch.rpm
This command will install FrostWire and any required dependencies.
Step 4. Accessing FrostWire on Rocky Linux.
After successfully installing FrostWire, it’s important to configure it for optimal performance on your Rocky Linux 9 system. Here are some steps to get you started:
-
- Launch FrostWire from the application menu or by typing
frostwirein the terminal. - When FrostWire starts for the first time, you’ll be greeted with a setup wizard. Follow the prompts to configure your initial settings.
- In the FrostWire preferences, navigate to the “Network” section and adjust your connection settings based on your internet speed and preferences.
- Configure your download and upload limits to ensure FrostWire doesn’t consume all your bandwidth.
- Set up your default download location in the “Transfers” section of the preferences.
- Launch FrostWire from the application menu or by typing

Congratulations! You have successfully installed FrostWire. Thanks for using this tutorial for installing the FrostWire BitTorrent client on your Rocky Linux 9 system. For additional help or useful information, we recommend you check the official FrostWire website.