How To Install GIMP on openSUSE

In this tutorial, we will show you how to install GIMP on openSUSE. GIMP (GNU Image Manipulation Program) is a versatile, open-source graphics editor that offers a wide range of features for tasks such as photo retouching, image composition, and image authoring. This powerful tool is an excellent alternative to proprietary software like Adobe Photoshop.
This article assumes you have at least basic knowledge of Linux, know how to use the shell, and most importantly, you host your site on your own VPS. The installation is quite simple and assumes you are running in the root account, if not you may need to add ‘sudo‘ to the commands to get root privileges. I will show you the step-by-step installation of the GIMP image editor on openSUSE.
Prerequisites
- A server running one of the following operating systems: openSUSE.
- It’s recommended that you use a fresh OS install to prevent any potential issues.
- You will need access to the terminal to execute commands. openSUSE provides the Terminal application for this purpose. It can be found in your Applications menu.
- You’ll need an active internet connection to download GIMP and its dependencies.
- You have access to a user account with sudo or root privileges.
Install GIMP on openSUSE
Step 1. Keeping your system packages updated is a cornerstone of good system management. It ensures compatibility and prevents potential conflicts with new software installations. To update your system packages, launch the terminal and input the following command:
sudo zypper refresh
sudo zypper update
Step 2. Installing GIMP Photo Editor on openSUSE.
Repositories are storage locations from which software packages can be retrieved and installed. To install GIMP, we need to add its repository to our system. Execute the following command in the terminal:
sudo zypper addrepo https://download.opensuse.org/repositories/graphics/openSUSE_Tumbleweed/graphics.repo
Once the GIMP repository is added, it’s crucial to refresh it. This action ensures your system acknowledges the new repository and can fetch packages from it. Refresh the repository with the following command:
sudo zypper refresh
With the GIMP repository added and refreshed, you’re now ready to install GIMP. Execute the following command in the terminal:
sudo zypper install gimp
After completing the installation, it’s a good idea to verify that GIMP has been installed correctly. You can do this by checking the version of GIMP that has been installed. Enter the following command in the terminal:
gimp --version
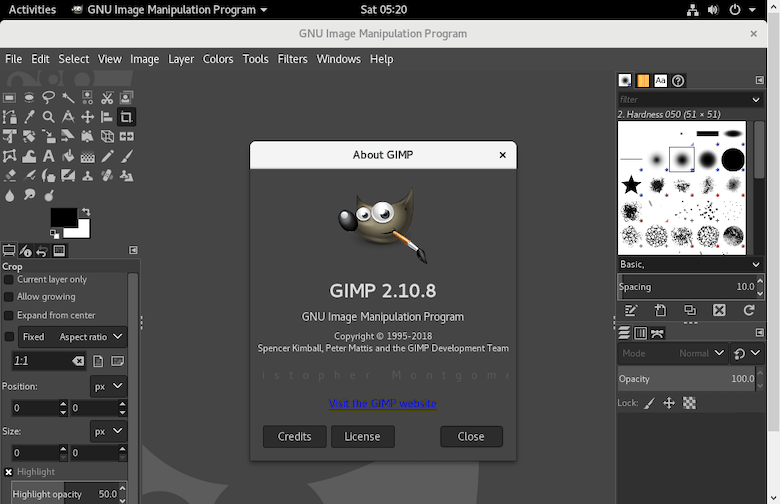
Step 3. Launch GIMP on openSUSE.
GIMP can be launched directly from the terminal, a handy feature when working in a CLI environment. To launch GIMP, input the following command:
gimp &

Congratulations! You have successfully installed GIMP. Thanks for using this tutorial for installing the GIMP photo editor on your openSUSE system. For additional or useful information, we recommend you check the official GIMP website.