How To Install GitLab on AlmaLinux 9

In this tutorial, we will show you how to install GitLab on AlmaLinux 9. GitLab is a robust web-based platform for version control and collaborative software development. It offers a wide range of features, including repository management, issue tracking, continuous integration/continuous deployment (CI/CD), and more.
This article assumes you have at least basic knowledge of Linux, know how to use the shell, and most importantly, you host your site on your own VPS. The installation is quite simple and assumes you are running in the root account, if not you may need to add ‘sudo‘ to the commands to get root privileges. I will show you the step-by-step installation of GitLab on AlmaLinux 9. You can follow the same instructions for CentOS and Rocky Linux or RHEL-based.
Prerequisites
- A server running one of the following operating systems: AlmaLinux 9.
- It’s recommended that you use a fresh OS install to prevent any potential issues.
- SSH access to the server (or just open Terminal if you’re on a desktop).
- An active internet connection. You’ll need an internet connection to download the necessary packages and dependencies for GitLab.
- A
non-root sudo useror access to theroot user. We recommend acting as anon-root sudo user, however, as you can harm your system if you’re not careful when acting as the root.
Install GitLab on AlmaLinux 9
Step 1. Before diving into the installation process, ensure your AlmaLinux 9 system is up-to-date. Run the following commands in your terminal:
sudo dnf update
Step 2. Installing GitLab on AlmaLinux 9.
- Method 1: Installing GitLab via Package Manager (RPM)
Install the GitLab package by running the following command:
sudo dnf install gitlab-ce
This command will install the Community Edition of GitLab.
Once the installation is complete, start the GitLab service by running the following command:
sudo systemctl start gitlab-runsvdir.service
Enable the GitLab service to start at boot time by running the following command:
sudo systemctl enable gitlab-runsvdir.service
- Method 2: Installing GitLab manually
First, install the required dependencies by running the following command:
sudo dnf install curl policycoreutils openssh-server openssh-clients
Install Postfix to send notification emails by running the following command:
sudo dnf install postfix
Add the GitLab package repository by running the following command:
curl https://packages.gitlab.com/install/repositories/gitlab/gitlab-ce/script.rpm.sh | sudo bash
Install GitLab by running the following command:
sudo EXTERNAL_URL="http://<your-server-IP>" dnf install gitlab-ce
Replace <your-server-IP> with the IP address of your server.
Once the installation is complete, start the GitLab service by running the following command:
sudo systemctl start gitlab-runsvdir.service
Enable the GitLab service to start at boot time by running the following command:
sudo systemctl enable gitlab-runsvdir.service
Step 3. Accessing GitLab Web Interface.
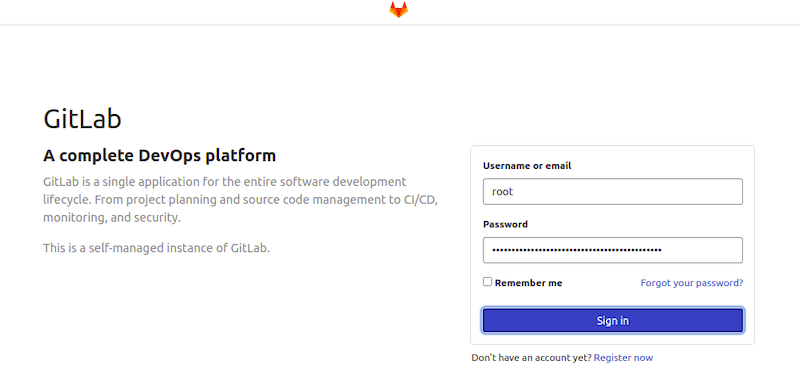
Finally, access GitLab by opening a web browser and navigating to http://<your-server-IP>:80. You will be prompted to set up an initial password for the GitLab root user.

Step 4. Troubleshooting and Maintenance.
- Common Issues and Solutions.
Refer to GitLab’s documentation for troubleshooting common issues.
- Upgrading GitLab.
Stay up to date by upgrading GitLab to the latest version. Refer to the official upgrade documentation for guidance.
- Monitoring GitLab Performance.
Use monitoring tools to keep an eye on your GitLab instance’s performance and resource usage.
Congratulations! You have successfully installed GitLab. Thanks for using this tutorial for installing GitLab on your AlmaLinux 9 system. For additional help or useful information, we recommend you check the official GitLab website.