In this tutorial, we will show you how to install Gitlab on Debian 11. For those of you who didn’t know, GitLab is a web-based version control system and collaborative software development based on Git. It is very similar to GitHub and provides a Git repository manager providing wiki, issue-tracking, and continuous integration and deployment. GitLab is available on many Linux distributions. GitLab has free plans as well as paid plans to help you grow your business.
This article assumes you have at least basic knowledge of Linux, know how to use the shell, and most importantly, you host your site on your own VPS. The installation is quite simple and assumes you are running in the root account, if not you may need to add ‘sudo‘ to the commands to get root privileges. I will show you through the step-by-step installation of the Gitlab on a Debian 11 (Bullseye).
Prerequisites
- A server running one of the following operating systems: Debian 11 (Bullseye).
- It’s recommended that you use a fresh OS install to prevent any potential issues.
- A
non-root sudo useror access to theroot user. We recommend acting as anon-root sudo user, however, as you can harm your system if you’re not careful when acting as the root.
Install Gitlab on Debian 11 Bullseye
Step 1. Before we install any software, it’s important to make sure your system is up to date by running the following apt commands in the terminal:
sudo apt update
sudo apt upgrade
sudo apt install curl ca-certificates apt-transport-https gnupg2
Step 2. Installing Gitlab on Debian 11.
By default, Gitlab is not available on the Debian 11 base repository. Now we to add the GitLab repository to your system using the following command below:
curl -s https://packages.gitlab.com/install/repositories/gitlab/gitlab-ce/script.deb.sh | bash
At the time of writing this tutorial, the GitLab package is not available for Debian 11, no we edit the GitLab source file and replace the Debian 11 code name with Debian 10:
nano /etc/apt/sources.list.d/gitlab_gitlab-ce.list
Find the following lines:
deb https://packages.gitlab.com/gitlab/gitlab-ce/debian/ bullseye main
deb-src https://packages.gitlab.com/gitlab/gitlab-ce/debian/ bullseye main
Replace with:
deb https://packages.gitlab.com/gitlab/gitlab-ce/debian/ buster main
deb-src https://packages.gitlab.com/gitlab/gitlab-ce/debian/ buster main
Save and close, then install GitLab using the following commands below:
sudo apt update
sudo apt install gitlab-ce
Step 3. Configure Gitlab.
Now it is necessary to edit the gitlab.rb file, find external_url string and edit it to your server IP address or domain you want to use:
nano /etc/gitlab/gitlab.rb
Change the following line:
external_url 'https://gitlab.idroot.us'
Next, change the following lines to enable SSL:
# Enable the Let's encrypt SSL
letsencrypt['enable'] = true

# This is optional to get SSL related alerts
letsencrypt['contact_emails'] = ['admin@idroot.us']

# This example renews every 7th day at 02:00 AM
letsencrypt['auto_renew_hour'] = "5"
letsencrypt['auto_renew_minute'] = "0"
letsencrypt['auto_renew_day_of_month'] = "*/7"
Save and close the file. Run the following command to reconfigure Gitlab:
gitlab-ctl reconfigure
Step 4. Configure Firewall.
The firewall users can use the following commands to open required ports on their system:
sudo firewall-cmd --permanent --zone=public --add-service=http
sudo firewall-cmd --permanent --zone=public --add-service=https
sudo firewall-cmd --reload
Step 5. Accessing Gitlab on Debian.
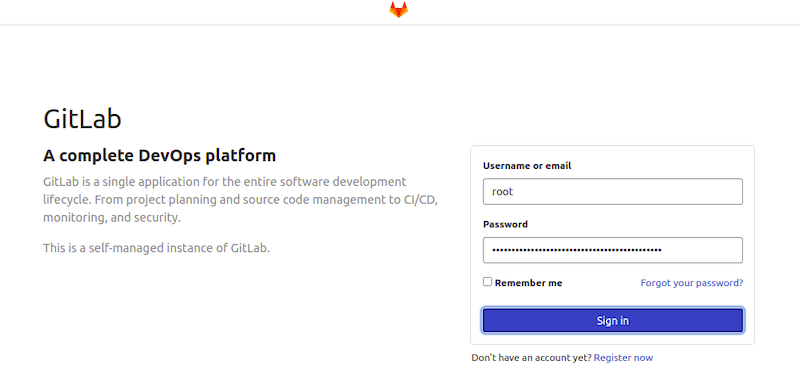
Once successfully installed, now access the GitLab dashboard using the URL https://gitlab.idroot.us. You will be redirected to a page that will let you change the Gitlab admin password.

Congratulations! You have successfully installed Gitlab. Thanks for using this tutorial for installing the latest version of Gitlab on Debian 11 Bullseye. For additional help or useful information, we recommend you check the official Gitlab website.