How To Install Gitlab on Debian 12

In this tutorial, we will show you how to install Gitlab on Debian 12. GitLab is a powerful web-based platform for version control and collaboration. It provides an all-in-one solution for managing your software development projects, from source code repositories to issue tracking and continuous integration. To harness the full potential of GitLab, it’s essential to install it correctly.
This article assumes you have at least basic knowledge of Linux, know how to use the shell, and most importantly, you host your site on your own VPS. The installation is quite simple and assumes you are running in the root account, if not you may need to add ‘sudo‘ to the commands to get root privileges. I will show you the step-by-step installation of the Gitlab on a Debian 12 (Bookworm).
Prerequisites
- A server running one of the following operating systems: Debian 12 (Bookworm).
- It’s recommended that you use a fresh OS install to prevent any potential issues.
- SSH access to the server (or just open Terminal if you’re on a desktop).
- An active internet connection. You’ll need an internet connection to download the necessary packages and dependencies for Gitlab.
- A
non-root sudo useror access to theroot user. We recommend acting as anon-root sudo user, however, as you can harm your system if you’re not careful when acting as the root.
Install Gitlab on Debian 12 Bookworm
Step 1. Before we install any software, it’s important to make sure your system is up to date by running the following apt commands in the terminal:
sudo apt update
sudo apt upgrade
This command will refresh the repository, allowing you to install the latest versions of software packages.
Step 2. Installing Dependencies.
GitLab requires specific dependencies to function correctly. Let’s install them:
sudo apt install curl openssh-server ca-certificates postfix
Step 3. Installing GitLab on Debian 12.
Now we to add the GitLab repository to your system using the following command below:
curl https://packages.gitlab.com/install/repositories/gitlab/gitlab-ee/script.deb.sh | sudo bash
Then, install GitLab using the following command:
sudo apt update
sudo apt install gitlab-ce
During the installation, you might be prompted to configure external URL and email settings. Provide the appropriate values based on your environment.
Step 4. Configure GitLab.
After the installation is complete, it’s time to configure GitLab. Open the configuration file:
sudo nano /etc/gitlab/gitlab.rb
Scroll down to the external_url section and specify your GitLab URL, just like you did during installation:
external_url 'https://your-domain.com'
Now, reconfigure GitLab to apply the changes:
sudo gitlab-ctl reconfigure
Next, configure the email settings. This is crucial for receiving notifications from GitLab. Open the configuration file:
sudo nano /etc/gitlab/gitlab.rb
Uncomment the smtp section and provide your email server’s details:
gitlab_rails['smtp_enable'] = true
gitlab_rails['smtp_address'] = "smtp.your-email-provider.com"
gitlab_rails['smtp_port'] = 587
gitlab_rails['smtp_user_name'] = "your-email@example.com"
gitlab_rails['smtp_password'] = "your-email-password"
gitlab_rails['smtp_domain'] = "your-domain.com"
gitlab_rails['smtp_authentication'] = "login"
gitlab_rails['smtp_enable_starttls_auto'] = true
gitlab_rails['smtp_tls'] = false
Replace the placeholders with your email server’s details. Save the file and reconfigure GitLab again:
sudo gitlab-ctl reconfigure
Finally, start GitLab and ensure it starts on boot:
sudo systemctl start gitlab
sudo systemctl enable gitlab
Step 5. Access GitLab Web Interface.
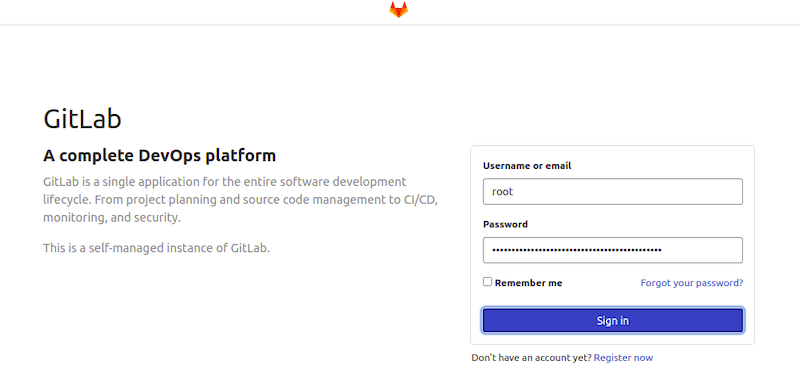
Open your web browser and navigate to your GitLab URL (the one you set earlier). You’ll be greeted with the GitLab login page. Use the default username root and the password you chose during the installation.

Congratulations! You have successfully installed Gitlab. Thanks for using this tutorial to install the latest version of Gitlab on Debian 12 Bookworm. For additional help or useful information, we recommend you check the official Gitlab website.