How To Install GitLab on openSUSE

In this tutorial, we will show you how to install GitLab on openSUSE. GitLab, a pivotal tool in the DevOps landscape, is a web-based platform that provides a comprehensive suite of features for software development, including source code management, continuous integration/continuous deployment (CI/CD), and issue tracking.
This article assumes you have at least basic knowledge of Linux, know how to use the shell, and most importantly, you host your site on your own VPS. The installation is quite simple and assumes you are running in the root account, if not you may need to add ‘sudo‘ to the commands to get root privileges. I will show you the step-by-step installation of GitLab on openSUSE.
Prerequisites
- A server running one of the following operating systems: openSUSE.
- It’s recommended that you use a fresh OS install to prevent any potential issues.
- You will need access to the terminal to execute commands. openSUSE provides the Terminal application for this purpose. It can be found in your Applications menu.
- You’ll need an active internet connection to download GitLab and its dependencies.
- You’ll need administrative (root) access or a user account with sudo privileges.
Install GitLab on openSUSE
Step 1. Keeping your system updated ensures you have the latest security patches and software versions, providing a stable base for new installations. In openSUSE, we use the zypper package manager for this task. Run the following commands to refresh the package list and upgrade your system:
sudo zypper refresh
sudo zypper update
Next, install the necessary dependencies. GitLab requires a number of packages, including curl, OpenSSH, and postfix. Use the following command to install these packages:
sudo zypper install curl policycoreutils openssh-server openssh-clients
Step 2. Installing GitLab on openSUSE.
With the system updated and dependencies installed, you can now proceed with the GitLab installation. First, download the GitLab package using curl:
curl https://packages.gitlab.com/install/repositories/gitlab/gitlab-ee/script.rpm.sh | sudo bash
Next, install GitLab using the zypper package manager:
sudo zypper install gitlab-ee
During the installation, you’ll be prompted to configure GitLab. This includes setting the URL for your GitLab instance, which should be a fully qualified domain name (FQDN) that resolves to the IP address of your server.
After the installation, start and enable the GitLab service using the following commands:
sudo gitlab-ctl start
sudo gitlab-ctl enable
Step 3. GitLab Configuration.
After installing GitLab, you’ll need to configure it. The main configuration file for GitLab is located at /etc/gitlab/gitlab.rb. This file contains various options that you can set to customize your GitLab installation.
One of the first things you should configure is the external URL for GitLab. This is the URL that your users will use to access the GitLab instance. You can set this URL to the IP address of your server, but a Fully Qualified Domain Name (FQDN) is preferred.
After setting the external URL, reconfigure GitLab using the command:
sudo gitlab-ctl reconfigure
Step 4. Accessing GitLab on openSUSE.
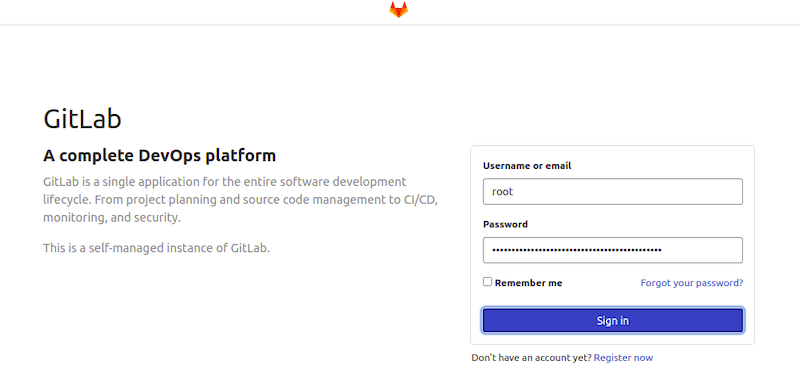
You can now access GitLab through your web browser by navigating to the URL you set during the configuration. The first time you access GitLab, you’ll be prompted to set a password for the administrative account.

Congratulations! You have successfully installed GitLab. Thanks for using this tutorial for installing GitLab on your openSUSE system. For additional or useful information, we recommend you check the official GitLab website.