How To Install GNOME on Fedora 39

In this tutorial, we will show you how to install GNOME on Fedora 39. The GNOME desktop environment is a popular choice for Linux users who value a clean, modern interface with plenty of customization options. If you’ve just installed Fedora 39 and prefer the GNOME experience, this guide will walk you through the process of setting it up step-by-step.
This article assumes you have at least basic knowledge of Linux, know how to use the shell, and most importantly, you host your site on your own VPS. The installation is quite simple and assumes you are running in the root account, if not you may need to add ‘sudo‘ to the commands to get root privileges. I will show you the step-by-step installation of the GNOME desktop environment on a Fedora 39.
Prerequisites
Before diving into the installation process, let’s ensure that you have everything you need:
- A server running one of the following operating systems: Fedora 39.
- It’s recommended that you use a fresh OS install to prevent any potential issues.
- You will need access to the terminal to execute commands. Fedora 39 provides the Terminal application for this purpose. It can be found in your Applications menu.
- You’ll need an active internet connection to download GNOME and its dependencies.
- A
non-root sudo useror access to theroot user. We recommend acting as anon-root sudo user, however, as you can harm your system if you’re not careful when acting as the root.
Install GNOME on Fedora 39
Step 1. Before installing any new software, it’s crucial to update your Fedora system to ensure you have the latest packages and security patches. To update Fedora, run the following command in the terminal:
sudo dnf upgrade --refresh
This command will refresh the package repositories and upgrade any outdated packages to their latest versions. If a new kernel version is installed during the update process, it’s recommended to reboot your system to apply the changes.
Step 2. Installing GNOME on Fedora 39.
Now that your system is up to date, you can proceed with installing the GNOME desktop environment. To do this, run the following command in the terminal:
sudo dnf groupinstall "GNOME Desktop Environment"
This command will install the core GNOME packages and their dependencies. The installation process may take some time, depending on your internet connection speed and the number of packages that need to be downloaded.
During the installation, you’ll see a progress bar indicating the status of the package downloads and installations. Once the process is complete, you’ll be prompted to press Enter to continue.
Step 3. Enable Graphical Login.
After the GNOME installation is finished, you need to enable the graphical login to start using the GNOME desktop environment. To do this, run the following command in the terminal:
sudo systemctl set-default graphical.target
This command sets the default systemd target to graphical.target, which enables the graphical login screen. Once you’ve executed this command, reboot your system by typing reboot in the terminal and pressing Enter.
Step 4. Login and Explore GNOME.
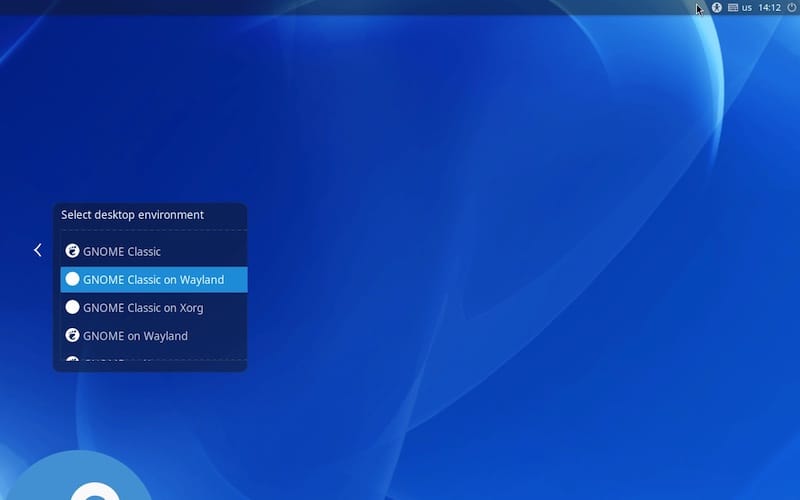
After your system reboots, you’ll be greeted by the GNOME login screen. Here, you can choose your preferred login session from the options provided, such as GNOME, GNOME Classic, or GNOME on Wayland. Select the desired option and enter your login credentials to access the GNOME desktop.

Once logged in, take some time to explore the default GNOME desktop layout and familiarize yourself with its features. You’ll notice a sleek and modern interface with a customizable dock, called the Dash, on the left side of the screen. The Dash provides quick access to your favorite applications and running programs.
Congratulations! You have successfully installed GNOME. Thanks for using this tutorial for installing the GNOME desktop environment on your Fedora 39 system. For additional Apache or useful information, we recommend you check the official GNOME website.