How To Install Google Chrome on Rocky Linux 10

Rocky Linux 10 represents the latest evolution in enterprise-grade Linux distributions, offering enhanced security, performance, and stability for both desktop and server environments. While the operating system ships with Mozilla Firefox as the default web browser, many users prefer Google Chrome for its extensive feature set, seamless synchronization capabilities, and robust performance across various web applications.
Installing Google Chrome on Rocky Linux 10 requires careful attention to package management, security considerations, and system compatibility. This comprehensive guide will walk you through multiple installation methods, troubleshooting common issues, and optimizing your Chrome installation for the best possible experience on Rocky Linux 10.
Whether you’re a system administrator managing multiple workstations or an individual user seeking enhanced browsing capabilities, this tutorial provides all the necessary steps to successfully install and configure Google Chrome on your Rocky Linux 10 system.
Understanding Rocky Linux 10 and Chrome Compatibility
Rocky Linux 10 builds upon the solid foundation of Red Hat Enterprise Linux, incorporating advanced security features and updated package management systems. The distribution utilizes DNF (Dandified YUM) as its primary package manager, which offers improved dependency resolution and enhanced security verification compared to older package management tools.
Google Chrome maintains official support for RHEL-based distributions, including Rocky Linux. The browser requires specific system libraries and dependencies that are readily available in Rocky Linux 10’s repositories. Chrome’s architecture supports both 64-bit and 32-bit systems, though the 64-bit version is recommended for optimal performance and security.
Rocky Linux 10 introduces enhanced cryptographic policies that may require specific configuration steps during Chrome installation. These security improvements ensure better protection against potential vulnerabilities while maintaining compatibility with modern web applications.
The system requirements for Google Chrome installation include a minimum of 2GB RAM, 500MB available disk space, and a stable internet connection for downloading packages and dependencies. Rocky Linux 10’s improved hardware support ensures compatibility with most modern processors and graphics cards.
Pre-Installation System Preparation
Before beginning the Chrome installation process, updating your Rocky Linux 10 system ensures optimal compatibility and security. Execute the following command to refresh all system packages:
sudo dnf upgrade --refreshThis command updates the package database and installs any available security patches or system improvements. The process may take several minutes depending on your system configuration and internet connection speed.
Verify your system architecture and version information using these commands:
uname -m
cat /etc/rocky-release
The first command displays your system architecture (typically x86_64 for 64-bit systems), while the second shows your Rocky Linux version information. This information helps ensure you download the correct Chrome package for your system.
Check available disk space to ensure sufficient storage for Chrome installation:
df -h /Chrome requires approximately 200MB of disk space for installation, plus additional space for user data and browser cache. Ensure you have at least 1GB of free space available.
Create a system backup or checkpoint before proceeding with the installation. While Chrome installation rarely causes system issues, having a backup provides peace of mind and recovery options if unexpected problems arise.
Method 1: Installing Google Chrome via Official RPM Package
The most reliable method for installing Google Chrome on Rocky Linux 10 involves downloading and installing the official RPM package directly from Google’s servers. This approach ensures you receive the latest stable version with all necessary dependencies automatically resolved.
Downloading the Chrome RPM Package
Navigate to Google Chrome’s official download page using your default web browser or download the package directly using the command line. The wget command provides a reliable method for obtaining the installation package:
wget https://dl.google.com/linux/direct/google-chrome-stable_current_x86_64.rpmThis command downloads the latest stable Chrome version for 64-bit systems. The package size is approximately 80-100MB, depending on the current version. Monitor the download progress and ensure completion before proceeding to the next step.
Alternatively, you can download the package using curl:
curl -O https://dl.google.com/linux/direct/google-chrome-stable_current_x86_64.rpmBoth commands achieve the same result, with wget being more commonly used for file downloads on Linux systems.
Installing Chrome Using DNF Package Manager
Rocky Linux 10’s DNF package manager provides excellent dependency resolution and security verification capabilities. Install Chrome directly from the downloaded RPM package using this command:
sudo dnf localinstall google-chrome-stable_current_x86_64.rpmThe installation process automatically resolves dependencies, including liberation-fonts, mesa-vulkan-drivers, and vulkan-loader packages. DNF will display a list of packages to be installed and prompt for confirmation before proceeding.
During installation, you may encounter permission prompts requiring your sudo password. Enter your password when prompted and allow the installation to complete. The process typically takes 2-5 minutes depending on your system performance and internet connection speed.
Alternative: Direct URL Installation
For a streamlined installation process, you can install Chrome directly from Google’s servers without downloading the package locally:
sudo dnf install https://dl.google.com/linux/direct/google-chrome-stable_current_x86_64.rpmThis method combines downloading and installation into a single command, automatically handling the RPM package without storing it locally. The approach is particularly useful for automated installations or when local storage space is limited.
Method 2: Installing Chrome via Flatpak
Flatpak offers an alternative installation method that provides application sandboxing and universal compatibility across different Linux distributions. This approach may be preferable for users concerned about system-level package conflicts or those preferring containerized applications.
Setting Up Flatpak on Rocky Linux 10
First, install the Flatpak package manager if it’s not already available on your system:
sudo dnf install flatpakAdd the Flathub repository, which hosts thousands of applications including Google Chrome:
sudo flatpak remote-add --if-not-exists flathub https://flathub.org/repo/flathub.flatpakrepoVerify the Flatpak installation and repository configuration:
flatpak remotesThis command should display the Flathub repository as an available source for application installations.
Installing Chrome through Flatpak
With Flatpak properly configured, install Google Chrome using the following command:
flatpak install flathub com.google.Chrome -yThe installation process downloads Chrome and its dependencies within a sandboxed environment. This approach provides enhanced security isolation but may result in slightly different integration with system themes and desktop environments.
Flatpak applications update independently of system packages, requiring separate update commands:
flatpak update com.google.ChromeManaging Flatpak Chrome Installation
Launch Chrome installed via Flatpak using this command:
flatpak run com.google.ChromeThe sandboxed environment provides additional security but may limit certain system integrations compared to the traditional RPM installation method. Consider your specific security requirements and system integration needs when choosing between installation methods.
Handling GPG Key Issues and Security Considerations
Rocky Linux 10 implements enhanced security policies that may require specific configuration steps during Chrome installation. These security measures protect against unauthorized software installations while maintaining system integrity.
Importing Google’s Signing Key
Before installing Chrome, import Google’s GPG signing key to verify package authenticity:
sudo rpm --import https://dl.google.com/linux/linux_signing_key.pubIf you encounter SHA1 signature warnings, this indicates Rocky Linux 10’s stricter cryptographic policies. The error message typically appears as:
warning: Signature not supported. Hash algorithm SHA1 not available.
error: key import failed.
Resolving Cryptographic Policy Issues
To resolve SHA1 signature issues, temporarily adjust the system’s cryptographic policies:
sudo update-crypto-policies --set LEGACYThis command allows the system to accept SHA1 signatures, which Google still uses for their signing key. After importing the key, you can optionally restore the default security policy:
sudo update-crypto-policies --set DEFAULTHowever, leaving the LEGACY policy active ensures continued compatibility with Chrome updates and other Google software packages.
Security Implications and Best Practices
Modifying cryptographic policies affects system-wide security settings. The LEGACY policy enables older cryptographic algorithms that may have known vulnerabilities. However, this modification is necessary for Chrome installation and is commonly used in enterprise environments.
Consider implementing additional security measures such as firewall configuration, regular system updates, and user access controls to maintain overall system security while accommodating Chrome’s requirements.
Post-Installation Configuration and Setup
After successfully installing Google Chrome, several configuration steps optimize the browser for your Rocky Linux 10 environment. These settings enhance performance, security, and integration with your desktop environment.
Launching Chrome for the First Time
Access Chrome through your desktop environment’s application menu or launch it directly from the terminal:
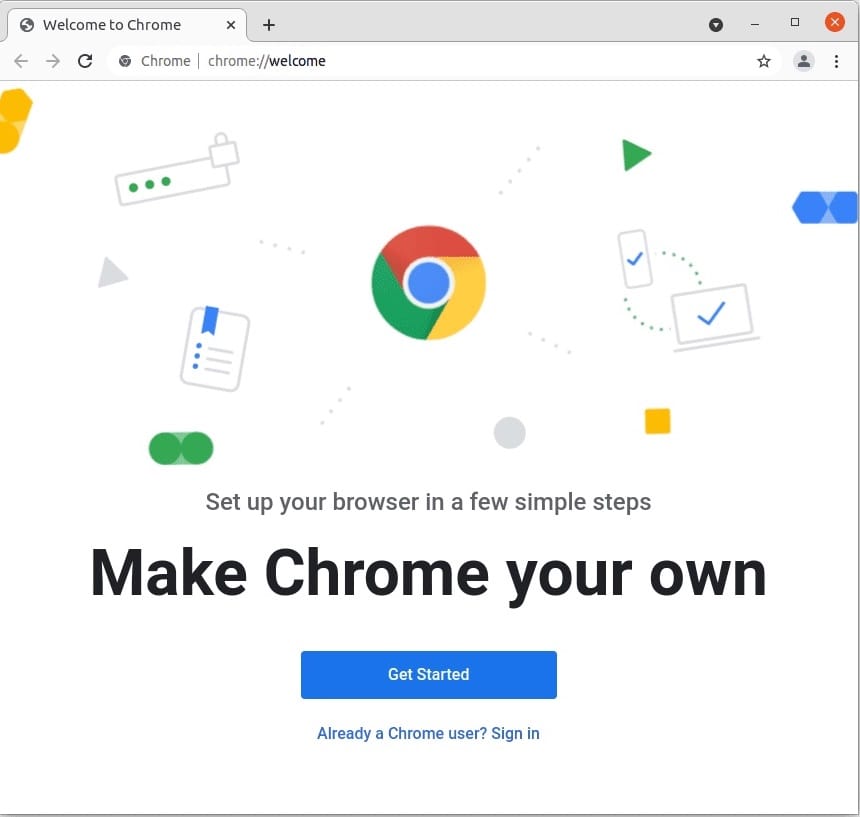
google-chromeThe first launch presents a welcome screen with options to set Chrome as your default browser, configure privacy settings, and sign in to your Google account. Make selections based on your preferences and security requirements.

Configuring Default Browser Settings
To set Chrome as your default browser system-wide, use the following command:
sudo update-alternatives --install /usr/bin/x-www-browser x-www-browser /usr/bin/google-chrome 200This configuration ensures that web links opened from other applications automatically use Chrome instead of Firefox.
Setting Up Chrome Profiles and Sync
Chrome’s profile system allows multiple users to maintain separate browsing environments on the same system. Create additional profiles through Chrome’s settings menu or use the built-in profile management features for family or shared computer scenarios.
Enable Chrome sync to synchronize bookmarks, passwords, and settings across devices. This feature requires a Google account and provides seamless access to your browsing data from any device with Chrome installed.
Troubleshooting Common Installation Issues
Despite Chrome’s generally smooth installation process, several common issues may arise during setup on Rocky Linux 10. Understanding these problems and their solutions ensures a successful installation experience.
Dependency Resolution Problems
Missing liberation-fonts packages can cause Chrome installation failures. Install these dependencies manually if the automatic resolution fails:
sudo dnf install liberation-fonts liberation-serif-fonts liberation-sans-fontsGraphics-related dependencies, particularly mesa-vulkan-drivers and vulkan-loader, may require manual installation on systems with older graphics hardware:
sudo dnf install mesa-vulkan-drivers vulkan-loaderPermission and Authentication Issues
Users experiencing sudo authentication problems should verify their user account has proper administrative privileges:
sudo -lThis command displays available sudo privileges for your user account. If administrative access is unavailable, contact your system administrator to grant necessary permissions.
Network and Download Issues
Firewall restrictions may prevent Chrome downloads or repository access. Temporarily disable the firewall during installation if necessary:
sudo systemctl stop firewalldRemember to re-enable the firewall after completing the installation:
sudo systemctl start firewalldProxy server configurations may interfere with direct downloads. Configure DNF to use your proxy settings if applicable:
echo "proxy=http://your-proxy-server:port" | sudo tee -a /etc/dnf/dnf.confManaging Chrome Updates and Maintenance
Google Chrome’s update mechanism on Rocky Linux 10 operates through the system’s package management infrastructure. Understanding update processes ensures you receive security patches and feature updates promptly.
Automatic Updates through DNF
Chrome installation automatically adds Google’s repository to your system, enabling regular updates through DNF:
sudo dnf update google-chrome-stableCheck for available Chrome updates specifically:
sudo dnf check-update google-chrome-stableThe Google Chrome repository provides automatic updates alongside your regular system updates, ensuring you receive the latest security patches and feature improvements without manual intervention.
Managing Multiple Chrome Versions
Advanced users may require multiple Chrome versions for development or testing purposes. Google provides stable, beta, and development channels:
# Install Chrome Beta
sudo dnf install https://dl.google.com/linux/direct/google-chrome-beta_current_x86_64.rpm

# Install Chrome Dev
sudo dnf install https://dl.google.com/linux/direct/google-chrome-unstable_current_x86_64.rpm
Each version installs separately and can run simultaneously, providing flexibility for different use cases.
Uninstalling Chrome
If you need to remove Chrome from your system, use DNF’s remove command:
sudo dnf remove google-chrome-stableThis command removes the Chrome browser while preserving user data and configuration files in your home directory.
Performance Optimization and System Integration
Optimizing Chrome’s performance on Rocky Linux 10 involves configuring various system settings and browser options to maximize efficiency and user experience.
Hardware Acceleration Configuration
Enable hardware acceleration for improved video playback and graphics performance:
- Open Chrome and navigate to
chrome://settings/ - Click “Advanced” and select “System”
- Enable “Use hardware acceleration when available”
- Restart Chrome to apply changes
Desktop Environment Integration
Chrome integrates well with GNOME, KDE, and other desktop environments available on Rocky Linux 10. Configure desktop notifications, file associations, and theme compatibility through your desktop environment’s settings panel.
Memory Management Optimization
Chrome’s memory usage can be optimized through various flags and settings. Create a desktop launcher with optimized parameters:
google-chrome --memory-pressure-off --max_old_space_size=4096These parameters help manage memory allocation on systems with limited RAM or when running multiple applications simultaneously.
Congratulations! You have successfully installed Google Chrome. Thanks for using this tutorial for installing the Google Chrome browser on your Rocky Linux 10 system. For additional help or useful information, we recommend you check the official Chrome website.