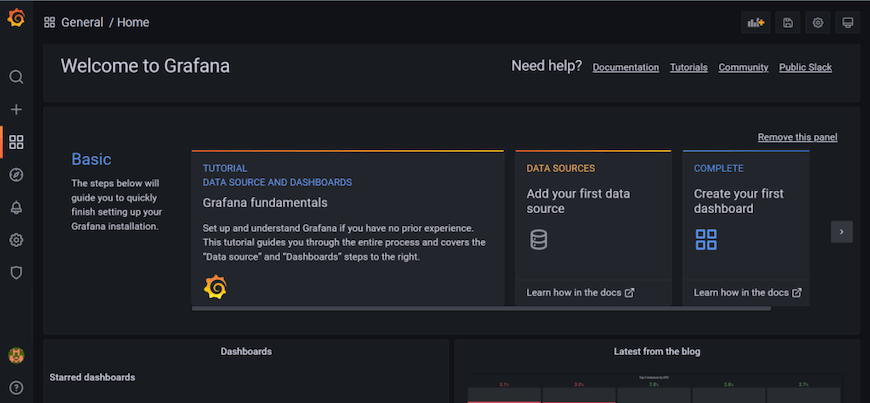
How To Install Grafana on openSUSE

Grafana is a powerful open-source platform for data visualization and monitoring that has gained immense popularity among developers, system administrators, and data analysts. It provides a user-friendly interface to create interactive dashboards, allowing users to gain valuable insights from various data sources. On the other hand, openSUSE is a reliable and versatile Linux distribution known for its stability, performance, and extensive package repository. In this article, we will guide you through the process of installing Grafana on openSUSE, enabling you to harness the power of data visualization on this robust operating system.
Prerequisites
Before proceeding with the installation of Grafana on openSUSE, ensure that your system meets the following minimum hardware requirements:
- Processor: 1 GHz or faster
- RAM: 1 GB or more
- Storage: At least 1 GB of free space
Additionally, make sure you have the necessary software dependencies and tools installed on your openSUSE system. These include:
- curl
- sudo
- zypper (package manager)
It is also recommended to apply any available system updates to ensure compatibility and security. To update your openSUSE system, run the following command in the terminal:
sudo zypper refresh && sudo zypper updateInstallation Methods Overview
There are multiple methods to install Grafana on openSUSE, each with its own advantages. We will cover three popular installation methods:
- RPM repository
- Snap Store
- Standalone binaries
Choose the method that best suits your needs and follow the step-by-step instructions provided below.
Method 1: Installing Grafana via RPM Repository
Step 1: Importing the GPG Key
To ensure the authenticity of the Grafana packages, import the GPG key by running the following command:
sudo rpm --import https://packages.grafana.com/gpg.keyStep 2: Adding the Grafana Repository
Add the official Grafana repository to your openSUSE system using the zypper package manager:
sudo zypper addrepo https://packages.grafana.com/oss/rpm grafana-ossStep 3: Installing Grafana
To install Grafana OSS (Open Source) edition, execute the following command:
sudo zypper install grafanaIf you prefer the Enterprise edition, use this command instead:
sudo zypper install grafana-enterpriseStep 4: Starting and Enabling Grafana Service
Once the installation is complete, start the Grafana service and enable it to run at system startup:
sudo systemctl start grafana-server
sudo systemctl enable grafana-server
Benefits of Using RPM Repository
Installing Grafana via the RPM repository offers the advantage of automatic updates. Whenever you perform a system update using zypper, Grafana will also be updated to the latest version, ensuring you have access to the latest features and bug fixes.
Method 2: Installing Grafana via Snap Store
Step 1: Enabling Snaps on openSUSE
To install Grafana using the Snap Store, you first need to enable snaps on your openSUSE system. Add the snappy repository and import its GPG key by running the following commands:
sudo zypper addrepo --refresh https://download.opensuse.org/repositories/system:/snappy/openSUSE_Leap_15.2 snappy
sudo zypper --gpg-auto-import-keys refresh
sudo zypper dup --from snappy
sudo zypper install snapd
Step 2: Installing Grafana Using Snap
With snaps enabled, you can now install Grafana using the following command:
sudo snap install grafanaAdvantages of Using Snap Installation
Installing Grafana via the Snap Store provides isolation of dependencies, ensuring that Grafana runs in a self-contained environment. Additionally, updates are automatically handled by the snap system, making it convenient to keep Grafana up to date.
Method 3: Installing Grafana Using Standalone Binaries
Step 1: Downloading the Binary Package
Visit the official Grafana download page and select the appropriate version for your openSUSE system. Download the standalone binary package.
Step 2: Extracting and Installing the Binary
Extract the downloaded package and move the extracted files to the desired location. For example:
tar -zxvf grafana-<version>.linux-amd64.tar.gz
sudo mv grafana-<version> /usr/local/grafana
Manual Update Requirements
When using standalone binaries, you need to manually update Grafana by downloading the latest version and replacing the existing files. This method requires more manual effort compared to the other installation methods.
Post Installation Configuration
After installing Grafana, you may need to perform some additional configuration steps:
- Configure database connections in the grafana.ini file located at
/etc/grafana/grafana.ini. - Set up initial user access and permissions by accessing the Grafana web interface at
http://localhost:3000and following the prompts. - Create your first dashboard and configure data sources to start visualizing your data.

Uninstalling Grafana
If you need to uninstall Grafana from your openSUSE system, follow these steps:
- Stop the Grafana service:
sudo systemctl stop grafana-server - Remove the Grafana package:
sudo zypper remove grafana - Optionally, remove any remaining configuration files and data directories.
Congratulations! You have successfully installed Grafana. Thanks for using this tutorial to install the latest version of the Grafana analytics & monitoring database on openSUSE system. For additional help or useful information, we recommend you check the official Grafana website.