How To Install Hypnotix on Ubuntu 24.04 LTS

In the ever-evolving landscape of multimedia applications, Hypnotix has emerged as a powerful IPTV streaming solution for Linux users. Developed by the Linux Mint team, this versatile application has gained popularity among Ubuntu enthusiasts seeking a seamless way to access live TV, movies, and series. This guide will walk you through the process of installing Hypnotix on Ubuntu 24.04, ensuring you can enjoy its full range of features with ease.
Understanding Hypnotix
Before diving into the installation process, it’s crucial to understand what makes Hypnotix stand out in the crowded field of streaming applications. Hypnotix is not just another media player; it’s a comprehensive IPTV client designed with the Linux user in mind.
Key Features
- M3U URL Support: Hypnotix allows users to add IPTV channels via M3U playlists, a standard format for streaming media.
- Xtream API Compatibility: The application supports the Xtream API, enabling integration with various IPTV providers.
- Local M3U Playlist Functionality: Users can load and manage local M3U files, offering flexibility in content organization.
- Video Playback using libmpv: Hypnotix leverages the powerful libmpv library for smooth and efficient video playback.
- Content Organization: The app neatly categorizes content, making it easy to navigate through different channels and programs.
These features collectively make Hypnotix a robust solution for IPTV enthusiasts, providing a user-friendly interface coupled with powerful backend capabilities.
System Requirements
Before proceeding with the installation, it’s essential to ensure your Ubuntu 24.04 system meets the necessary requirements. Hypnotix relies on several dependencies to function correctly:
Dependencies
- libxapp 2.6+: A crucial library for X applications
- libmpv: The core library for media playback
- python3-imdbpy: Python package for retrieving and managing IMDb movie information
- Other essential packages: Including various Python libraries and system utilities
Most of these dependencies will be automatically handled during the installation process, but it’s good to be aware of them in case of troubleshooting needs.
Installation Methods
There are two primary methods to install Hypnotix on Ubuntu 24.04: using a PPA (Personal Package Archive) or manual installation. We’ll explore both options to give you the flexibility to choose the method that best suits your needs.
Method 1: Using PPA
The PPA method is often the simplest and most straightforward way to install Hypnotix. Here’s a step-by-step guide:
- Open a terminal window (Ctrl+Alt+T).
- Add the Mint Tools PPA by running the following command:
sudo add-apt-repository ppa:linuxmint-dev/mint-tools - Update your package list:
sudo apt update - Install Hypnotix:
sudo apt install hypnotix
This method automatically handles dependency resolution, making it a convenient option for most users.
Method 2: Manual Installation
For those who prefer more control over the installation process or are unable to use the PPA method, manual installation is an alternative:
- Visit the official Hypnotix GitHub repository.
- Navigate to the “Releases” section and download the latest .deb package for Ubuntu.
- Once downloaded, open a terminal and navigate to the directory containing the .deb file.
- Install the package using the following command:
sudo dpkg -i hypnotix_*.deb - If you encounter dependency issues, run:
sudo apt-get install -f
This method gives you more control but may require additional steps to resolve dependencies.
Configuration and Setup
After successfully installing Hypnotix, the next step is to configure the application for optimal use. This section will guide you through the initial setup process.
Initial Setup
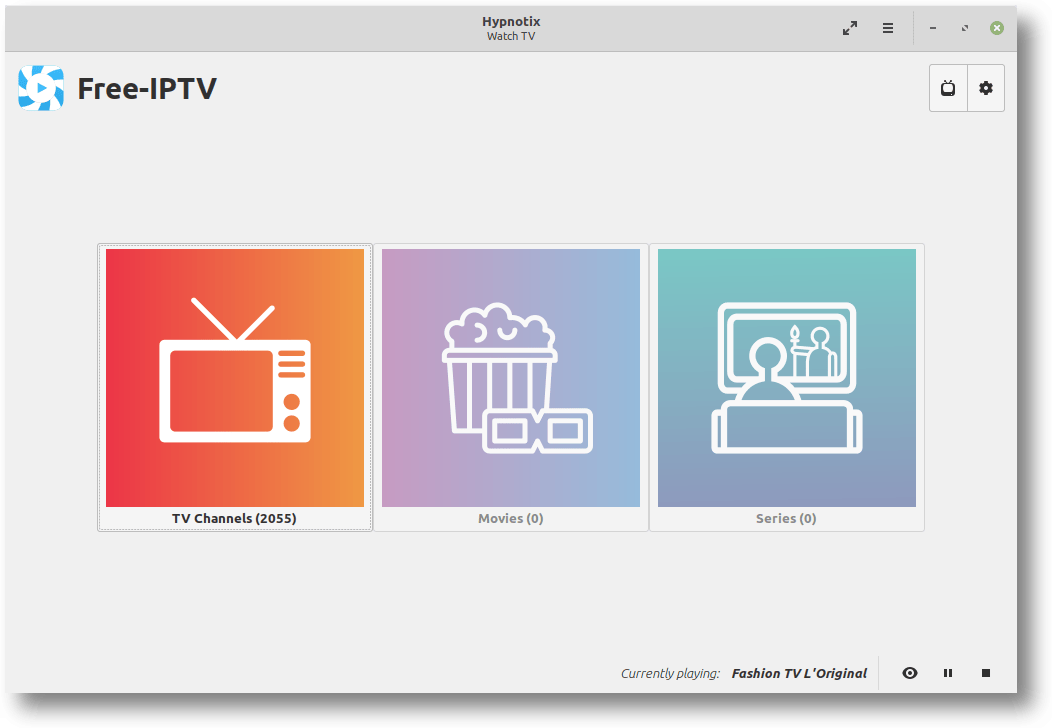
- First-time Launch: Open Hypnotix from your applications menu. You’ll be greeted with a clean interface.
- Provider Configuration:
- Click on the “+” button to add a new provider.
- Choose between M3U URL, Xtream API, or Local M3U file.
- Enter the necessary details (URL, username, password if required).
- Playback Settings:
- Navigate to the settings menu (usually a gear icon).
- Adjust video quality preferences.
- Set up EPG (Electronic Program Guide) if available.
Take time to explore the settings and customize Hypnotix to your liking. The application offers various options to enhance your viewing experience.

Troubleshooting Guide
Even with a smooth installation, you might encounter some issues. Here’s a troubleshooting guide to help you overcome common problems:
Common Issues
- Video Playback Problems:
- Ensure your internet connection is stable.
- Try different video output modes in the settings.
- Update your graphics drivers if necessary.
- Dependency Conflicts:
- Run
sudo apt update && sudo apt upgradeto ensure all packages are up to date. - If conflicts persist, consider removing and reinstalling Hypnotix.
- Run
- Performance Optimization:
- Close unnecessary applications to free up system resources.
- Adjust the video quality settings to match your hardware capabilities.
Remember, most issues can be resolved by ensuring your system is up to date and that Hypnotix has the necessary permissions to function correctly.
Using Hypnotix
Now that Hypnotix is installed and configured, let’s explore how to use its basic features effectively.
Basic Operations
- Channel Navigation: Use the sidebar to browse through different categories and channels.
- Content Browsing: Explore the EPG for scheduled programs or use the search function to find specific content.
- Playback Controls: Familiarize yourself with the playback interface, including options for full-screen mode, volume control, and channel switching.
Experiment with these features to get comfortable with Hypnotix’s interface and functionality. The more you use it, the more intuitive it becomes.
Congratulations! You have successfully installed Hypnotix. Thanks for using this tutorial to install the latest version of the Hypnotix IPTV app on Ubuntu 24.04 LTS. For additional help or useful information, we recommend you check the official Hypnotix website.