How To Install Inkscape on AlmaLinux 10

AlmaLinux 10 users seeking a powerful vector graphics editor need look no further than Inkscape. This comprehensive guide explores five proven methods to install Inkscape on your AlmaLinux 10 system, ensuring you can start creating stunning vector graphics regardless of your technical expertise. Whether you prefer traditional package management or modern containerized solutions, we’ll walk you through each installation approach with detailed step-by-step instructions.
Understanding Inkscape and AlmaLinux 10 Compatibility
What is Inkscape
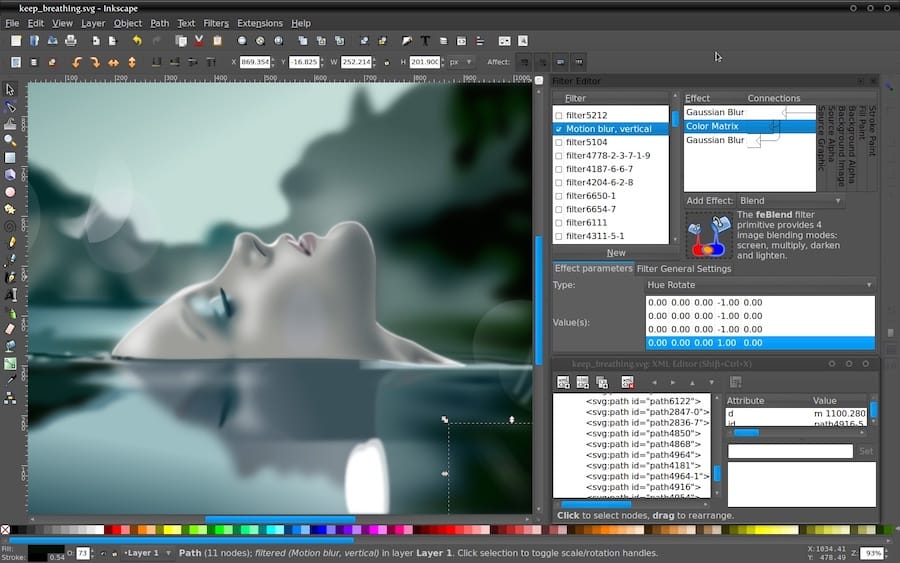
Inkscape stands as a free and open-source vector graphics editor that rivals commercial software like Adobe Illustrator and CorelDRAW. This powerful application uses Scalable Vector Graphics (SVG) as its native format, making it ideal for creating logos, illustrations, charts, and complex artwork that scales perfectly at any resolution. Professional designers and hobbyists alike rely on Inkscape for its comprehensive feature set including versatile drawing tools, advanced path operations, text manipulation, and bitmap tracing capabilities.
The software excels in creating vector graphics that maintain crisp edges and smooth curves regardless of zoom level. Unlike raster graphics bound to fixed pixel dimensions, Inkscape’s vector approach ensures your artwork remains sharp whether displayed on mobile screens or printed on billboards.
AlmaLinux 10 Considerations
AlmaLinux 10 represents the latest iteration of this enterprise-grade Linux distribution, maintaining binary compatibility with Red Hat Enterprise Linux while providing a stable foundation for professional workloads. The distribution has embraced significant changes in desktop application distribution, particularly the shift toward Flatpak as the preferred method for installing desktop applications.
This transition reflects Red Hat’s strategic decision to streamline desktop application delivery through containerized packaging systems. Traditional package repositories may contain older versions or lack certain desktop applications entirely, making alternative installation methods increasingly important for AlmaLinux 10 users.
Prerequisites and System Requirements
System Requirements
Before installing Inkscape on AlmaLinux 10, ensure your system meets these minimum specifications:
- Operating System: AlmaLinux 10 (fully updated)
- Memory: At least 2GB RAM (4GB recommended for complex projects)
- Storage: 1GB free disk space for basic installation
- Processor: Any modern CPU with SSE2 support
- Graphics: Hardware acceleration support recommended for optimal performance
Pre-installation Checklist
Complete these preparatory steps before beginning the installation process:
System Updates: Update your AlmaLinux 10 system to ensure all packages are current:
sudo dnf update -yAdministrative Access: Verify you have sudo privileges or root access for system-wide installations.
Network Connectivity: Confirm stable internet connection for downloading packages and dependencies.
Storage Verification: Check available disk space using df -h to ensure adequate room for installation.
Method 1: Installing Inkscape Using DNF Package Manager
Understanding DNF Installation
The DNF package manager provides the traditional approach for installing software on AlmaLinux 10. While historically the most straightforward method, users should be aware that desktop applications like Inkscape may have limited availability in default repositories due to Red Hat’s strategic shift toward Flatpak distribution.
Step-by-Step DNF Installation
Adding EPEL Repository:
The Extra Packages for Enterprise Linux repository often contains additional software packages:
sudo dnf install epel-release -yAttempting Inkscape Installation:
Try installing Inkscape through DNF:
sudo dnf install inkscape -yEnabling Additional Repositories:
If the standard repositories lack Inkscape, enable the AppStream repository:
sudo dnf config-manager --set-enabled appstreamDNF Method Limitations
Several challenges may arise when using DNF for Inkscape installation on AlmaLinux 10:
- Package Availability: Inkscape may not be available in default repositories
- Version Limitations: Available versions might be outdated compared to other installation methods
- Dependency Conflicts: Complex dependency resolution issues can occur on RHEL-based systems
Given these potential complications, alternative installation methods often provide more reliable results for AlmaLinux 10 users.
Method 2: Installing Inkscape via Flatpak (Recommended)
Why Flatpak is Recommended
Flatpak represents the preferred installation method for desktop applications on AlmaLinux 10, aligning with Red Hat’s strategic direction. This containerized packaging system offers several compelling advantages:
- Latest Versions: Access to the most recent Inkscape releases
- Dependency Management: All required libraries bundled within the package
- Sandboxed Environment: Enhanced security through application isolation
- Consistent Experience: Uniform behavior across different Linux distributions
Flatpak Installation Process
Installing Flatpak System:
First, install the Flatpak runtime on your AlmaLinux 10 system:
sudo dnf install flatpak -yAdding Flathub Repository:
Add the primary Flatpak repository containing thousands of applications:
sudo flatpak remote-add --if-not-exists flathub https://flathub.org/repo/flathub.flatpakrepoInstalling Inkscape via Flatpak:
Download and install Inkscape from Flathub:
sudo flatpak install flathub org.inkscape.InkscapeThe system will prompt for confirmation and display the download size (approximately 800MB including dependencies).
Running and Managing Flatpak Inkscape
Launching Inkscape:
Start Inkscape using the Flatpak runtime:
flatpak run org.inkscape.InkscapeDesktop Integration:
After installation, Inkscape appears in your desktop environment’s application menu, enabling convenient graphical launching without command-line interaction.
Update Management:
Keep Flatpak applications current with regular updates:
flatpak updateUninstallation Process:
Remove Inkscape if needed:
flatpak uninstall org.inkscape.InkscapeMethod 3: Installing Inkscape Using Snap
Snap Overview
Snap packages provide another universal packaging solution that works across multiple Linux distributions. This system offers automatic updates and robust security features through application confinement, making it an attractive alternative for users seeking simplified software management.
Snap Installation Steps
Installing Snap System:
Install the Snap daemon and enable its services:
sudo dnf install snapd -y
sudo systemctl enable --now snapd.socket
sudo ln -s /var/lib/snapd/snap /snap
Important: Log out and log back in, or restart your system to ensure snap paths are properly configured.
Installing Inkscape via Snap:
Install Inkscape from the Snap store:
sudo snap install inkscapeSnap Management
Running Snap Inkscape:
Launch Inkscape using the Snap runtime:
snap run inkscapeAutomatic Updates:
Snap packages update automatically, ensuring you always have the latest version without manual intervention.
Benefits and Considerations:
- Advantages: Easy installation, automatic updates, cross-distribution compatibility
- Limitations: Slightly slower startup times, increased disk usage, less integrated with AlmaLinux defaults
Method 4: Installing Inkscape Using AppImage
AppImage Benefits
AppImage offers a unique portable application format that requires no installation process. This approach provides maximum flexibility and minimal system impact, making it ideal for users who prefer portable applications or have limited administrative access.
AppImage Installation Process
Downloading AppImage:
Visit the official Inkscape AppImage page and download the latest version for your architecture.
Making Executable:
Navigate to your download directory and make the AppImage executable:
cd ~/Downloads
chmod +x Inkscape-*.AppImage
Running the Application:
Execute Inkscape directly:
./Inkscape-*.AppImageAppImage Management
Creating Desktop Shortcuts:
For convenient access, create a desktop entry file:
mkdir -p ~/.local/share/applicationsCreate a desktop file with your preferred text editor:
nano ~/.local/share/applications/inkscape.desktopAdd the following content:
[Desktop Entry]
Name=Inkscape
Exec=/path/to/Inkscape.AppImage %u
Icon=/path/to/inkscape-logo.svg
Comment=Vector Graphics Editor
Type=Application
Categories=Graphics;
Terminal=false
Storage Organization:
Create a dedicated directory for AppImages:
mkdir -p ~/.local/bin
mv Inkscape-*.AppImage ~/.local/bin/Inkscape.AppImage
Method 5: Compiling Inkscape from Source
Source Compilation Overview
Compiling from source provides access to the absolute latest features and allows for custom configurations. This method requires significant technical expertise and time investment but offers maximum control over the installation process.
Dependencies and Build Tools
Installing Development Tools:
Install essential build tools and libraries:
sudo dnf groupinstall "Development Tools" -y
sudo dnf install cmake gc-devel boost-devel libxml2-devel libxslt-devel \
gsl-devel double-conversion-devel potrace-devel gdl-devel gtkmm30-devel \
libsoup-devel poppler-glib-devel cairomm-devel glibmm24-devel \
gtkspell3-devel libcdr-devel pango-devel lcms2-devel -y
Compilation Process
Downloading Source Code:
Clone the official Inkscape repository:
git clone https://gitlab.com/inkscape/inkscape.git
cd inkscape
Building Inkscape:
Configure and compile the application:
mkdir build
cd build
cmake ..
make -j$(nproc)
Installing Compiled Version:
Install the compiled binary system-wide:
sudo make installPost-compilation Setup:
Update the system’s application database:
sudo update-desktop-databaseVerification and Testing Installation
Verifying Successful Installation
Command-line Verification:
Check Inkscape installation and version:
inkscape --versionGUI Launch Testing:
Attempt to launch Inkscape through your desktop environment’s application menu or using the appropriate command for your installation method.
Basic Functionality Testing
Creating Test Document:
- Launch Inkscape
- Create a simple shape using the rectangle tool
- Apply fill and stroke colors
- Save the document as an SVG file
- Export as PNG to verify export functionality
Performance Assessment:
Monitor system resources during Inkscape operation to ensure adequate performance for your intended use cases.

Troubleshooting Common Installation Issues
Repository and Package Issues
Missing Repository Problems:
If repositories are unavailable, refresh the package cache:
sudo dnf clean all
sudo dnf makecache
Dependency Conflicts:
Resolve conflicts by updating all packages:
sudo dnf update --best --allowerasingPermission and Access Problems
Sudo Access Issues:
Verify your user account has proper sudo privileges:
sudo -lFile Permission Problems:
Fix permission issues for downloaded files:
chmod +x downloaded-fileApplication-Specific Issues
Launch Problems:
If Inkscape fails to start, check system logs:
journalctl -fDisplay Issues:
For GUI problems, verify your desktop environment is properly configured and X11/Wayland is functioning correctly.
Best Practices and Recommendations
Choosing the Right Installation Method
Recommendation Matrix:
- Beginners: Flatpak method for reliability and ease of use
- Advanced Users: Any method based on specific requirements
- Portable Needs: AppImage for maximum flexibility
- Latest Features: Source compilation for cutting-edge functionality
System Optimization
Desktop Environment Integration:
Ensure your chosen installation method integrates properly with your desktop environment’s application menu and file associations.
Resource Management:
Monitor system resources when running Inkscape with large or complex projects to optimize performance.
Maintenance and Updates
Regular Updates:
Keep your installation method’s update system current:
- Flatpak:
flatpak update - Snap: Updates automatically
- DNF:
sudo dnf update - AppImage: Download newer versions manually
Backup Considerations:
Backup your Inkscape preferences and custom configurations located in ~/.config/inkscape/.
Congratulations! You have successfully installed Inkscape. Thanks for using this tutorial for installing Inkscape on your AlmaLinux OS 10 system. For additional help or useful information, we recommend you check the official Inkscape website.